そしてMapKitの伝説へ

この記事は KINTOテクノロジーズアドベントカレンダー2024 の19日目の記事です🎅🎄
KINTO Technologiesのモバイルアプリ開発グループに所属しているiOSエンジニアのGOSEOです。今担当しているアプリはUnlimitedです。
UnlimitedのiOS担当者の66%は外国籍の方です。日々、外国籍のiOSエンジニアの方と英会話を楽しんでます。
Paradoxが好きで、クルセイダーキングスⅢに今ハマってます。
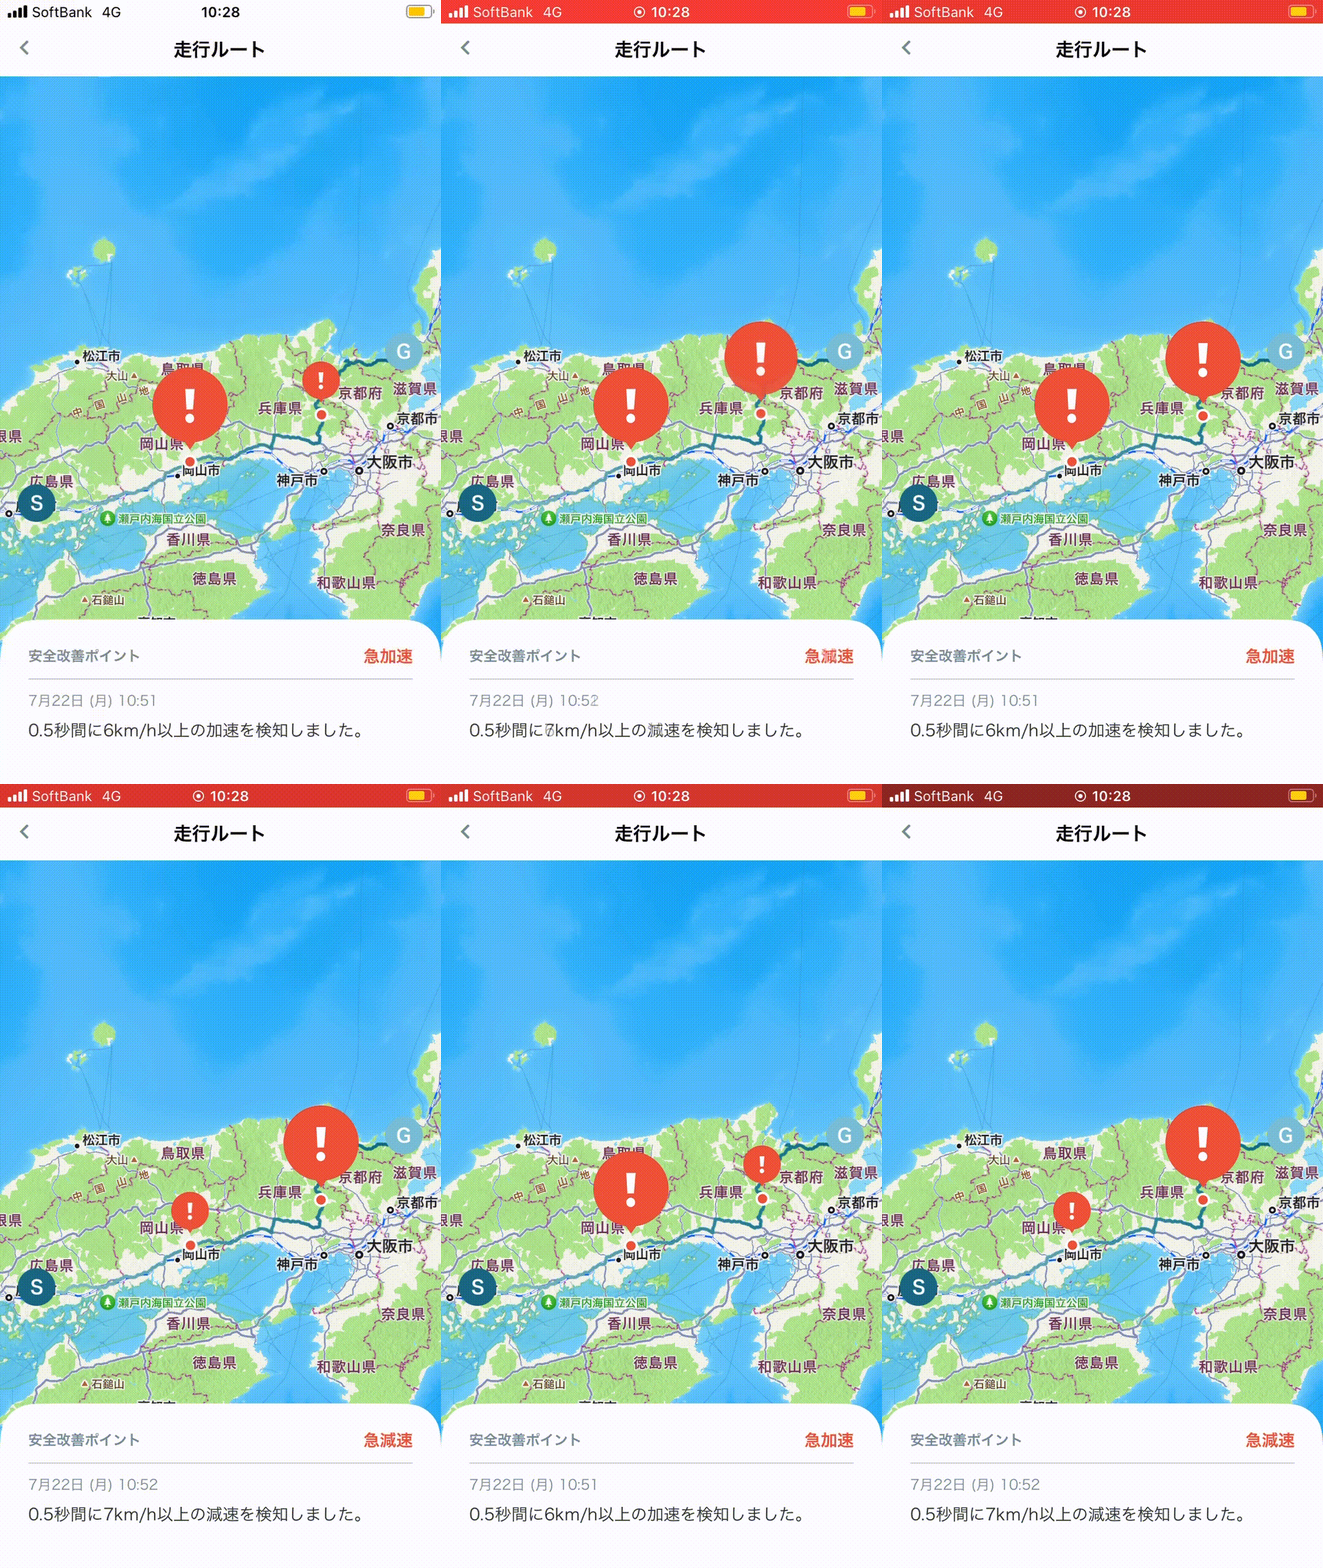
UnlimitedアプリにおけるGoogle MapsからMapKitへのマイグレーション検証
近年、Appleマップの性能向上により、Google MapsからMapKitへの移行が注目されています。この変更により、利用料の削減やアプリの評価向上が期待できます。
本記事では、UnlimitedアプリでGoogle MapsからMapKitへ移行した際の具体的な実装方法、直面した課題、そして検証結果について詳しく紹介します。
Google MapsからMapKitへのマイグレーション検証とその過程
1. マップの描画とグラデーションラインの生成
Unlimitedでは、Google Maps上にグラデーションラインを描画しています。これをMapKitで実現するには、MKGradientPolylineRendererを使い、カラーをセットして、開始地点と終了地点をlocationsで指定することで可能かどうか検証しました。さらに、将来的にはユーザーの超過スピードに応じてラインの色を動的に変化させる実装にも使えるのではと思いました。
func mapView(_ mapView: MKMapView, rendererFor overlay: MKOverlay) -> MKOverlayRenderer {
    if let polyline = overlay as? MKPolyline {
        let gradientRenderer = MKGradientPolylineRenderer(polyline: polyline)

        gradientRenderer.setColors(
            [Asset.Colors.primary.color, Asset.Colors.cdtRouteGradientLight.color],
            locations: [0.0, 1.0]
        )
        gradientRenderer.lineWidth = 2.0

        return gradientRenderer
    }
    return MKOverlayRenderer(overlay: overlay)
}
2. タップ検知の違い
Google Mapsでは、地図上でのタップやマーカーのタップイベントを簡単に取得できますが、MapKitにはそのためのAPIがありません。そのため、地図全体のタップ検知にはUITapGestureRecognizerが必要でした。しかし、マーカーに対してはdidSelectとdidDeselectメソッドでタップ状態を把握できます。
マーカーをタップしたのか地図をタップしたのか制御しないのが厄介ですが.....タップ位置にマーカーが存在しているのか確認すれば大丈夫でした。
悩みポイント: 独自にジェスチャーを設定する必要があり、少し面倒ではありますが、なんとか動作は確認できました。
let tapGestureRecognizer = UITapGestureRecognizer(target: context.coordinator, action: #selector(context.coordinator.handleMapTap(_:)))
tapGestureRecognizer.delegate = context.coordinator
mapView.addGestureRecognizer(tapGestureRecognizer)
3. マーカーの追加と管理
Unlimitedの地図上には、複数種類のマーカーが重なり合う場面があるため、zPriorityを活用して優先的に表示する仕組みを取り入れました。同じマーカー画像のインスタンスを使い回すことでインスタンスをマーカーごとに生成しなくて済むのでパフォーマンス向上も実現できました。
課題: デフォルトのタップアニメーションが消えない... 
試行錯誤した結果、MKAnnotationViewに画像を追加せずに、MKAnnotationViewにUIViewをaddSubviewで追加し、UIImageViewをaddSubviewでUIViewに追加し、UIImageViewに画像を追加することで、アニメーションを無効にするという方法にたどり着きました。
この解決策は、まさにチームメイトの天の声でした!
4. レンダリングが遅い
大分から福岡まで走ったテスト走行データを投入して、マップ表示後、拡大縮小を繰り返すと、線のレンダリングが追いついていないバグがありました。座標位置データが23000個あり、地図の表示画面が切り替わるたびにレンダリングが発生していました。そのため、UIの更新においてメモリやCPUのリソース消費が激しくなっていました。。
課題: 座標位置が多いとレンダリングが追いつかない…
Ramer-Douglas-Peuckerアルゴリズムを使って、類似している座標位置を削除し、ポリラインの簡略化と分割により、一本のポリラインに合体させる方法で乗り切れました。
// UIColorを補間する関数。fraction値に応じて2つの色の間を補間した色を返す
func interpolateColor(fraction: CGFloat) -> UIColor {
    // 開始色と終了色のRGBAコンポーネントを取得
    let fromComponents = Asset.Colors.primary.color.cgColor.components ?? [0, 0, 0, 1]
    let toComponents = Asset.Colors.cdtRouteGradientLight.color.cgColor.components ?? [0, 0, 0, 1]

    // fractionを基に色を補間
    let red = fromComponents[0] + (toComponents[0] - fromComponents[0]) * fraction
    let green = fromComponents[1] + (toComponents[1] - fromComponents[1]) * fraction
    let blue = fromComponents[2] + (toComponents[2] - fromComponents[2]) * fraction

    return UIColor(red: red, green: green, blue: blue, alpha: 1)
}

// 座標の配列からポリライン情報を生成する関数
func makePolylines(_ coordinates: [CLLocationCoordinate2D]) -> [PolylineInfo] {
    // 座標が空の場合は空配列を返す
    guard !coordinates.isEmpty else { return [] }

    // チャンクのサイズを計算(最小でも全体を1チャンクとする)
    let chunkSize = coordinates.count / 20 > 0 ? coordinates.count / 20 : coordinates.count

    var cumulativeDistance = 0.0
    let totalDistance = coordinates.totalDistance() // 全体の距離を計算

    var previousEndColor: UIColor = Asset.Colors.primary.color
    var previousEndCoordinate: CLLocationCoordinate2D?
    var polylines: [PolylineInfo] = []

    // 座標をチャンクに分割し、各チャンクに対して処理を実行
    let chunks = stride(from: 0, to: coordinates.count, by: chunkSize)
        .map { startIndex -> [CLLocationCoordinate2D] in
            // チャンクの座標を取得し、前のチャンクの最後の座標を追加
            var chunk = Array(coordinates[startIndex..<min(startIndex + chunkSize, coordinates.count)])
            if let lastCoordinate = previousEndCoordinate {
                chunk.insert(lastCoordinate, at: 0)
            }
            previousEndCoordinate = chunk.last
            return chunk
        }

    for chunk in chunks {
        let chunkDistance = chunk.totalDistance() // チャンクの距離を計算
        let startFraction = cumulativeDistance / totalDistance // 開始点の割合を計算
        cumulativeDistance += chunkDistance
        let endFraction = cumulativeDistance / totalDistance // 終了点の割合を計算

        let startColor = previousEndColor
        let endColor = interpolateColor(fraction: CGFloat(endFraction)) // 終了色を補間で計算
        previousEndColor = endColor

        // ポリラインを簡略化(高精度を維持しつつポイントを削減)
        let simplified = PolylineSimplifier.simplifyPolyline(chunk, tolerance: 0.00001)
        let polyline = MKPolyline(coordinates: simplified, count: simplified.count)

        // ポリライン情報をリストに追加
        polylines.append(PolylineInfo(
            polyline: polyline,
            startFraction: startFraction,
            endFraction: endFraction,
            startColor: startColor,
            endColor: endColor
        ))
    }

    return polylines
}

// 座標を簡略化する関数(Ramer-Douglas-Peuckerアルゴリズムを実装)
static func simplifyPolyline(_ coordinates: [CLLocationCoordinate2D], tolerance: Double) -> [CLLocationCoordinate2D] {
    // 座標数が2以下、またはtoleranceが0未満の場合はそのまま返す
    guard coordinates.count > 2 else { return coordinates }
    guard tolerance >= 0 else { return coordinates }

    var result: [CLLocationCoordinate2D] = []
    var stack: [(startIndex: Int, endIndex: Int)] = [(0, coordinates.count - 1)]
    var include: [Bool] = Array(repeating: false, count: coordinates.count)

    include[0] = true
    include[coordinates.count - 1] = true

    // スタックを使用して再帰的に処理
    while !stack.isEmpty {
        let (startIndex, endIndex) = stack.removeLast()
        let start = coordinates[startIndex]
        let end = coordinates[endIndex]

        var maxDistance: Double = 0
        var currentIndex: Int?

        // 現在のラインに対して最も遠い点を探す
        for index in (startIndex + 1)..<endIndex {
            let distance = perpendicularDistance(point: coordinates[index], lineStart: start, lineEnd: end)
            if distance > maxDistance {
                maxDistance = distance
                currentIndex = index
            }
        }

        // 最も遠い点がtoleranceを超える場合、その点を含めて再分割
        if let currentIndex, maxDistance > tolerance {
            include[currentIndex] = true
            stack.append((startIndex, currentIndex))
            stack.append((currentIndex, endIndex))
        }
    }

    // includeがtrueの座標だけを結果に追加
    for (index, shouldInclude) in include.enumerated() where shouldInclude {
        result.append(coordinates[index])
    }

    return result
}

// 点と線の間の垂直距離を計算する関数
private static func perpendicularDistance(point: CLLocationCoordinate2D, lineStart: CLLocationCoordinate2D, lineEnd: CLLocationCoordinate2D) -> Double {
    let x0 = point.latitude
    let y0 = point.longitude
    let x1 = lineStart.latitude
    let y1 = lineStart.longitude
    let x2 = lineEnd.latitude
    let y2 = lineEnd.longitude

    // 距離の計算式(2次元平面での点と直線の距離)
    let numerator = abs((y2 - y1) * x0 - (x2 - x1) * y0 + x2 * y1 - y2 * x1)
    let denominator = sqrt(pow(y2 - y1, 2) + pow(x2 - x1, 2))

    // 直線の長さが0の場合は距離を0とする
    return denominator != 0 ? numerator / denominator : 0
}
5. 検証結果と結論
MapKitでもUnlimitedアプリでGoogle Mapsを使用して実装されている同様の動作が可能であることが確認でき、Google Mapsからのマイグレーションは実現可能です。これにより、利用料の削減が期待できます。この調査を通じて、Unlimited iOSチーム全員のMapKitの技術理解も深まりました。
おわりに
今後、プロジェクトではMapKitを活用して開発を進めてまいります。
引き続き、さらなる改善を重ね、より良いサービスの提供を目指していきます!
関連記事 | Related Posts
We are hiring!
【UI/UXデザイナー】クリエイティブ室/東京・大阪・福岡
クリエイティブGについてKINTOやトヨタが抱えている課題やサービスの状況に応じて、色々なプロジェクトが発生しそれにクリエイティブ力で応えるグループです。所属しているメンバーはそれぞれ異なる技術や経験を持っているので、クリエイティブの側面からサービスの改善案を出し、周りを巻き込みながらプロジェクトを進めています。
【大阪拠点】オープンポジション(エンジニア)
やっていること国内サービスでは、トヨタのクルマのサブスクリプションサービスである『 KINTO ONE 』を中心に、移動のよろこびを提供する『 モビリティーマーケット 』、MaaSサービスの『 my route(マイルート) 』など、トヨタグループが展開する各種サービスの開発・運営を担っています。

![Cover Image for [IOS] [SwiftUI] Converting the KINTO Kantan Moushikomi App to SwiftUI](/assets/blog/authors/nakaguchi/2024-12-04-swiftUI-conversion/top.png)

