Flutter開発効率化:GitHub ActionsとFirebase Hostingを用いたWebプレビュー自動化の方法をstep-by-stepでご紹介
この記事は KINTOテクノロジーズアドベントカレンダー2024 の20日目の記事です🎅🎄
はじめに
はじめまして、KINTOテクノロジーズ(KTC)でモバイルアプリ(Flutter)の開発を担当しているHand-Tomiです。
最近、KTCでは「Flutterチーム」を立ち上げ、アプリケーション開発を進めています。その中で、導入して特に効果的だと感じた手法をいくつかご紹介したいと思います。
今回は、「GitHub Actions」と「Firebase Hosting」を活用して、コードレビュー時に便利なWebプレビューを実現する方法について解説します。
皆さんの参考になれば幸いです。
🎯 目標
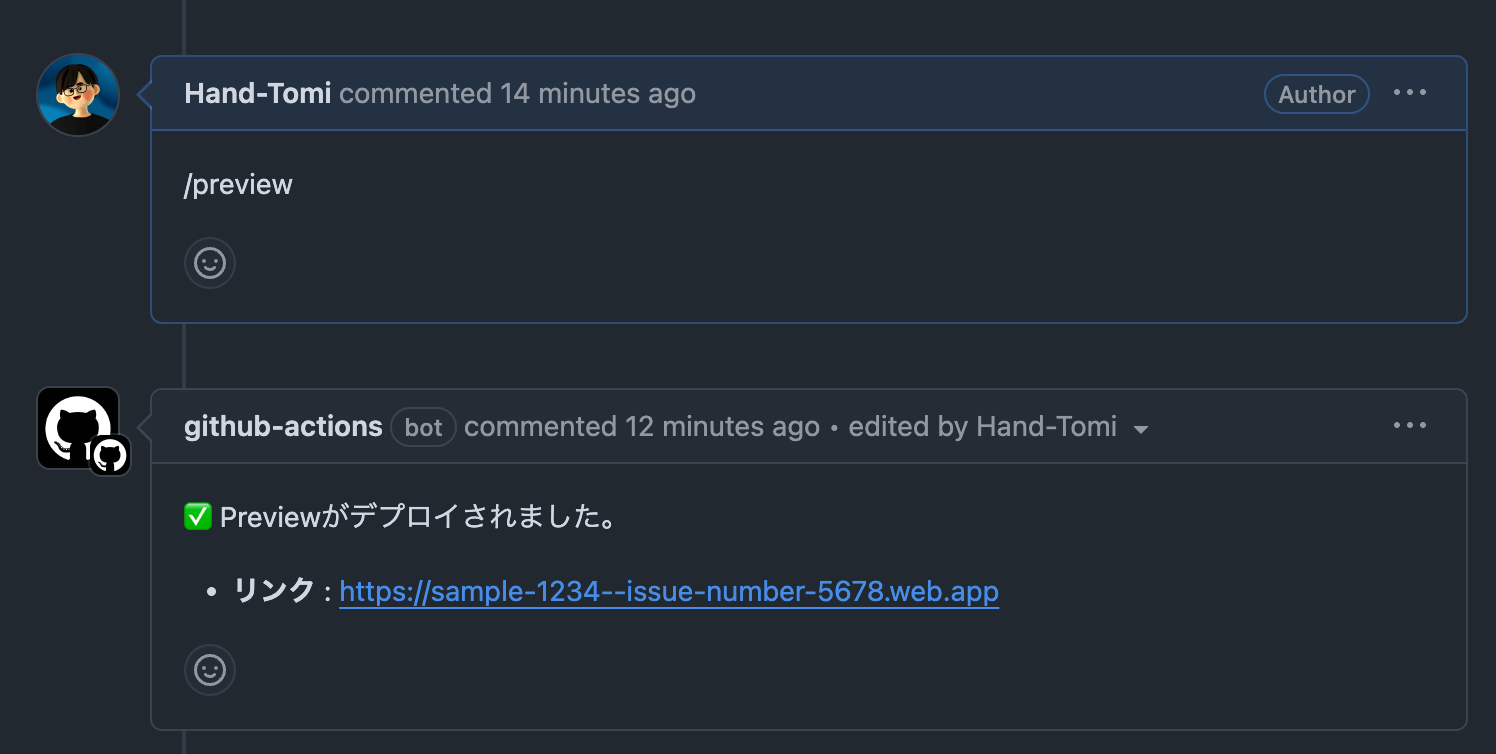
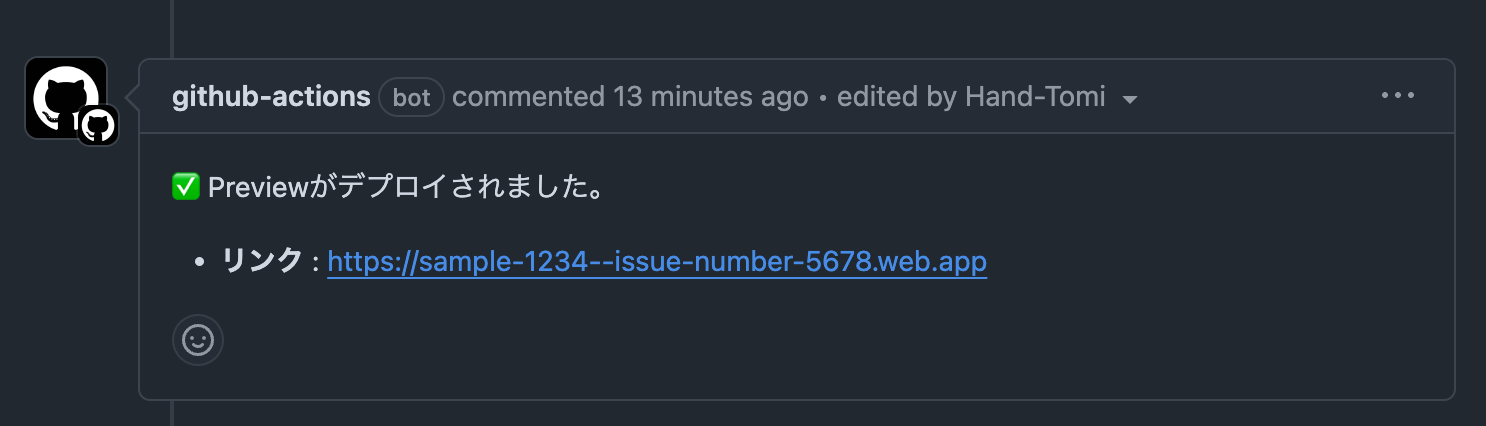
この記事の目的は、プルリクに/previewというコメントを追加することで、デバッグ用のWebページリンクが自動でコメントとして投稿される仕組みを実現することです。
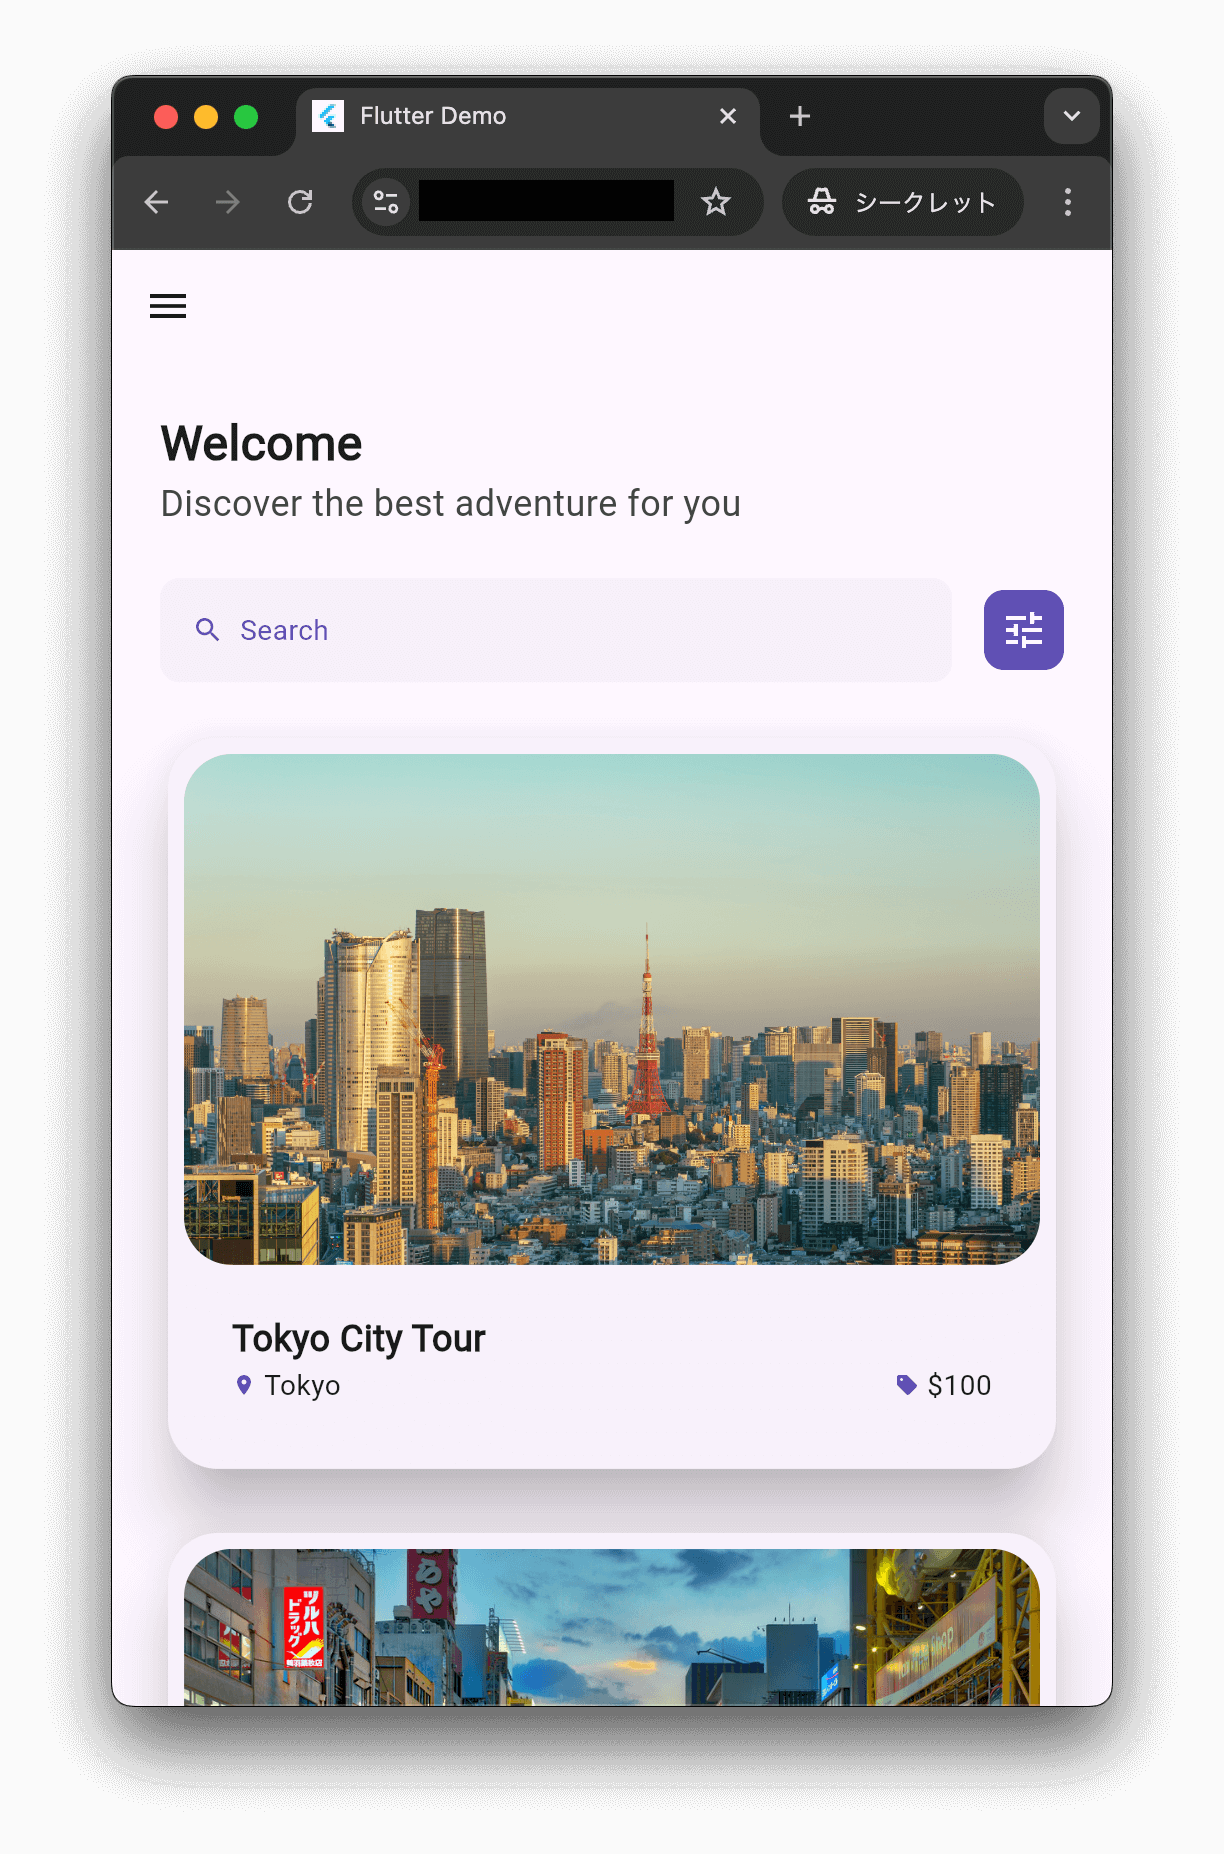
上記のリンクをクリックすると、以下のようにFlutterプロジェクトのアプリケーションが表示されます。
🔍 Webプレビューを使う理由
コードレビューする際、動作を確認するにはソースコードをクローンし、設定やビルドを行う必要がありますが、この方法は時間がかかります。一方、Webプレビューを設定しておくと、簡単かつ迅速に動作確認を行うことが可能です。
以降では、この仕組みを実現する方法をstep-by-stepでご紹介します。
Firebaseのセットアップ
🌐 Firebaseプロジェクトを作成
まだFirebaseプロジェクトがない場合、Firebaseコンソールから新しいプロジェクトを作成してください。
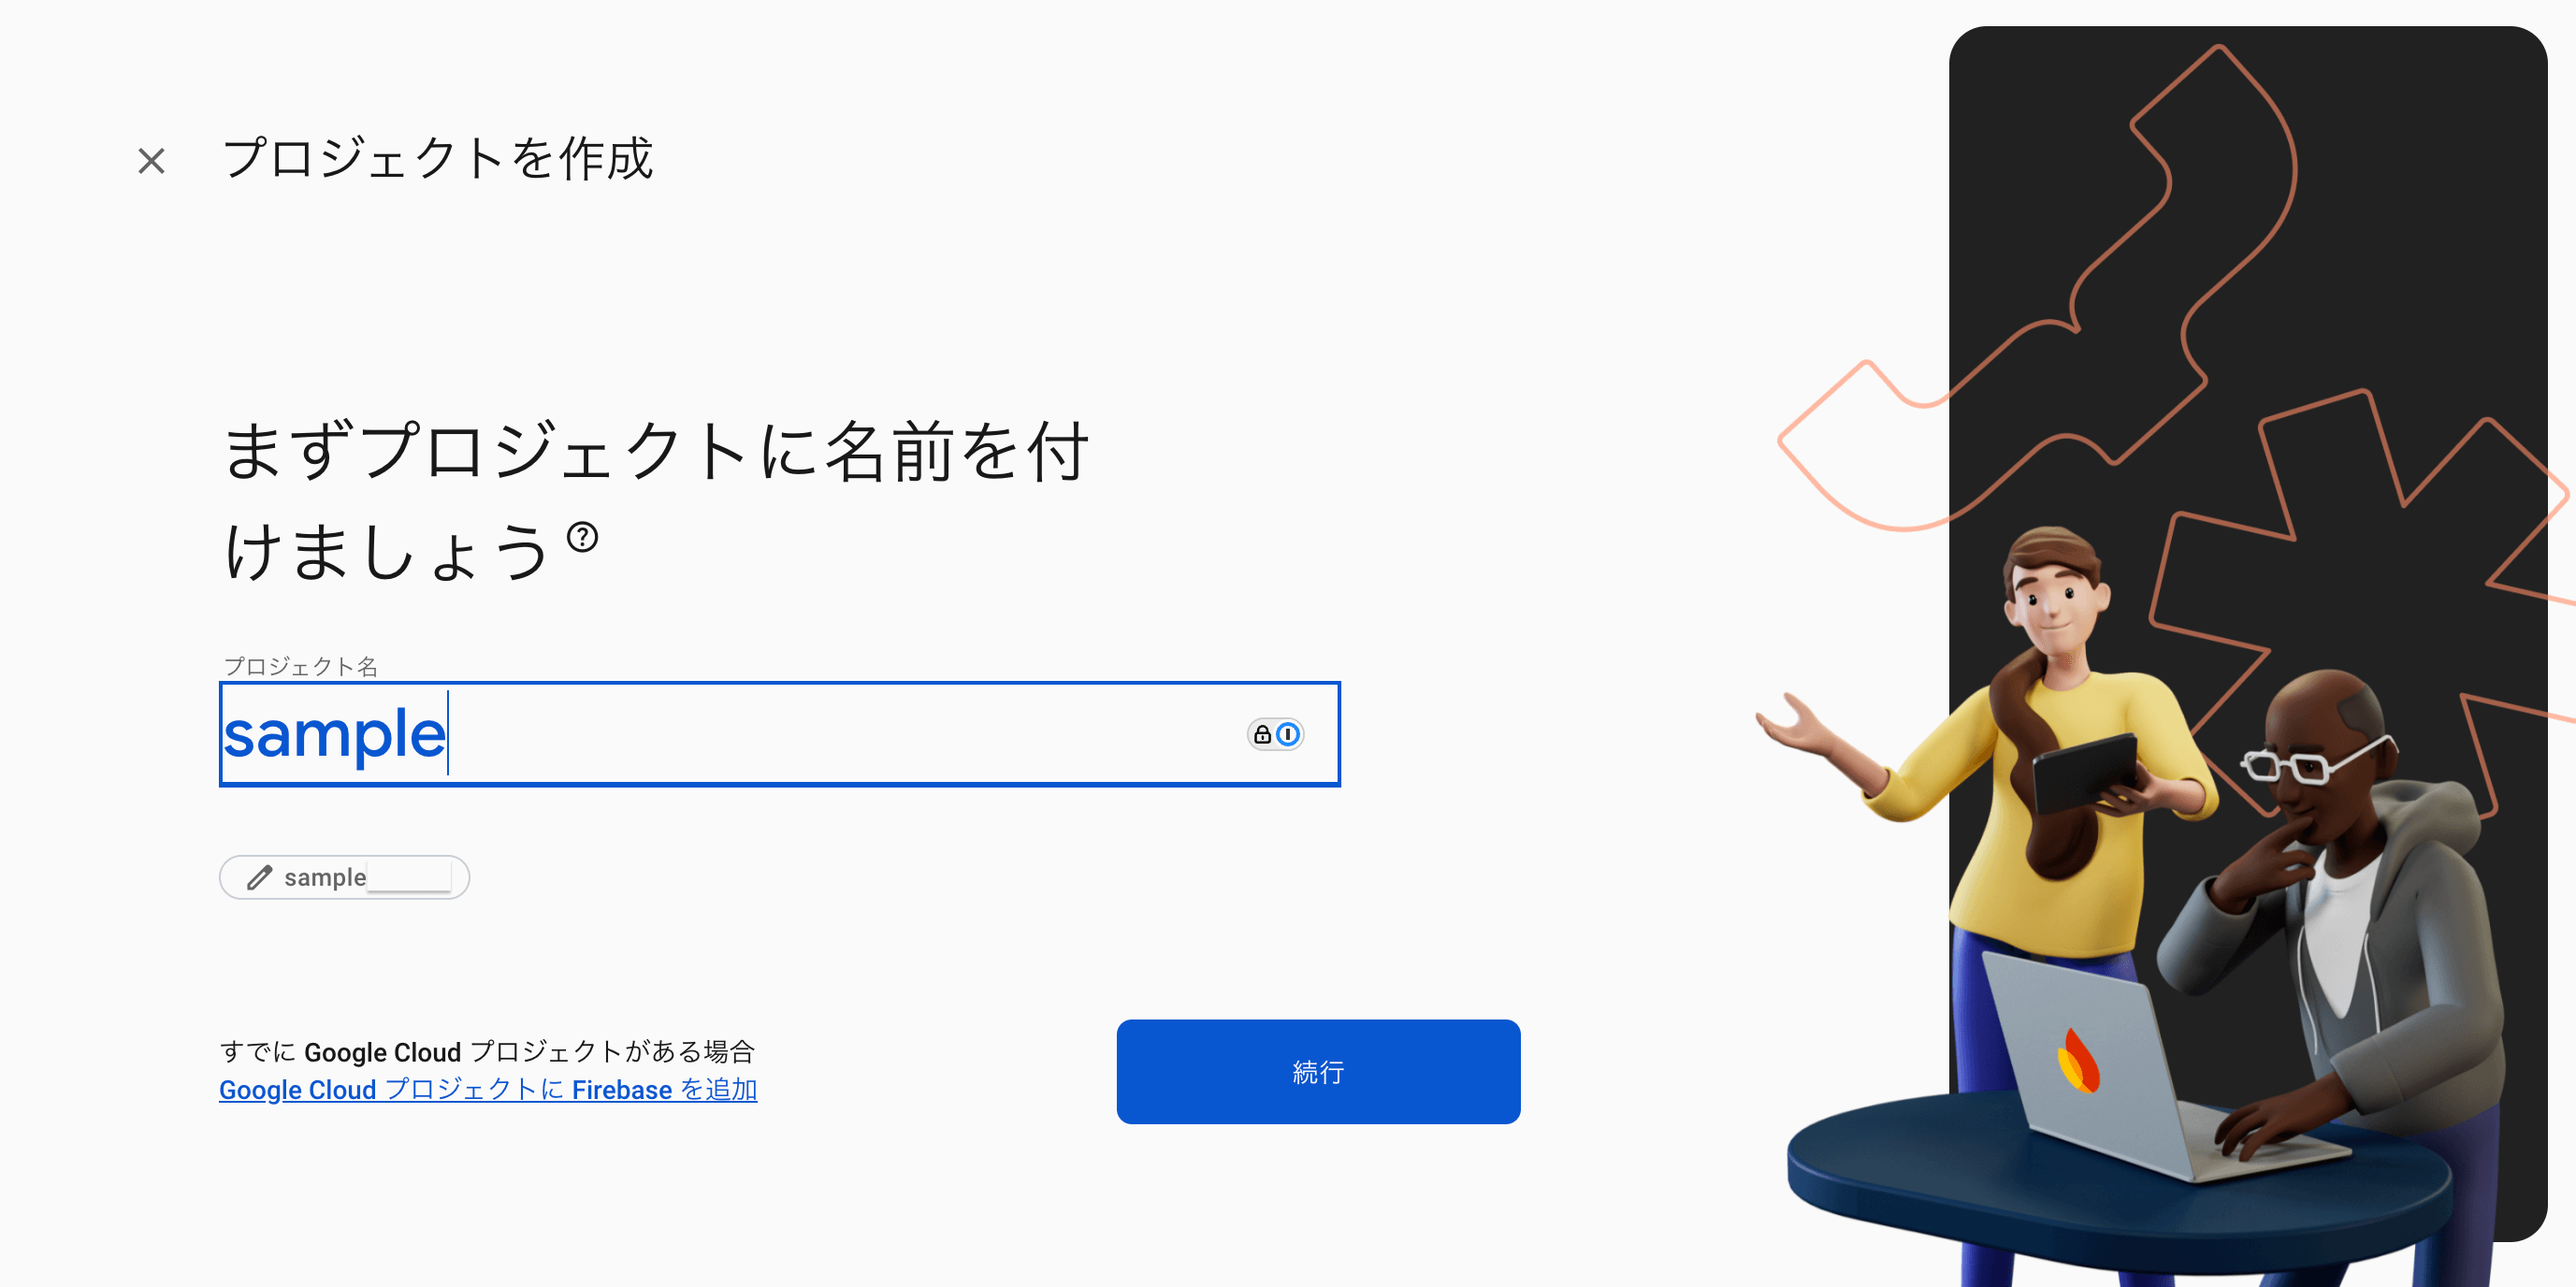
プロジェクト名は「sample」としました。
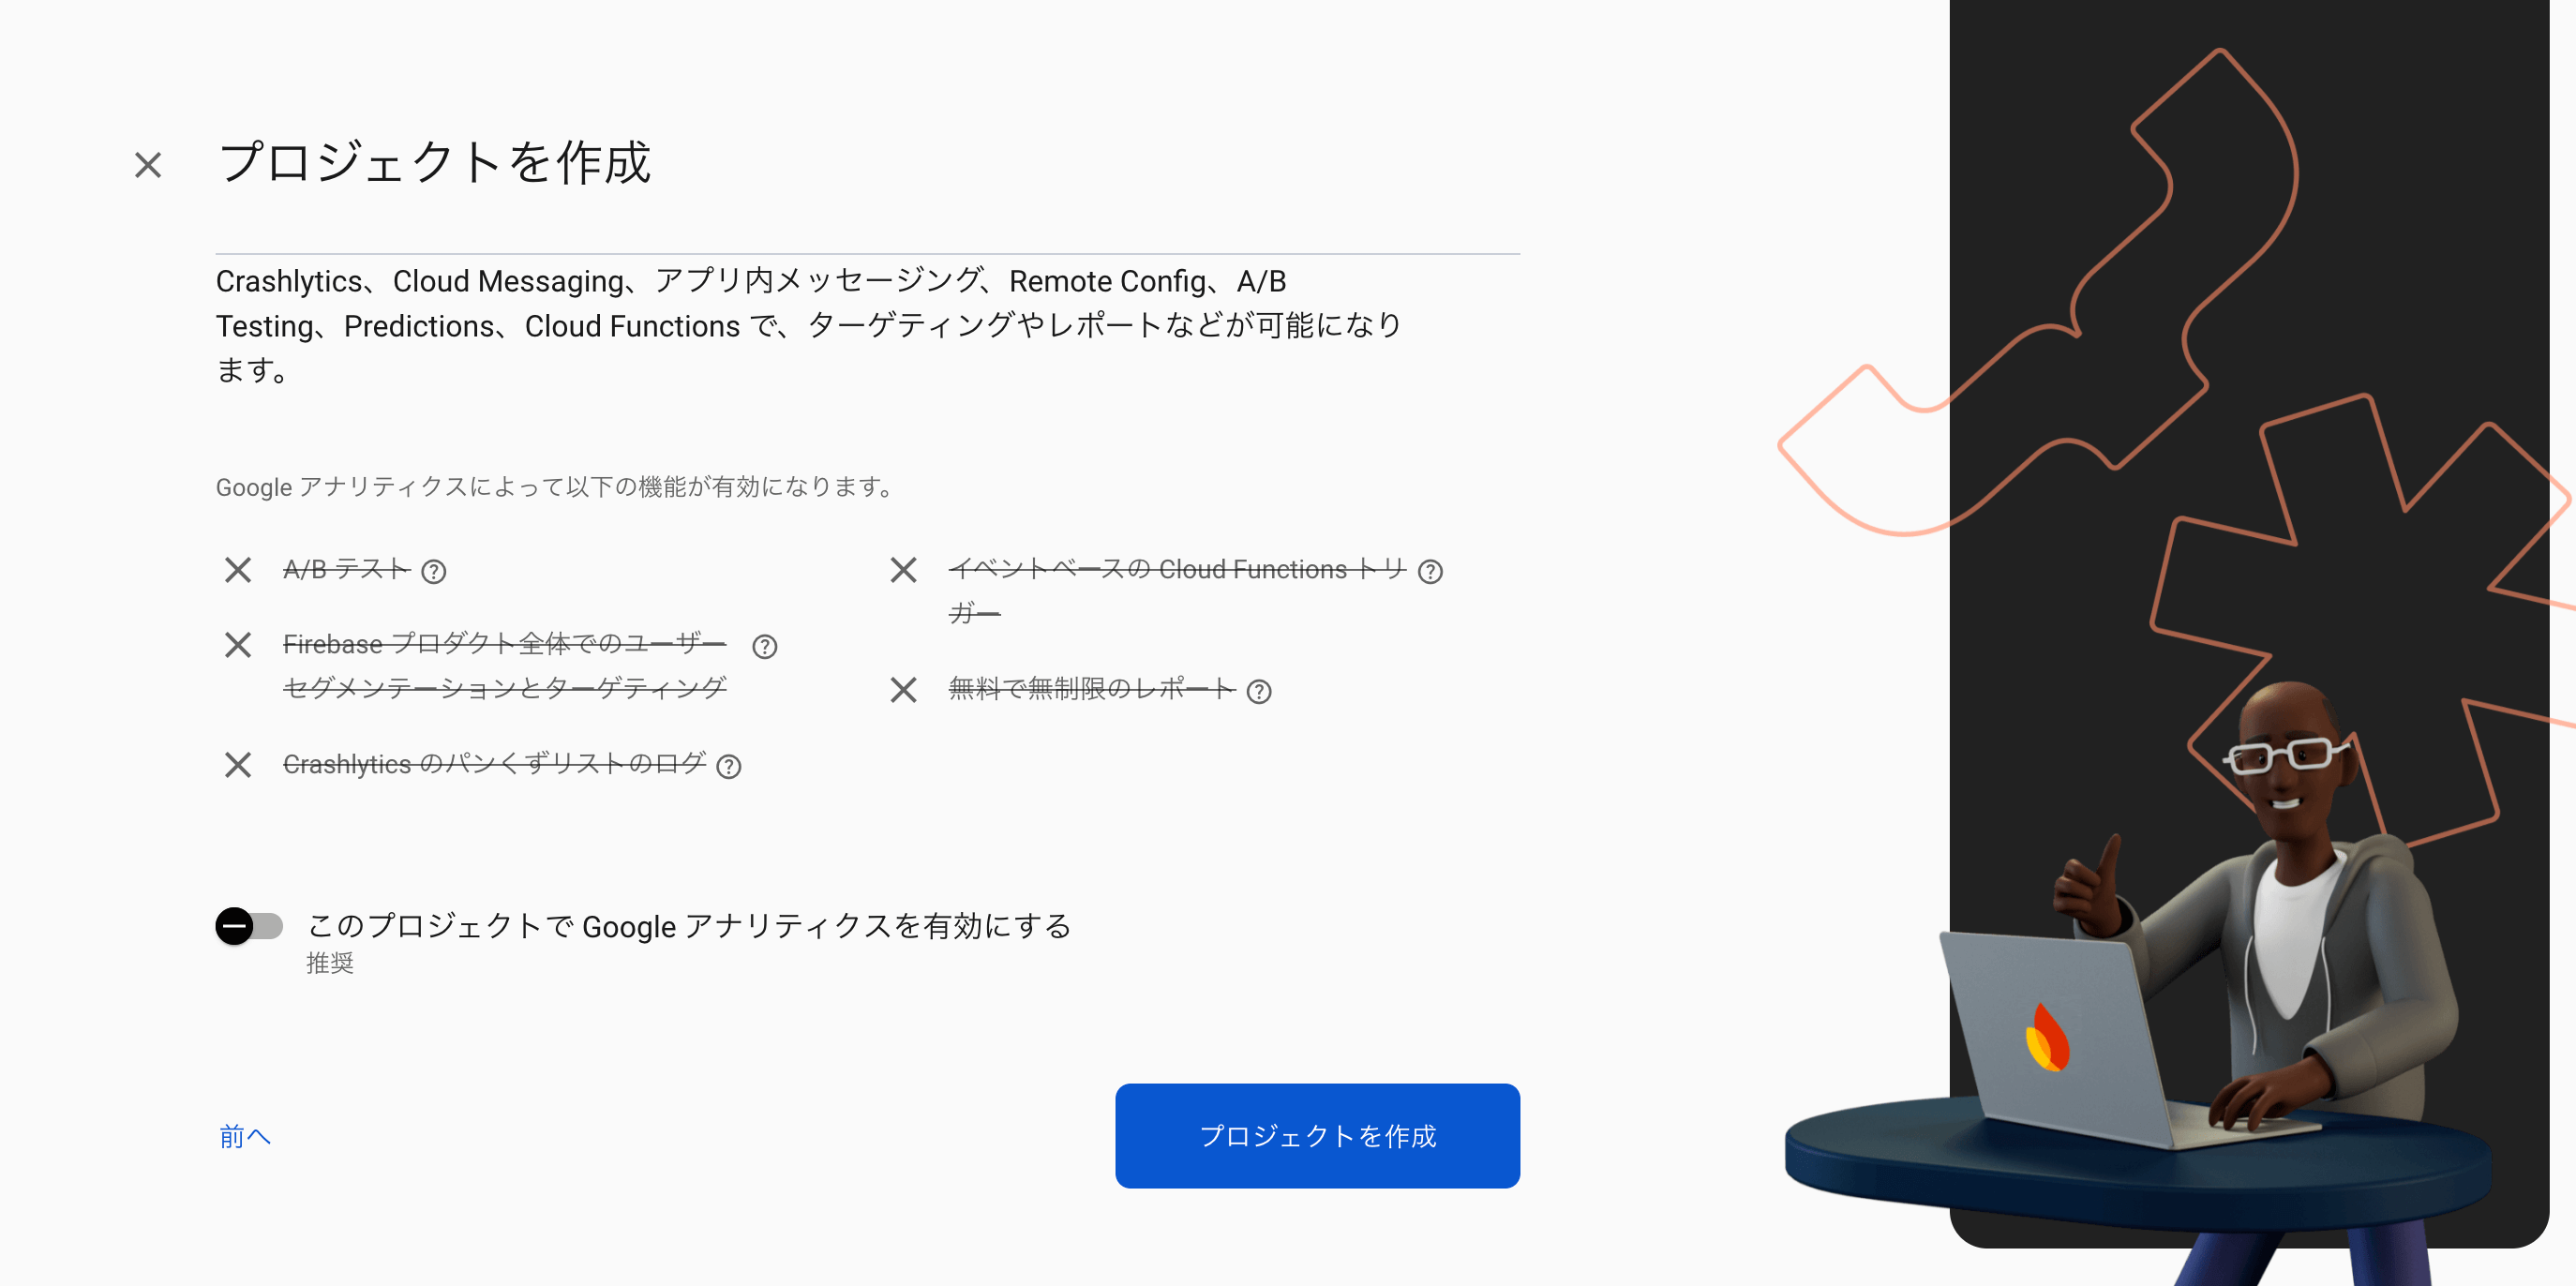
他の機能を使用する予定がない場合は無効にしておきます(有効にしておいても問題ありません)。
しばらく待つと
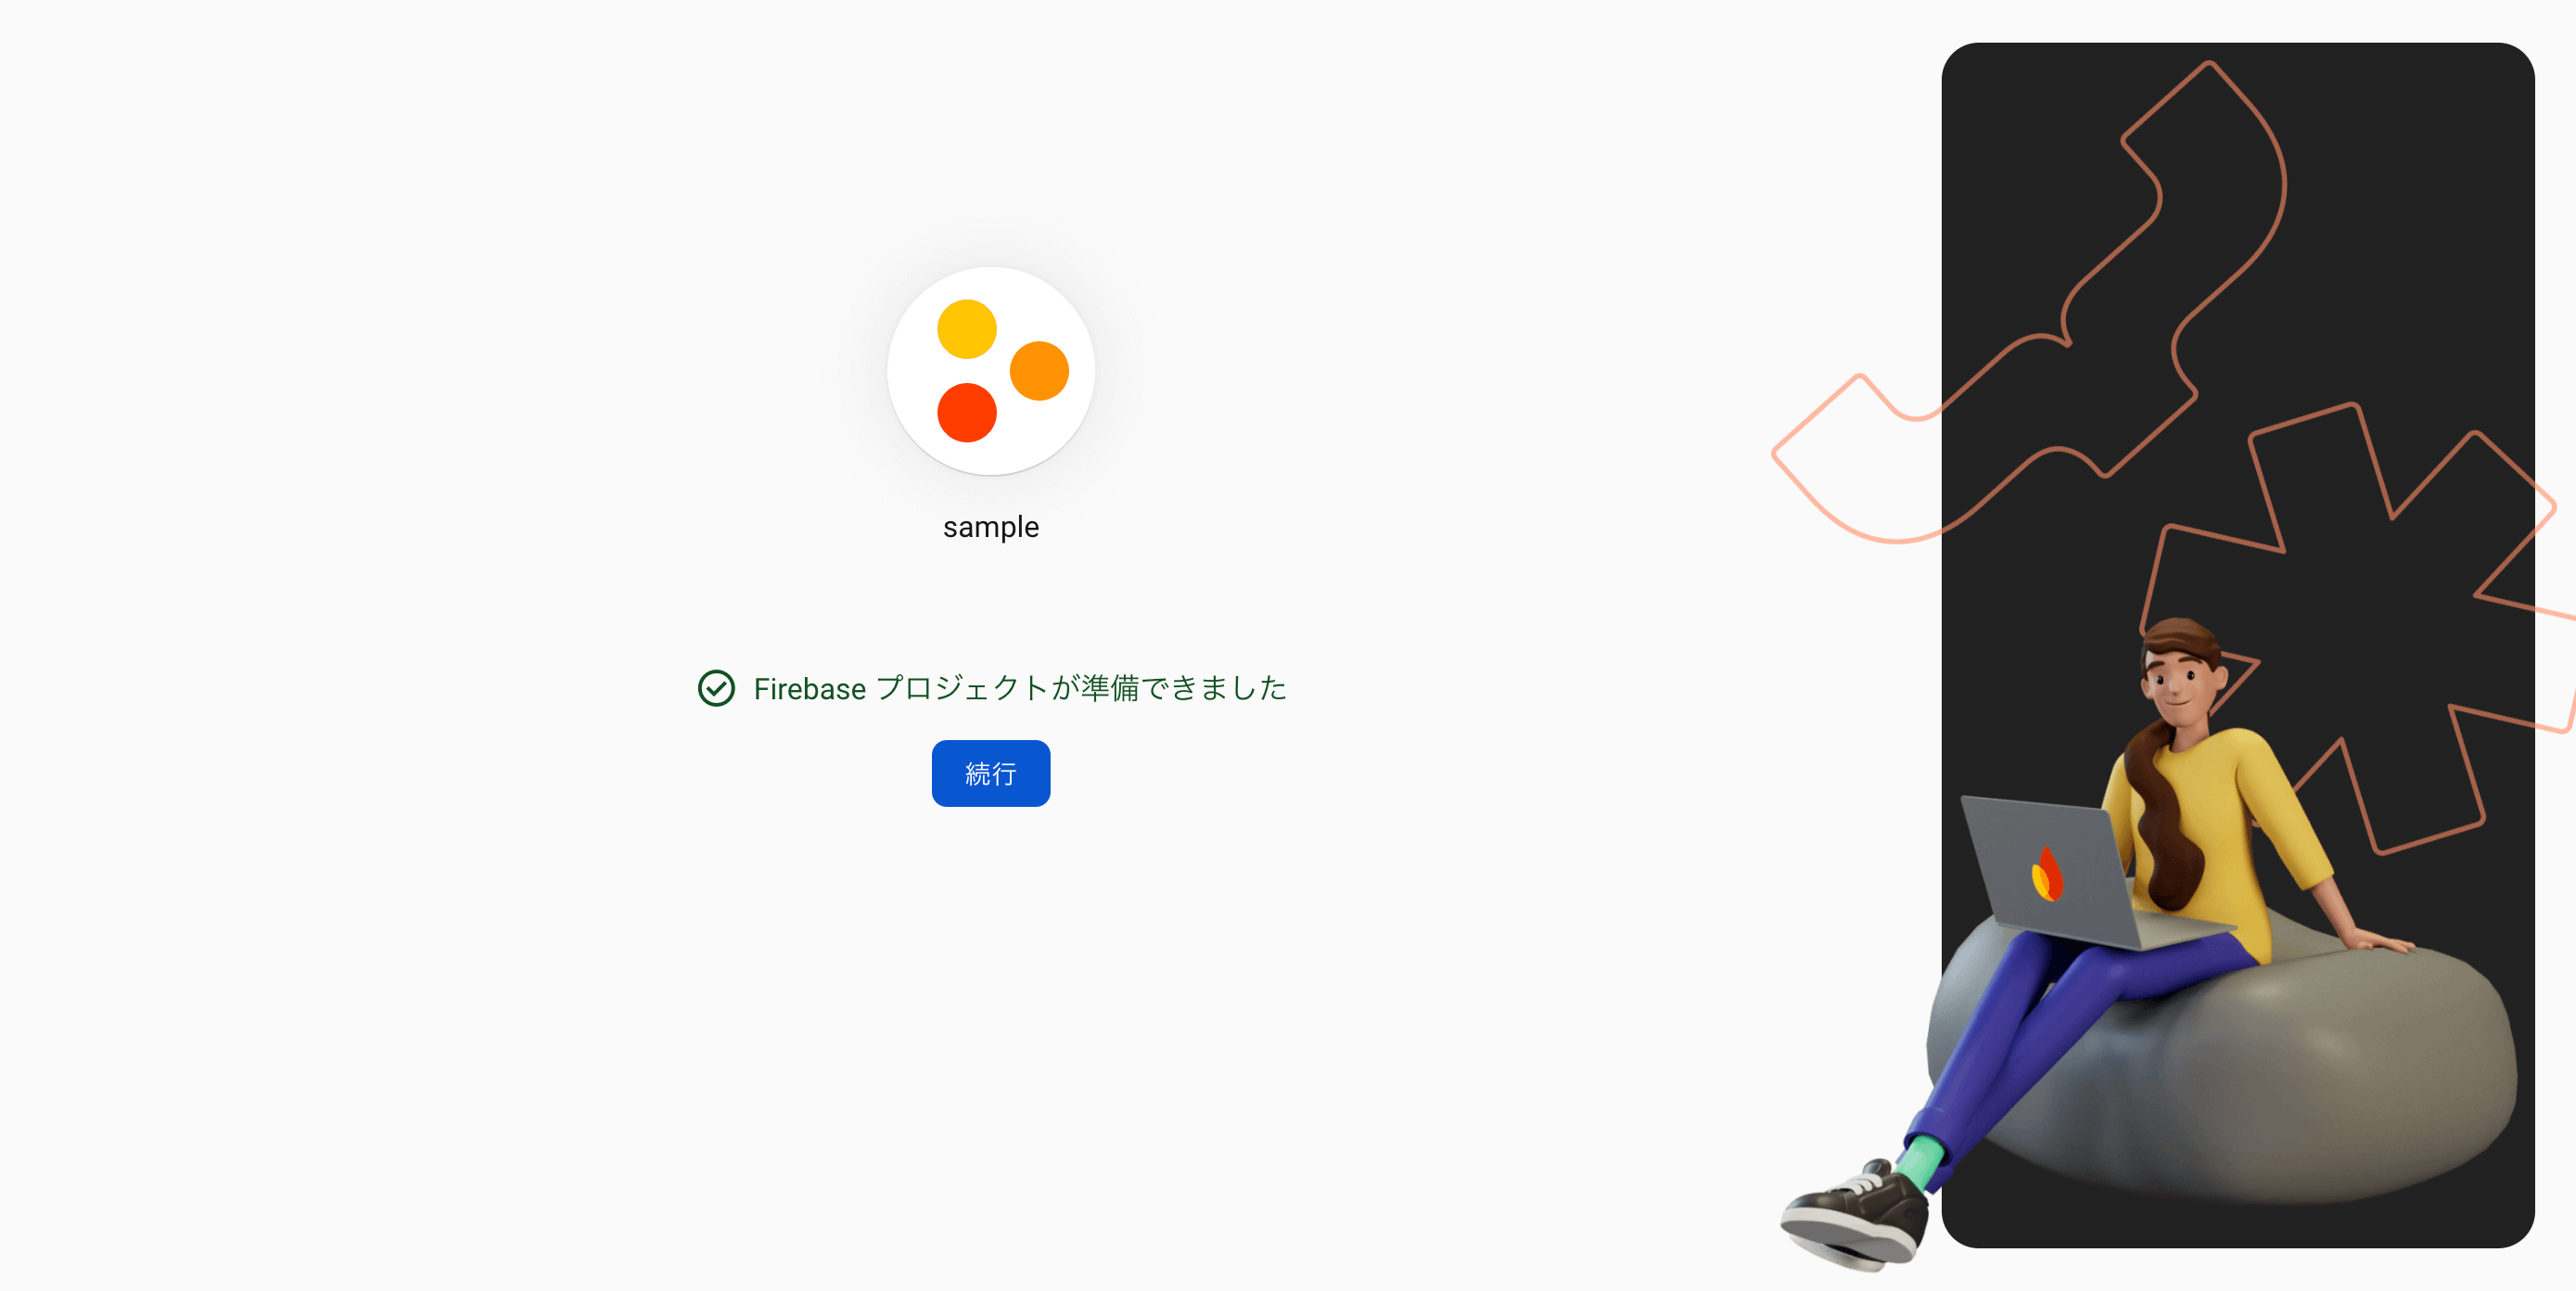
プロジェクトの作成が完了しました!
⚙️ Firebase CLIのセットアップ
FlutterプロジェクトにFirebase Hostingを設定する予定です。Firebase CLIを使用すれば簡単に設定できるので、Terminalでセットアップしてみましょう。
1. Firebase CLIのインストール
Firebase CLIのインストール方法はいくつかありますが、npmがインストールされているMacOSでは、以下のコマンドを使用することで簡単にインストールできます。
npm install -g firebase-tools
他の環境でのインストール方法は、こちらを参照してください。
2. Firebase CLIへのログイン
以下のコマンドを実行して、CLI上でFirebaseにログインしてください。
firebase login
🔧 Firebase Hostingのセットアップ
準備が整ったので、FlutterプロジェクトにFirebase Hostingを設定してみましょう。
1. webframeworksの有効化
FlutterアプリケーションをFirebase Hostingにデプロイするためには、実験的な機能であるwebframeworksを有効にする必要があります。
firebase experiments:enable webframeworks
2. Firebase Hostingの初期化
Flutterプロジェクトのルートディレクトリで、以下のコマンドを実行してFirebaseをセットアップしましょう。
firebase init hosting
上記のコマンドを実行すると、以下のような質問が表示されます。
# Firebaseプロジェクトは先ほど作成したsampleプロジェクトを選択します。
? Please select an option: Use an existing project
? Select a default Firebase project for this directory: sample-1234 (sample)

# こちらは「Yes」で問題ありません。
? Detected an existing Flutter Web codebase in the current directory, should we use this? Yes

# リージョン選択の質問です。デフォルトの「us-central1 (Iowa)」を選択しました。
? In which region would you like to host server-side content, if applicable? us-central1 (Iowa)

# 自分で作成する予定なので「No」にしました。
? Set up automatic builds and deploys with GitHub? No

i  Writing configuration info to firebase.json...
i  Writing project information to .firebaserc...

✔  Firebase initialization complete!
質問に回答すると、firebase.jsonファイルが生成されます。
3. デプロイ
試しにデプロイしてみましょう。
firebase deploy
上記のコマンドを実行すると、以下のようにHosting URLが表示されます。
...
✔  Deploy complete!

Project Console: https://console.firebase.google.com/project/sample-1234/overview
Hosting URL: https://sample-1234.web.app
このURLを開くと、Flutterプロジェクトが正常に表示されることを確認できます。
GitHub Actionsの作成
次に、プルリクエストに/previewとコメントすると実行されるYAMLファイルを作成しましょう。

🔑 Firebaseサービスアカウントキーの準備
GitHub Actionsを通じてFirebaseにデプロイするためには、Firebaseサービスアカウントのキーが必要です。簡単にキーを取得する方法は、以下のコマンドを使用することです。
firebase init hosting:github
上記のコマンドを入力すると、以下のような質問が表示されます。ソースコードがあるリポジトリをuser/repositoryの形式で指定してください。
# Github repositoryを入力してください。 `user/repository`のように記載してください。
? For which GitHub repository would you like to set up a GitHub workflow? (format: user/repository) Hand-Tomi/sample
すると、Firebaseが自動的にGiGitHubポジトリのSecretsにサービスアカウントキーを設定し、以下のようにSecretsの定数名を教えてくれます(例:FIREBASE_SERVICE_ACCOUNT_SAMPLE_1234)。この定数名は保存しておきましょう。
✔  Created service account github-action-1234 with Firebase Hosting admin permissions.
✔  Uploaded service account JSON to GitHub as secret FIREBASE_SERVICE_ACCOUNT_SAMPLE_1234.
i  You can manage your secrets at https://github.com/Hand-Tomi/sample/settings/secrets.
続いて、以下のような質問が出てきますが、必要なものは揃っているのでControl+C(Windowsの場合はCtrl+C)で終了します。
? Set up the workflow to run a build script before every deploy?
✍️ GitHub ActionsのYAMLファイル作成
いよいよGitHub ActionsのYAMLファイルを作成しましょう。
Flutterプロジェクトのルートにある.github/workflowsディレクトリにYAMLファイルを作成し、以下のコードを入力します。
name: Command Execute Deploy Web

on:
  issue_comment:
    types: [created]

jobs:
  deploy-web:
    if: ${{ github.event.issue.pull_request && github.event.comment.body == '/preview' }}
    name: Deploy Web
    runs-on: ubuntu-latest
    concurrency:
      group: ${{ github.workflow }}-${{ github.event.issue.number }}
      cancel-in-progress: true

    steps:
      - uses: actions/checkout@v4
        with:
          ref: refs/pull/${{ github.event.issue.number }}/head
          fetch-depth: 0

      - name: Set Up Flutter
        uses: subosito/flutter-action@v2
        with:
          channel: 'stable'

      - name: Install Dependencies
        run: flutter pub get

      - id: deploy-web
        name: Deploy to Firebase Hosting
        uses: FirebaseExtended/action-hosting-deploy@v0
        with:
          firebaseServiceAccount: ${{ secrets.FIREBASE_SERVICE_ACCOUNT_SAMPLE_1234 }}
          expires: 7d
          channelId: "issue_number_${{ github.event.issue.number }}"
        env:
          FIREBASE_CLI_EXPERIMENTS: webframeworks

      - name: Comment on Success
        if: success()
        uses: peter-evans/create-or-update-comment@v4
        with:
          token: ${{ secrets.GITHUB_TOKEN }}
          issue-number: ${{ github.event.issue.number }}
          body: |
            ✅ Previewがデプロイされました。
            - **リンク** : ${{ steps.deploy-web.outputs.details_url }}
firebaseServiceAccountには、事前に作成しておいたSecretsの定数名を指定してください(例:FIREBASE_SERVICE_ACCOUNT_SAMPLE_1234)。
firebaseServiceAccount: ${{ secrets.FIREBASE_SERVICE_ACCOUNT_SAMPLE_1234 }}
その後、該当リポジトリにマージし、プルリクエストに/previewとコメントを残すと、自動的にActionsが実行され、GitHub Actionsがリンクをコメントしてくれます。
💡 参考:GitHub ActionsのYAMLコードの説明
上記のYAMLコードについて解説します。
実行タイミング
on:
  issue_comment:
    types: [created]
issue_commentを使用すると、コメントが作成されたときに自動的にWorkflowが実行されます。このコメントはプルリクエストだけでなく、Issueにコメントされた場合も含まれます。
今回の記事ではプルリクエストのコメントに限定したいので、以下のようにjobsのifにgithub.event.issue.pull_requestを入れて、プルリクエストのみ実行するようにします。
jobs:
  deploy-web:
    if: ${{ github.event.issue.pull_request && github.event.comment.body == '/preview' }}
また、issue_commentを使う場合、Checkoutする場所を変更する必要があります。issue_commentは現在のプルリクエストの最新コミット情報を持っていないため、そのままCheckoutするとデフォルトブランチの最新コミットにCheckoutされてしまいます。
そのため、以下のようにactions/checkoutにrefを指定する必要があります(参考:https://github.com/actions/checkout/issues/331#issuecomment-1438220926)。
- uses: actions/checkout@v4
  with:
    ref: refs/pull/${{ github.event.issue.number }}/head
    fetch-depth: 0
コメントメッセージ確認
コメントのメッセージが/previewかどうかを確認します。以下のようにgithub.event.comment.bodyを確認し、メッセージが/previewの場合のみdeploy-webジョブ内の処理を実行します。
jobs:
  deploy-web:
    if: ${{ github.event.issue.pull_request && github.event.comment.body == '/preview' }}
同時実行の防止
/previewを残した後、すぐに再度/previewをコメントすると、同時実行になる可能性があります。
concurrency:
  group: ${{ github.workflow }}-${{ github.event.issue.number }}
  cancel-in-progress: true
この場合、GitHub Actionsはconcurrencyを通じて同時実行を防止します。
重要なのは、jobsの下に配置することです。
jobs:
  deploy-web:
    if: ${{ github.event.issue.pull_request && github.event.comment.body == '/preview' }}
    name: Deploy Web
    runs-on: ubuntu-latest
    concurrency:
      group: ${{ github.workflow }}-${{ github.event.issue.number }}
      cancel-in-progress: true
上記のようにjobsの下に配置しないと、ifでgithub.event.comment.body == '/preview'を確認せずにconcurrencyが実行され、/previewコメント後すぐに/preview以外のコメントを残した場合、Actionが実行されなくなります。
デプロイ
以下のステップはFirebase Hostingにデプロイするものです。
- id: deploy-web
  name: Deploy to Firebase Hosting
  uses: FirebaseExtended/action-hosting-deploy@v0
  with:
    firebaseServiceAccount: ${{ secrets.FIREBASE_SERVICE_ACCOUNT_SAMPLE_1234 }}
    expires: 7d
    channelId: "issue_number_${{ github.event.issue.number }}"
  env:
    FIREBASE_CLI_EXPERIMENTS: webframeworks
firebaseServiceAccount: ${{ secrets.FIREBASE_SERVICE_ACCOUNT_SAMPLE_1234 }}: Firebaseのサービスアカウントの認証キーです。以前に取得しておいたものを入力してください。expires: 7d: 有効期限です。このように設定するとプレビューサイトは7日後に無効になります。channelId: "issue_number_${{ github.event.issue.number }}": Firebase Previewのチャンネル名です。live以外のchannelIdを指定すると、Firebase Previewにデプロイされ、有効期限を設定できます。FIREBASE_CLI_EXPERIMENTS: webframeworks: Firebase CLIの実験的な機能であるwebframeworksを使用します。Flutter Webの場合は必須です。
リンクコメント
peter-evans/create-or-update-commentを使用して、リンクのコメントを残しました。これを使うと、簡単にリアクションを残したり、コメントを追加・編集できます。
- name: Comment on Success
  if: success()
  uses: peter-evans/create-or-update-comment@v4
  with:
    token: ${{ secrets.GITHUB_TOKEN }}
    issue-number: ${{ github.event.issue.number }}
    body: |
      ✅ Previewがデプロイされました。
      - **リンク** : ${{ steps.deploy-web.outputs.details_url }}
if: success(): 成功したときのみこのステップが実行されます。token: ${{ secrets.GITHUB_TOKEN }}: コメントを残すためにはGITHUB_TOKENが必要です。別途の設定は必要ありません。issue-number: ${{ github.event.issue.number }}: どのIssueにコメントするかの指定です。issue_commentで実行したWorkflowの場合、github.event.issue.numberでIssue番号を確認できます。steps.deploy-web.outputs.details_url: 上記のデプロイステップから取得したURLを表示します。- 他の情報を載せたい場合は、こちらを参照してください。
おわりに
今回ご紹介した手法により、コードレビュー時の動作確認がこれまでよりも迅速かつ簡単に行えるようになります。チーム全体の開発効率が向上し、より良いプロダクトの提供につながるでしょう。
ただし、デバッグ用のWebプレビューを導入する際には、セキュリティ面への配慮が必要であり、OS特有の差異をどのように解決するかも検討する必要があります。OSの機能を多用する場合、メリットよりもデメリットが大きいかもしれません。
しかし、OSの機能をあまり使用しないプロジェクトでは、デメリットよりもメリットが多いため、ぜひ皆さんの開発環境にも導入してみてください。
また、flutterチームのメンバーが執筆した他の記事もぜひご覧ください!
ここまで読んでいただき、ありがとうございました。
関連記事 | Related Posts
Flutter開発効率化:GitHub ActionsとFirebase Hostingを用いたWebプレビュー自動化の方法をstep-by-stepでご紹介

Are You Unit Testing with Flutter Web?
Flutter Webで単体テストしてますか?

How I Learned to Work with AI by Programming with GitHub Copilot (Mobile Engineer Edition)

Integration of Flutter Apps with Native Features – Our Approach to Adding an Android-Specific Camera Analysis Library
KotlinエンジニアがFlutterに入門して1ヶ月でWebアプリケーションを作った話
We are hiring!
リードエンジニア/プロジェクト推進G/東京・名古屋
業務内容バックエンド開発を中心に、サービスの企画から設計・開発・運用までプロダクトに関わっていただきます。サービスや会社の成長を考えて、自分やチームが何をすべきか自律的に動き、スピード感を持って開発に取り組むことを期待しています。
生成AIエンジニア/AIファーストG/東京・名古屋・大阪・福岡
AIファーストGについて生成AIの活用を通じて、KINTO及びKINTOテクノロジーズへ事業貢献することをミッションに2024年1月に新設されたプロジェクトチームです。生成AI技術は生まれて日が浅く、その技術を業務活用する仕事には定説がありません。