Box SDKを使って勤怠予定のSlack報告を自動化してみました

はじめに
こんにちは。KINTO Technologiesのグローバル開発部でフロントエンド開発をしているクリスです。
今日はフロントエンド開発ではなく、業務タスクの自動化について話をしたいと思います。
先月Slack社が発表した生産性に関するレポートによると、77%の人は日々のルーティンタスクを自動化することで業務がより効率になり、週に約3.6時間が節約されたと話しました。やはり、普段の業務はできるだけ自動化し、本来のやるべきことに集中し、より成果出せるようになるということですね。
そして、いきなり話が変わりますが、弊社は今年7月から勤怠のルールが変わりまして、毎月リモート可能な上限日数が決まっていて、いつリモートするかはチーム内での調整と部内のメンバーに共有する前提であれば基本は個人の自由になります。メンバーの勤怠予定を把握するために、事前に翌週の予定を報告しなければなりません。
そこでグローバル開発部では、Boxというクラウドサービスに置いてある月単位のエクセルシートに、メンバーがそれぞれ翌週の予定を記入し、リーダーが自分のチーム分をとりまとめてSlackでマネージャーに共有するようにしています。
何が問題?
様々な部署内の事情もあって、現状エクセルでまとめて情報を管理することが一番効率的ですが、問題は情報をマネージャーに共有するフローです。グローバル開発部はメンバーが多く、その結果リーダーもそこそこの人数います。リーダー全員毎週わざわざエクセルシートのスクショを撮って共有するのは多少時間取られ、タスクの切り替えにより精神的な負担になります。また、そもそもリーダーがついていないメンバーもいて、そうなると該当メンバーの予定は共有されなくなり、確認するには直接エクセルから見るしかありません。
上記で述べた二つの問題に対して、最低限の工数を使う前提で、自分の中にあるエンジニアの力を使って解決できたらと思いました。
そこで、BoxとSlackが提供しているSDKを利用し、エクセルの情報を落とし込んで、予定情報をSlackにアップする自動化してみました!
開発環境
今回の自動化はNode.jsを使って、以下のライブラリーで実現しました。実際作ったものはTypescriptを使っていますが、この記事ではJavascriptのコードを表示します。また、実装の際は以下のものを利用します。
dotenv
Box SDKやSlack SDKを使うと、トークンなどセンシティブな情報を入れないといけないので、dotenvで環境変数にしたいです。
box-node-sdk
Boxが提供しているNode.js用のSDKです。
node-slack-sdk
Slackが提供しているNode.js用のSDKです。
node-xlsx
エクセルファイルの情報をJSONに変換してくれるライブラリーです。
canvas-table
テーブルを画像にするライブラリーです。
node-canvas
canvas-tableがベースとなるライブラリーです。
実装
それでは実装を順番に説明して行きたいと思います。
Step1: Boxからファイルを取得
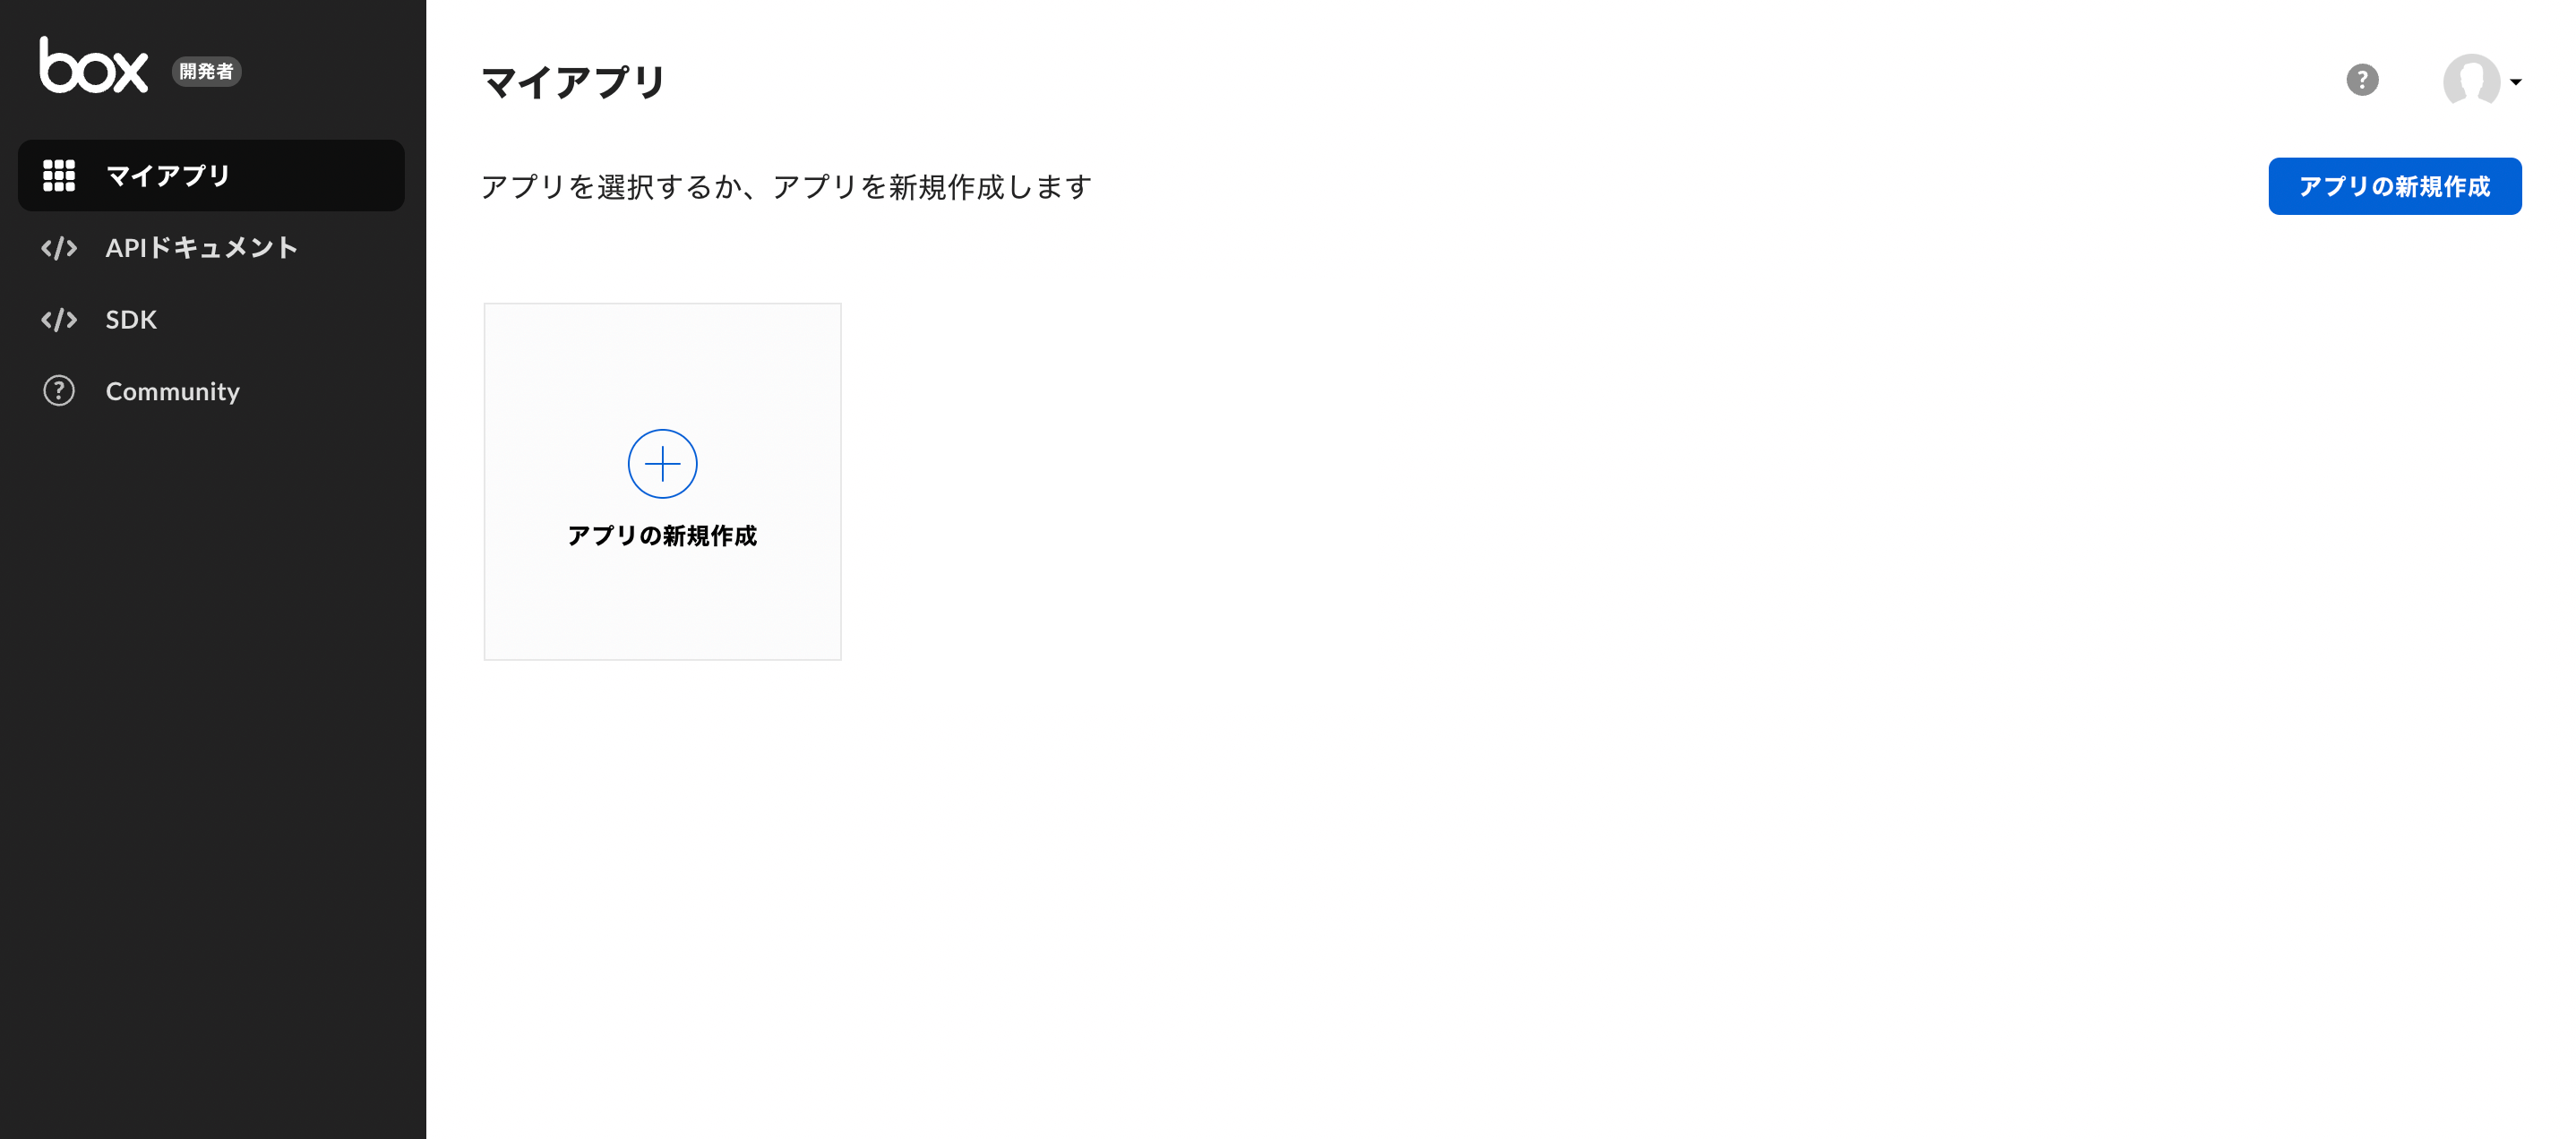
まずはBox SDKが使えるようにBoxの管理画面からアプリを作成する必要があります。Boxのデベロッパーコンソール(xxx.app.box.com/developers/console)から新規作成できます。作成後はアプリに対してクライアントIDが発行されますが、アクセストークンの発行が別途必要です。もし自分のワークスペースを所属会社が管理している場合は、大体は会社の管理者から管理者の画面で承認してもらう必要があります。

トークンを取得できたら、アプリの詳細画面からサービスアカウントIDが発行されたかと思います。アクセスしたいフォルダもしくはファイルにこのサービスアカウントに共有しないと、SDKから取得しようとしても、404エラーが返ってきます。

それではコードのほうに移りたいと思います。まずはBoxのSDKをインストールします。
yarn add box-node-sdk
そのあとはこのようなコードを書けば、ファイルを指定の場所にダウンロードできます。
ダウンロード処理の説明は公式ドキュメントにもあります。
import BoxSDK from "box-node-sdk";

// 発行したトークンをここに入れます。
const boxClient = BoxSDK.getBasicClient("トークン情報");

// その後ファイルから情報を取得する処理があるのでasync/awaitを使います
await downloadFile();

async function downloadFile() {
  return new Promise((resolve, reject) => {
    boxClient.files.getReadStream(
      // ファイルID
      "1234567",
      // クエリパラメーター、例えばファイルの古いバージョンを取得したい場合などに使う
      // https://developer.box.com/reference/get-files-id-content/
      null,
      // コールバックの関数
      function (error, stream) {
        if (error) {
          reject(error);
        }

        const output = fs.createWriteStream("ファイルの出力パス");

        // 書き終わったらPromiseをresolve
        output.on("finish", resolve);
        stream.pipe(output);
      }
    );
  })
}
上記コードを実行し、ファイルが存在していて、かつアクセス権限が正しく付与されていれば、指定したパスにファイルが書き出されるはずです。
Step2: ファイルから必要な情報を取得
続いて、Boxからダウンロードしたファイルから必要な情報を取得したいと思います。
エクセルファイルなので、node-xlsxを使って、エクセルの情報をパースします。
yarn add node-xlsx
import xlsx from "node-xlsx";

const workSheets = xlsx.parse("ダウンロードしたファイルのパス");

console.log(workSheets)
// [
//   {
//     name: "シート名",
//     data: [
//       [],
//       [],
//       []
//     ]
//   }
// ]
これだけで、エクセルのシートごとの情報がネストした配列として取れるので、データを加工したり、不要な分を削除したりできます。
Step3: 情報を画像化にする
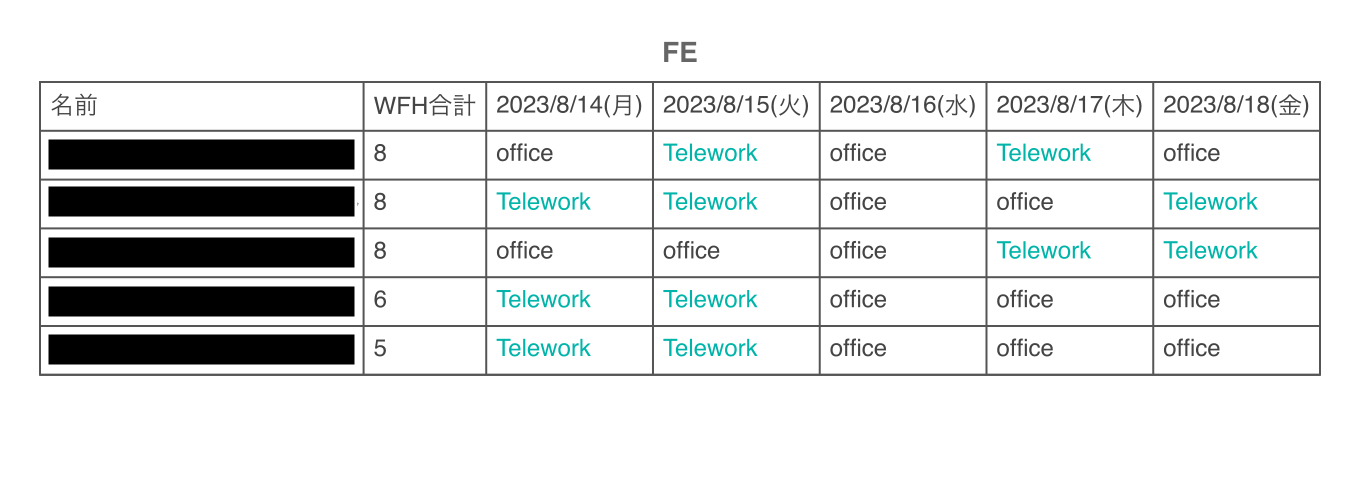
率直に「なんでこれが必要なの?」と思う方も多いかもしれません。実際私が自動化をやろうとした最初の頃も、まったく想定していませんでした。ただ、必要な情報を取得した後、テーブル情報をどうやって見やすい状態でSlackに投稿するかいくつかの方法で試してみました。例えば、マークダウンでテーブルを作ることですが、Slackはそれをサポートしていないので、実際やってみたら、レイアウトが相当崩れてしまいました。その結果、テーブル情報を画像にすると、メンバーの予定情報がきれいに並ぶようになりました。
画像化にするためにはcanvas-tableを利用します。
import { CanvasTable } from "canvas-table";
import { createCanvas } from "canvas";

// まずは真っ白な画像(Canvas)を作成
const canvas = createCanvas(画像の横幅, 画像の縦幅);

// テーブルに関する情報を定義
const tableConfig = {
    // 列情報
    columns: [
      {
        title: "タイトル"
      }
    ],
    // 各セルの情報
    data: [
      [
        {
          value: "テキスト",
        }
      ]
    ],
    // オプション情報
    options: {
      borders: {
        column: { width: 1, color: "#555" },
        row: { width: 1, color: "#555" },
        table: { width: 1, color: "#555" },
      },
      title: {
        text: "タイトル",
      },
    }

  };
}

const ct = new CanvasTable(canvas, tableConfig);
await ct.generateTable();
await ct.renderToFile(fileName);
これで下のようなテーブル画像が生成されます。

Step4: Slackに投稿する
次は、作った画像をSlackに投稿します。Slackが提供している@slack/web-apiのfiles.uploadを利用します。
yarn add @slack/web-api
import fs from "fs";
import { WebClient } from "@slack/web-api";

// SlackのOAuth Tokensをセット
const slackClient = new WebClient("トークン情報");

const result = await slackClient.files.upload({
  channels: "チャンネルID",
  initial_comment: "付随するコメントテキスト",
  file: fs.createReadStream("ファイルパス"),
});

これでSlackへのアップロードができました!
Step5: GitHub Actionで自動実行
上記のステップで、スクリプトはできあがりましたが、まだ自分のローカルで実行する必要があります。あとはこのスクリプトが自動的に実行されたら完璧ですよね〜
弊社では部署関係なく、よくGitHub Actionsを利用しているので、今回もこちらを利用していきたいと思います。
まずはymlファイルを作成します。
name: ワークフローの名前

# 毎週水曜日の日本時間午後1時に実行(UTC時間午前4時で記載)
on:
  schedule:
    - cron:  '0 4 * * 3'

jobs:
  build:
    runs-on: ubuntu-latest

    steps:
      # リポジトリーをチェックアウトする
      - name: チェックアウト
        uses: actions/checkout@v3

      # Node環境をセットアップ
      - name: Setup Node.js environment
        uses: actions/setup-node@v3
        with:
          # 自分にとって適切なNodeバージョンを指定
          node-version: '18'

      # Yarnでライブラリーをインストール
      - name: yarn install
        run: yarn install

      # スクリプトを実行(実行したいjsファイルがindex.jsの場合下記の通り)
      - name: Run index file
        run: node index
これで、cronで指定した時間になったら自動的に実行されるようになります(多少ずれたりすると思いますが)。
Step Extra: Font変更
このステップを行う必要は全くありませんが、番外編としてやってみました。弊社はトヨタのグループ会社として、トヨタ独自のフォントを利用しています。それを予定表に適用していきたいと思います。
画像作成の際に cavnas というライブラリーを使っていましたが、実はフォントの設定もできます。トヨタフォントは独自のフォントなので、
フォントファイルを用意して、プロジェクトから参照できるようにしないといけません。
// registerFontを追加importします
import { registerFont, createCanvas } from "canvas";

// 必ずcreateCanvasの前に置きます
registerFont('フォントファイルのパス', { family:  'フォントの名前' });
const canvas = createCanvas(canvasWidth, canvasHeight);

// 画像にする際にフォントを利用するように指定
const config = {
    columns: [
      // ...
    ],
    data: [
      [
        // セル情報の定義
        {
          value: "テキスト",
          fontFamily: "フォントの名前",
        }
      ]
    ]
    options: {
      // タイトルの定義
      title: {
        fontFamily: 'フォントの名前',
        text: "タイトル",
      },
    }
  };
}

const ct = new CanvasTable(canvas, config);
// ...
うまくいけば、下のようにフォントが適用された画像が作成されます。

終わりに
今回作ったものはまだまだ改善点があるので、時間があるときにリファクタリングしたり、あると嬉しい機能をつけたりしたいと思います。もしあなたの会社も何か業務タスクの自動化を考えていらっしゃるなら、ご参考になればと思います!
関連記事 | Related Posts

Box SDKを使って勤怠予定のSlack報告を自動化してみました
![Cover Image for [Michi-no-eki series of learning] We created a super exciting Slack bot "Manabyi"](/assets/blog/authors/ryomm/2024-12-04/thumbnail.png)
[Michi-no-eki series of learning] We created a super exciting Slack bot "Manabyi"

Kaizen Cases and the Kaizen Mindset at KINTO Technologies

【学びの道の駅シリーズ】超エキサイティングなSlack bot「まなびぃ」つくった

Smart Task Management with Teams × Power Platform

How We Reduced AWS Costs by 65%—and What We Discovered Beyond That
We are hiring!
【クラウドエンジニア】Cloud Infrastructure G/東京・大阪・福岡
KINTO Tech BlogWantedlyストーリーCloud InfrastructureグループについてAWSを主としたクラウドインフラの設計、構築、運用を主に担当しています。
【クラウドエンジニア(クラウド活用の推進)】Cloud Infrastructure G/東京・大阪・福岡
KINTO Tech BlogCloud InfrastructureグループについてAWSを主としたクラウドインフラの設計、構築、運用を主に担当しています。

