I Tried Transfer Family Web App

Introduction
Hello, this is Matsuo from the Cloud Infrastructure Group.
Our team is responsible for taking care of a wide range of infrastructure-related tasks across the company, from design to operations.
This time, I would like to introduce the AWS Transfer Family web apps, which were announced at re:Invent. In this article, I will give an overview of the web apps, the steps to create them, how to set them up, and share my impressions after trying them out. I hope you will find this helpful.
Overview
To put it simply AWS Transfer Family web apps let you build applications to manage files in S3 buckets directly from a browser without writing any code.
Previously, accessing S3 through a GUI required dedicated tools like the AWS Console or WinSCP, both of which also needed configuration.
This created challenges for non-technical and casual users as it made operation difficult.
The new AWS Transfer Family web apps feature an intuitive interface that is easy to use, even without technical knowledge.
Additionally, they are integrated with IAM Identity Center and S3 Access Grants, enabling fine-grained access controls.
Pricing
AWS Transfer Family web apps are billed hourly based on the number of units (each support up to 250 sessions for 5 minutes per session).
| Region | Price |
|---|---|
| Tokyo | Number of units x 0.5 USD/hour |
For example, running one unit 24 hours a day will cost 12 USD/day, meaning it will cost 360 USD a month; so using it for long periods of time can be quite costly.
That's a little pricey for such a simple service.
Depending on the usage, the cost may outweigh the benefit, so it is important to use the service according to your needs.
How to Create a Web App
Now let's create a web app.
(Note: Terraform is not supported at the time of writing this article, so I will use the AWS Management Console.)
-
- Log in to the AWS Management Console, select "Web Apps" from the AWS Transfer Family navigation pane, and click Create Web App.

- Log in to the AWS Management Console, select "Web Apps" from the AWS Transfer Family navigation pane, and click Create Web App.
-
- For now, just set the Name tag and click "Next." *IAM Identity Center configuration is required in advance. If you haven’t set it up yet, please make sure to prepare it in advance.
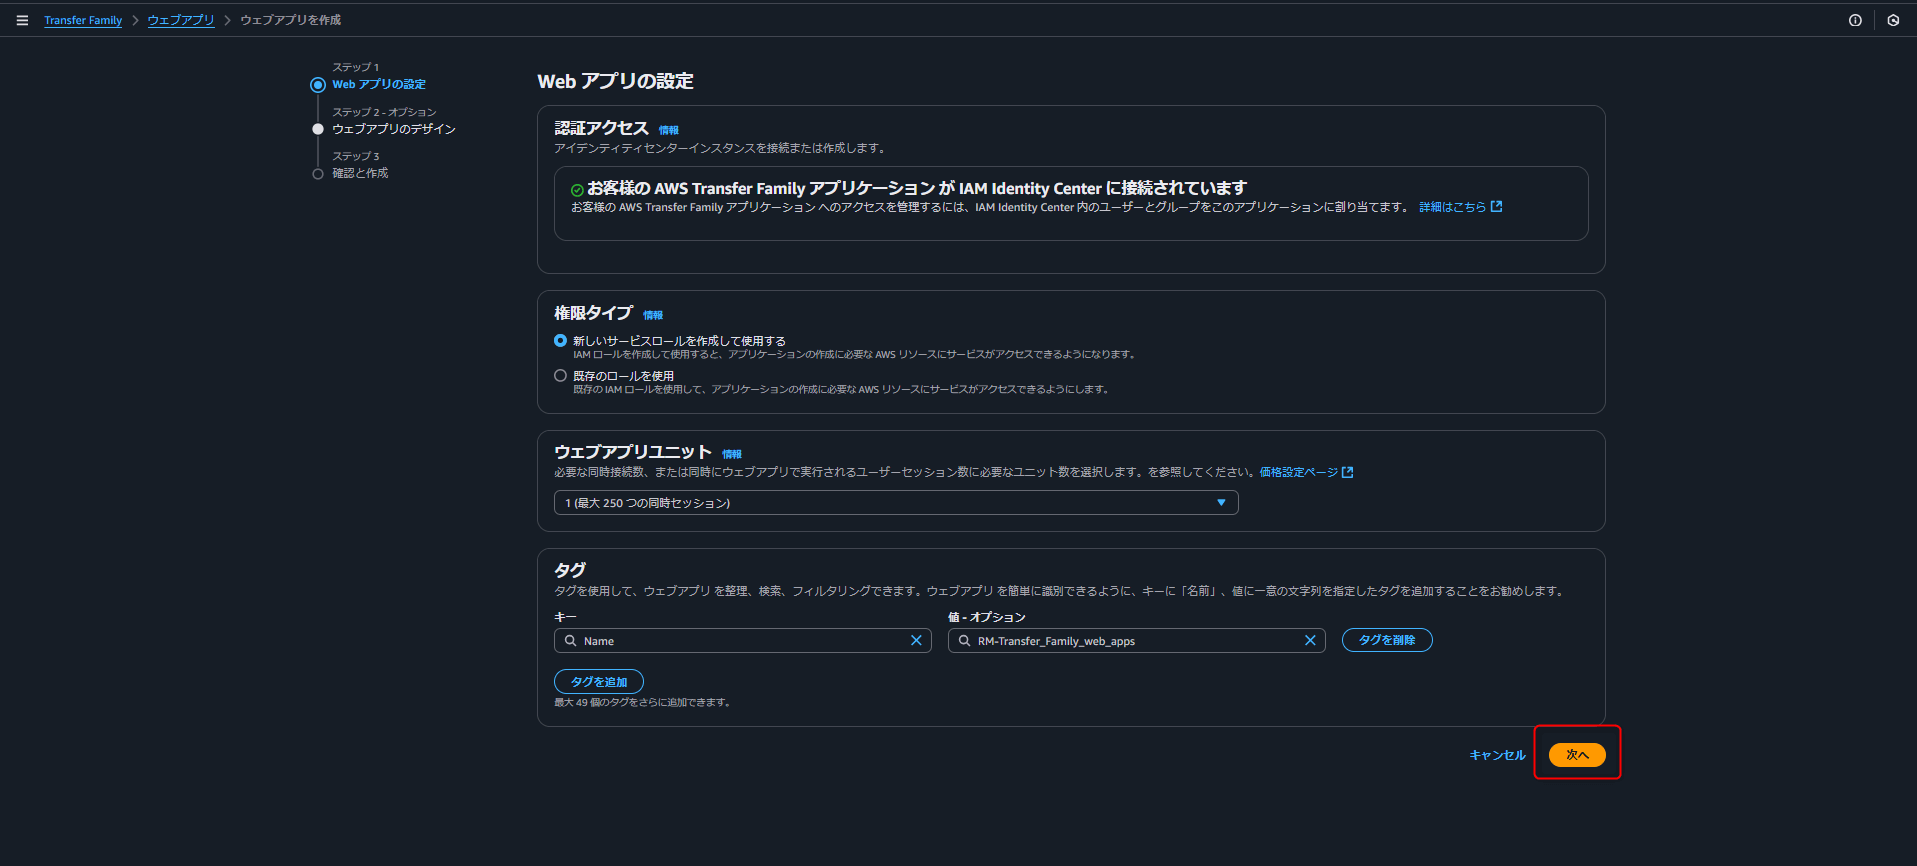
- For now, just set the Name tag and click "Next." *IAM Identity Center configuration is required in advance. If you haven’t set it up yet, please make sure to prepare it in advance.
-
- Set the page title, logo, and favicon, then click "Create." This time, I will skip the logo and favicon.. This completes the creation of the web app! It's that easy!
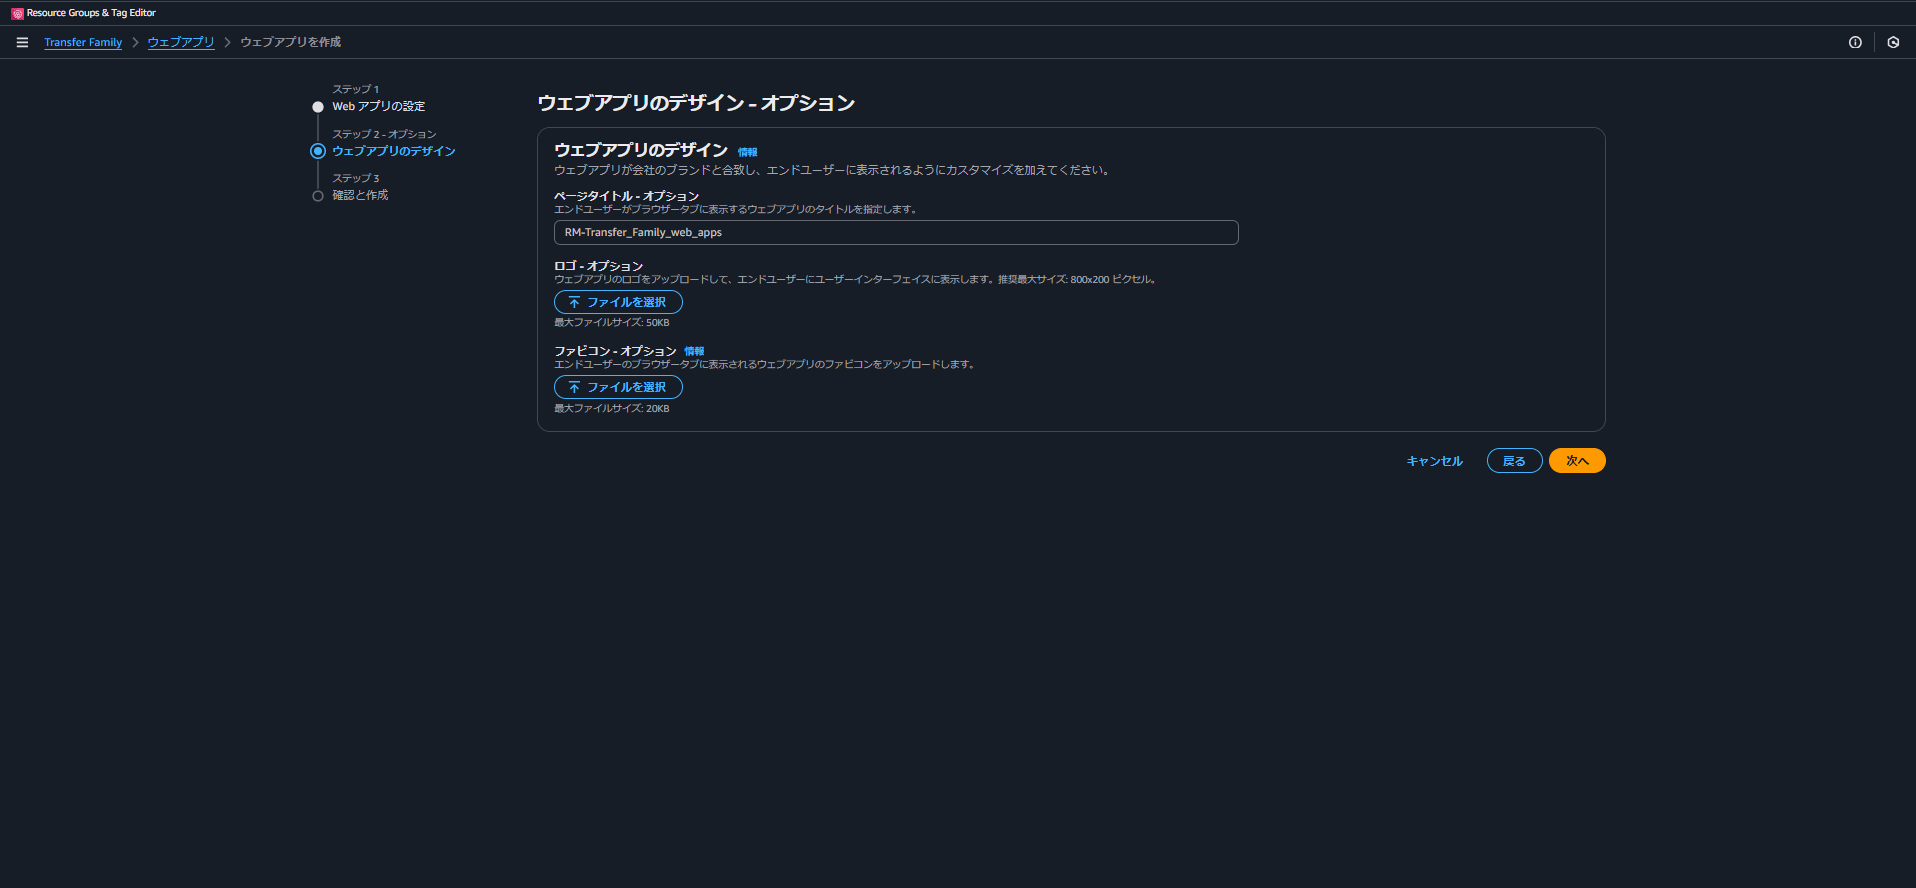
- Set the page title, logo, and favicon, then click "Create." This time, I will skip the logo and favicon.. This completes the creation of the web app! It's that easy!
Configuring Users/Groups and S3 Access Grants
Next, let's set up group assignments and S3 Access Grants for the web app.
-
- Group assignment
Click "User and group assignment" on the web app details screen.
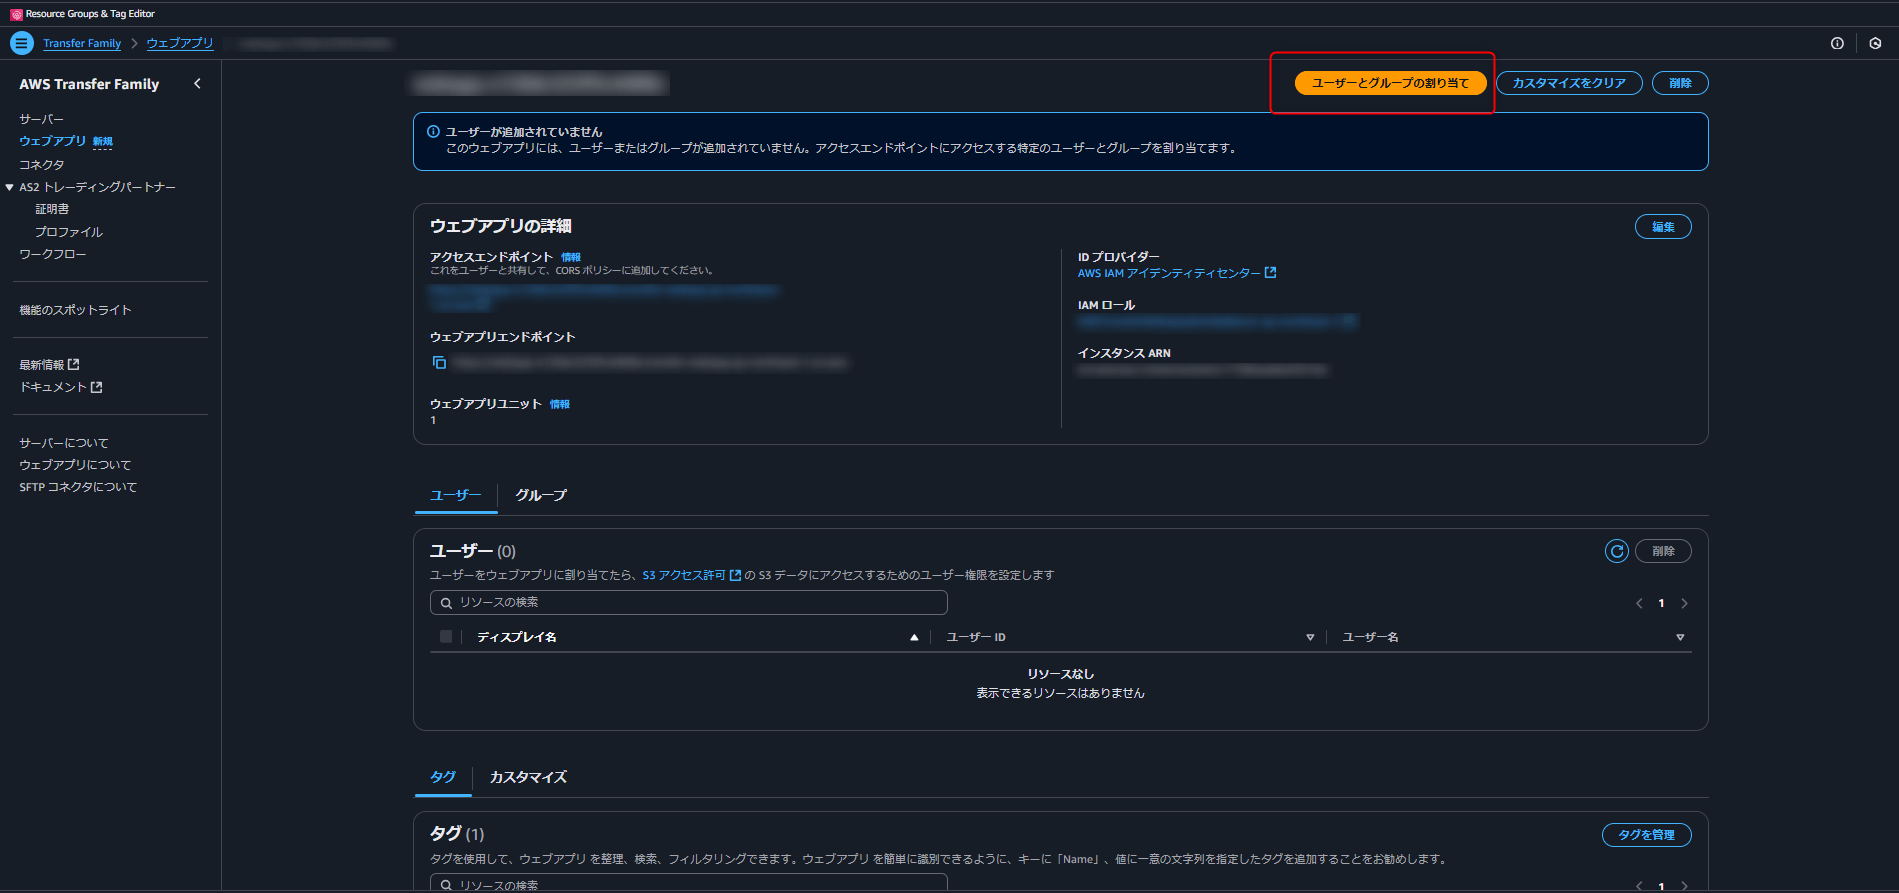
Since I have already created groups, I will select an existing group to assign.
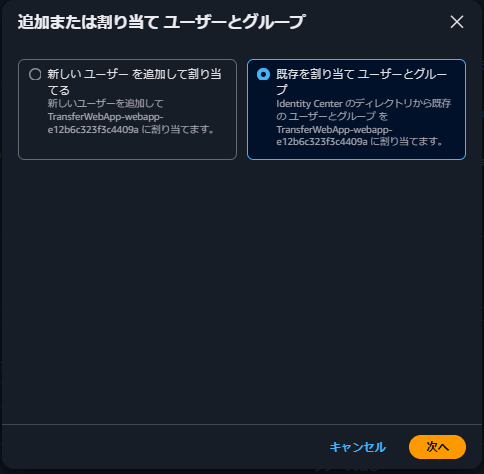
- Group assignment
-
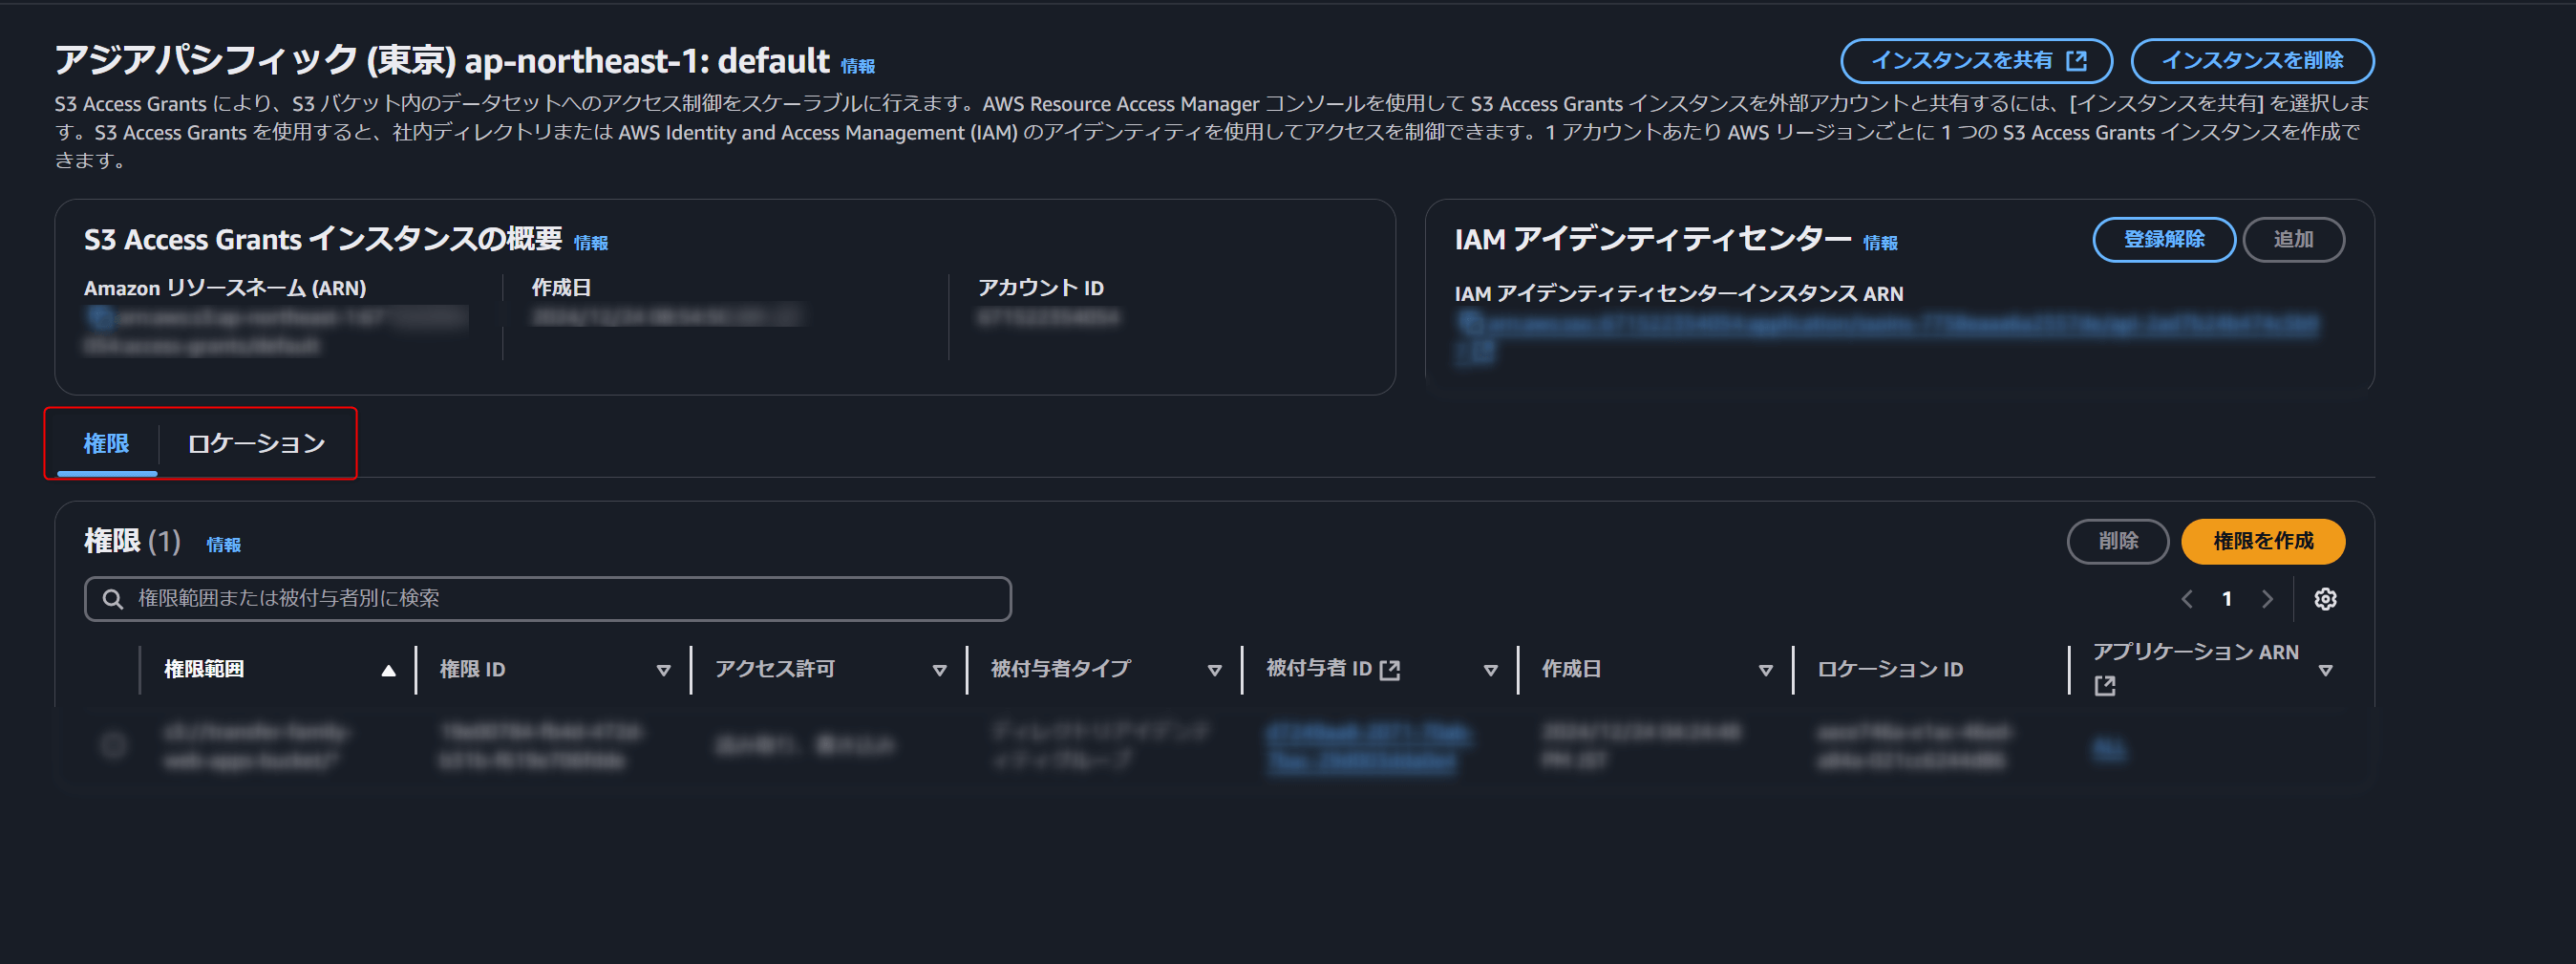
- Setting up S3 access grants
Next is setting up Access Grants. There are two things to set: Location and Permissions.
If you go to Access Grants from the S3 navigation pane, you will see the Permissions and Location tabs, from which you can use to configure access.
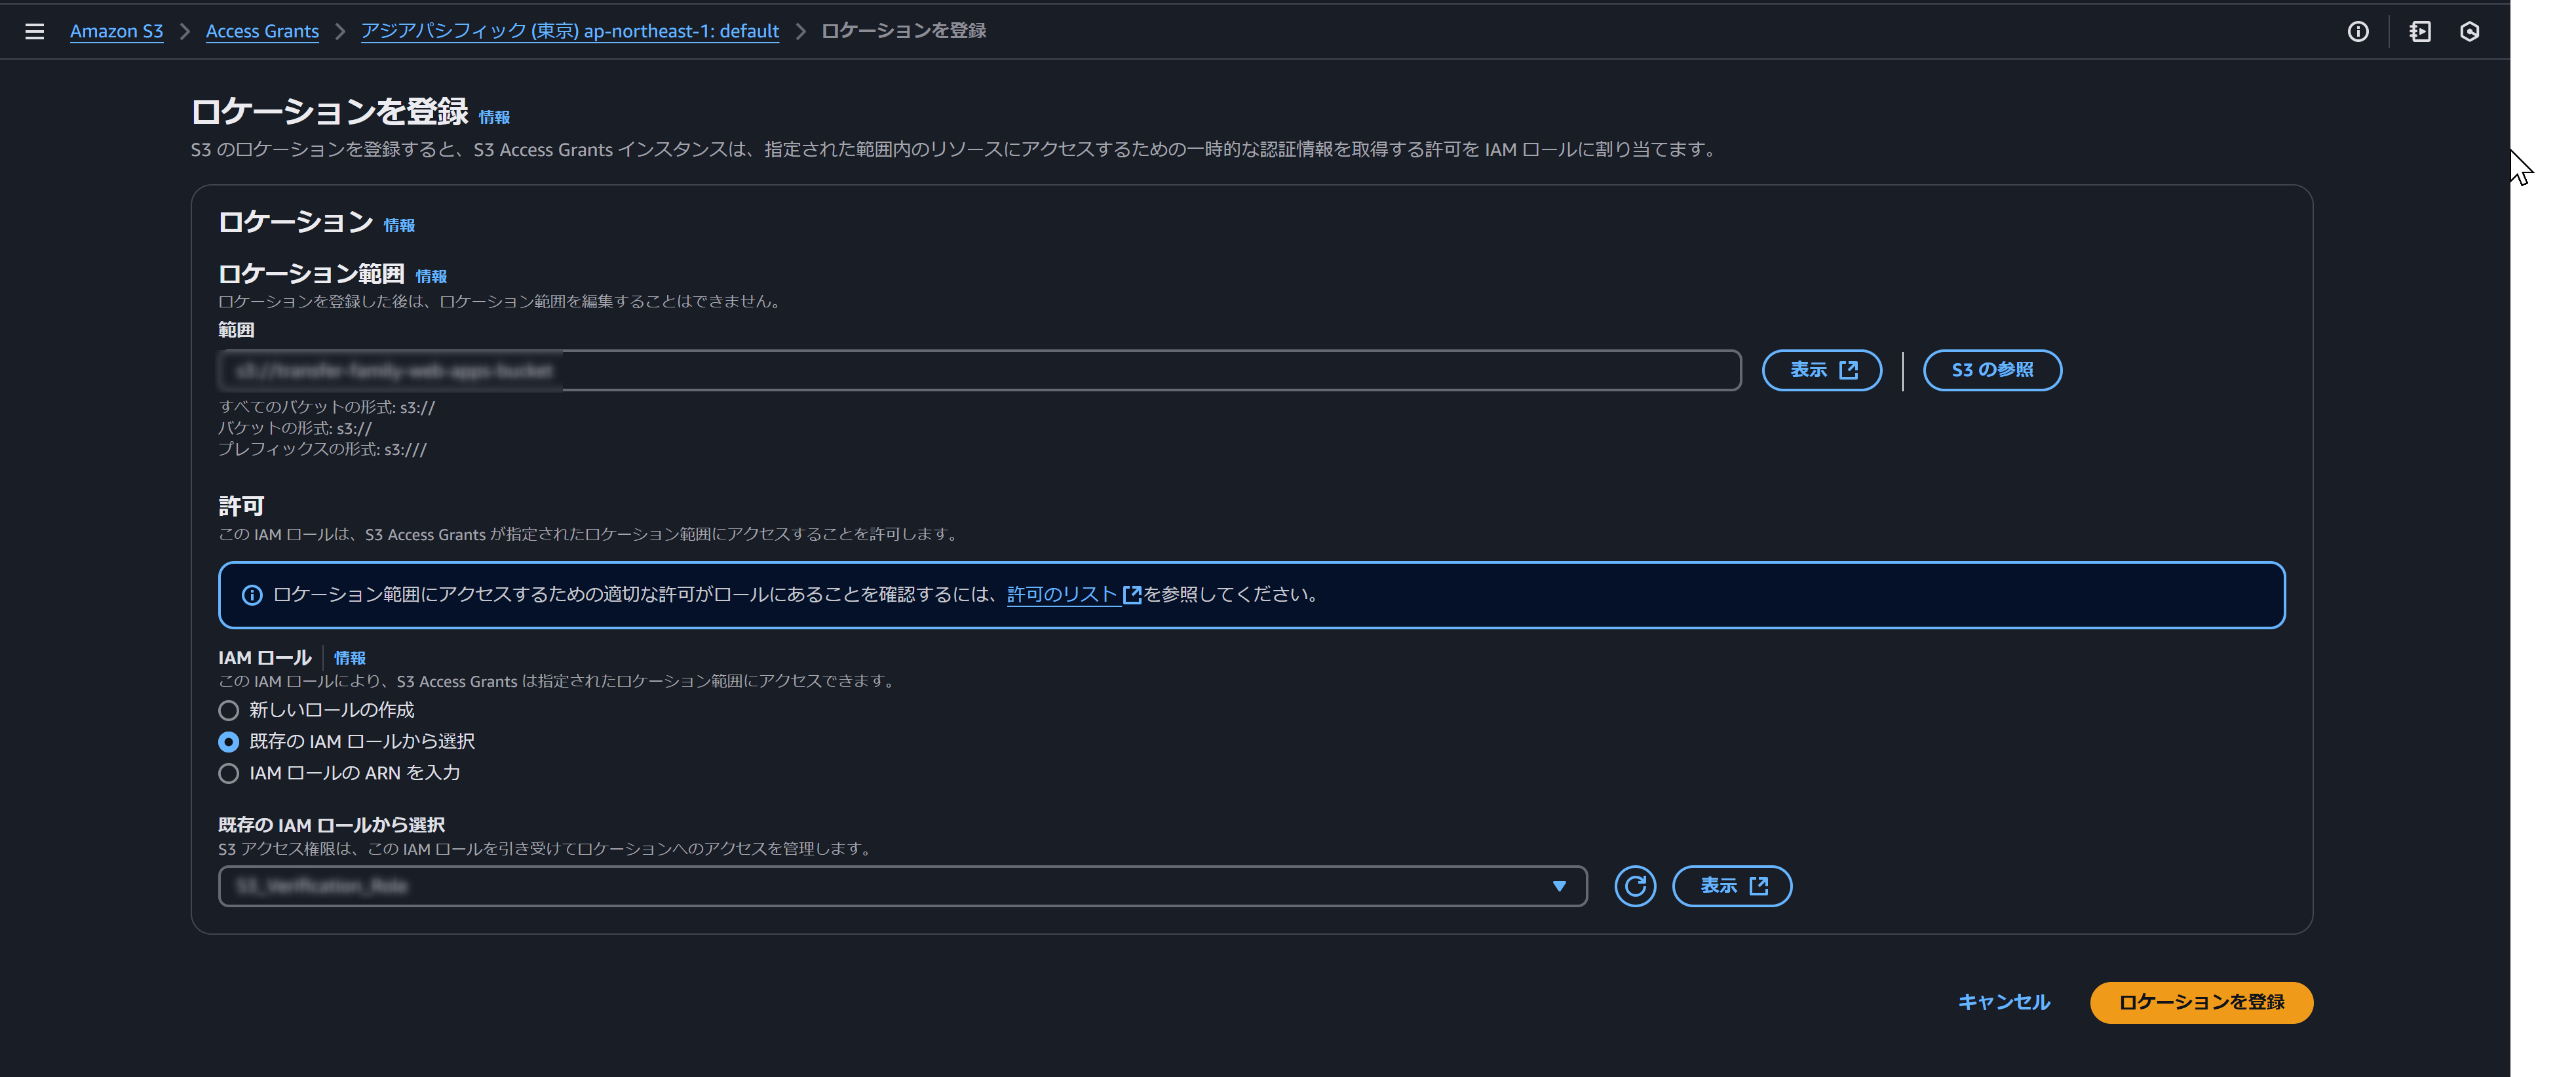
Start by setting the Location. This defines the S3 bucket to be accessed, along with the IAM role that has the necessary permissions for that bucket.
For testing purposes, I have granted the AWS managed policy "AmazonS3FullAccess" this time.
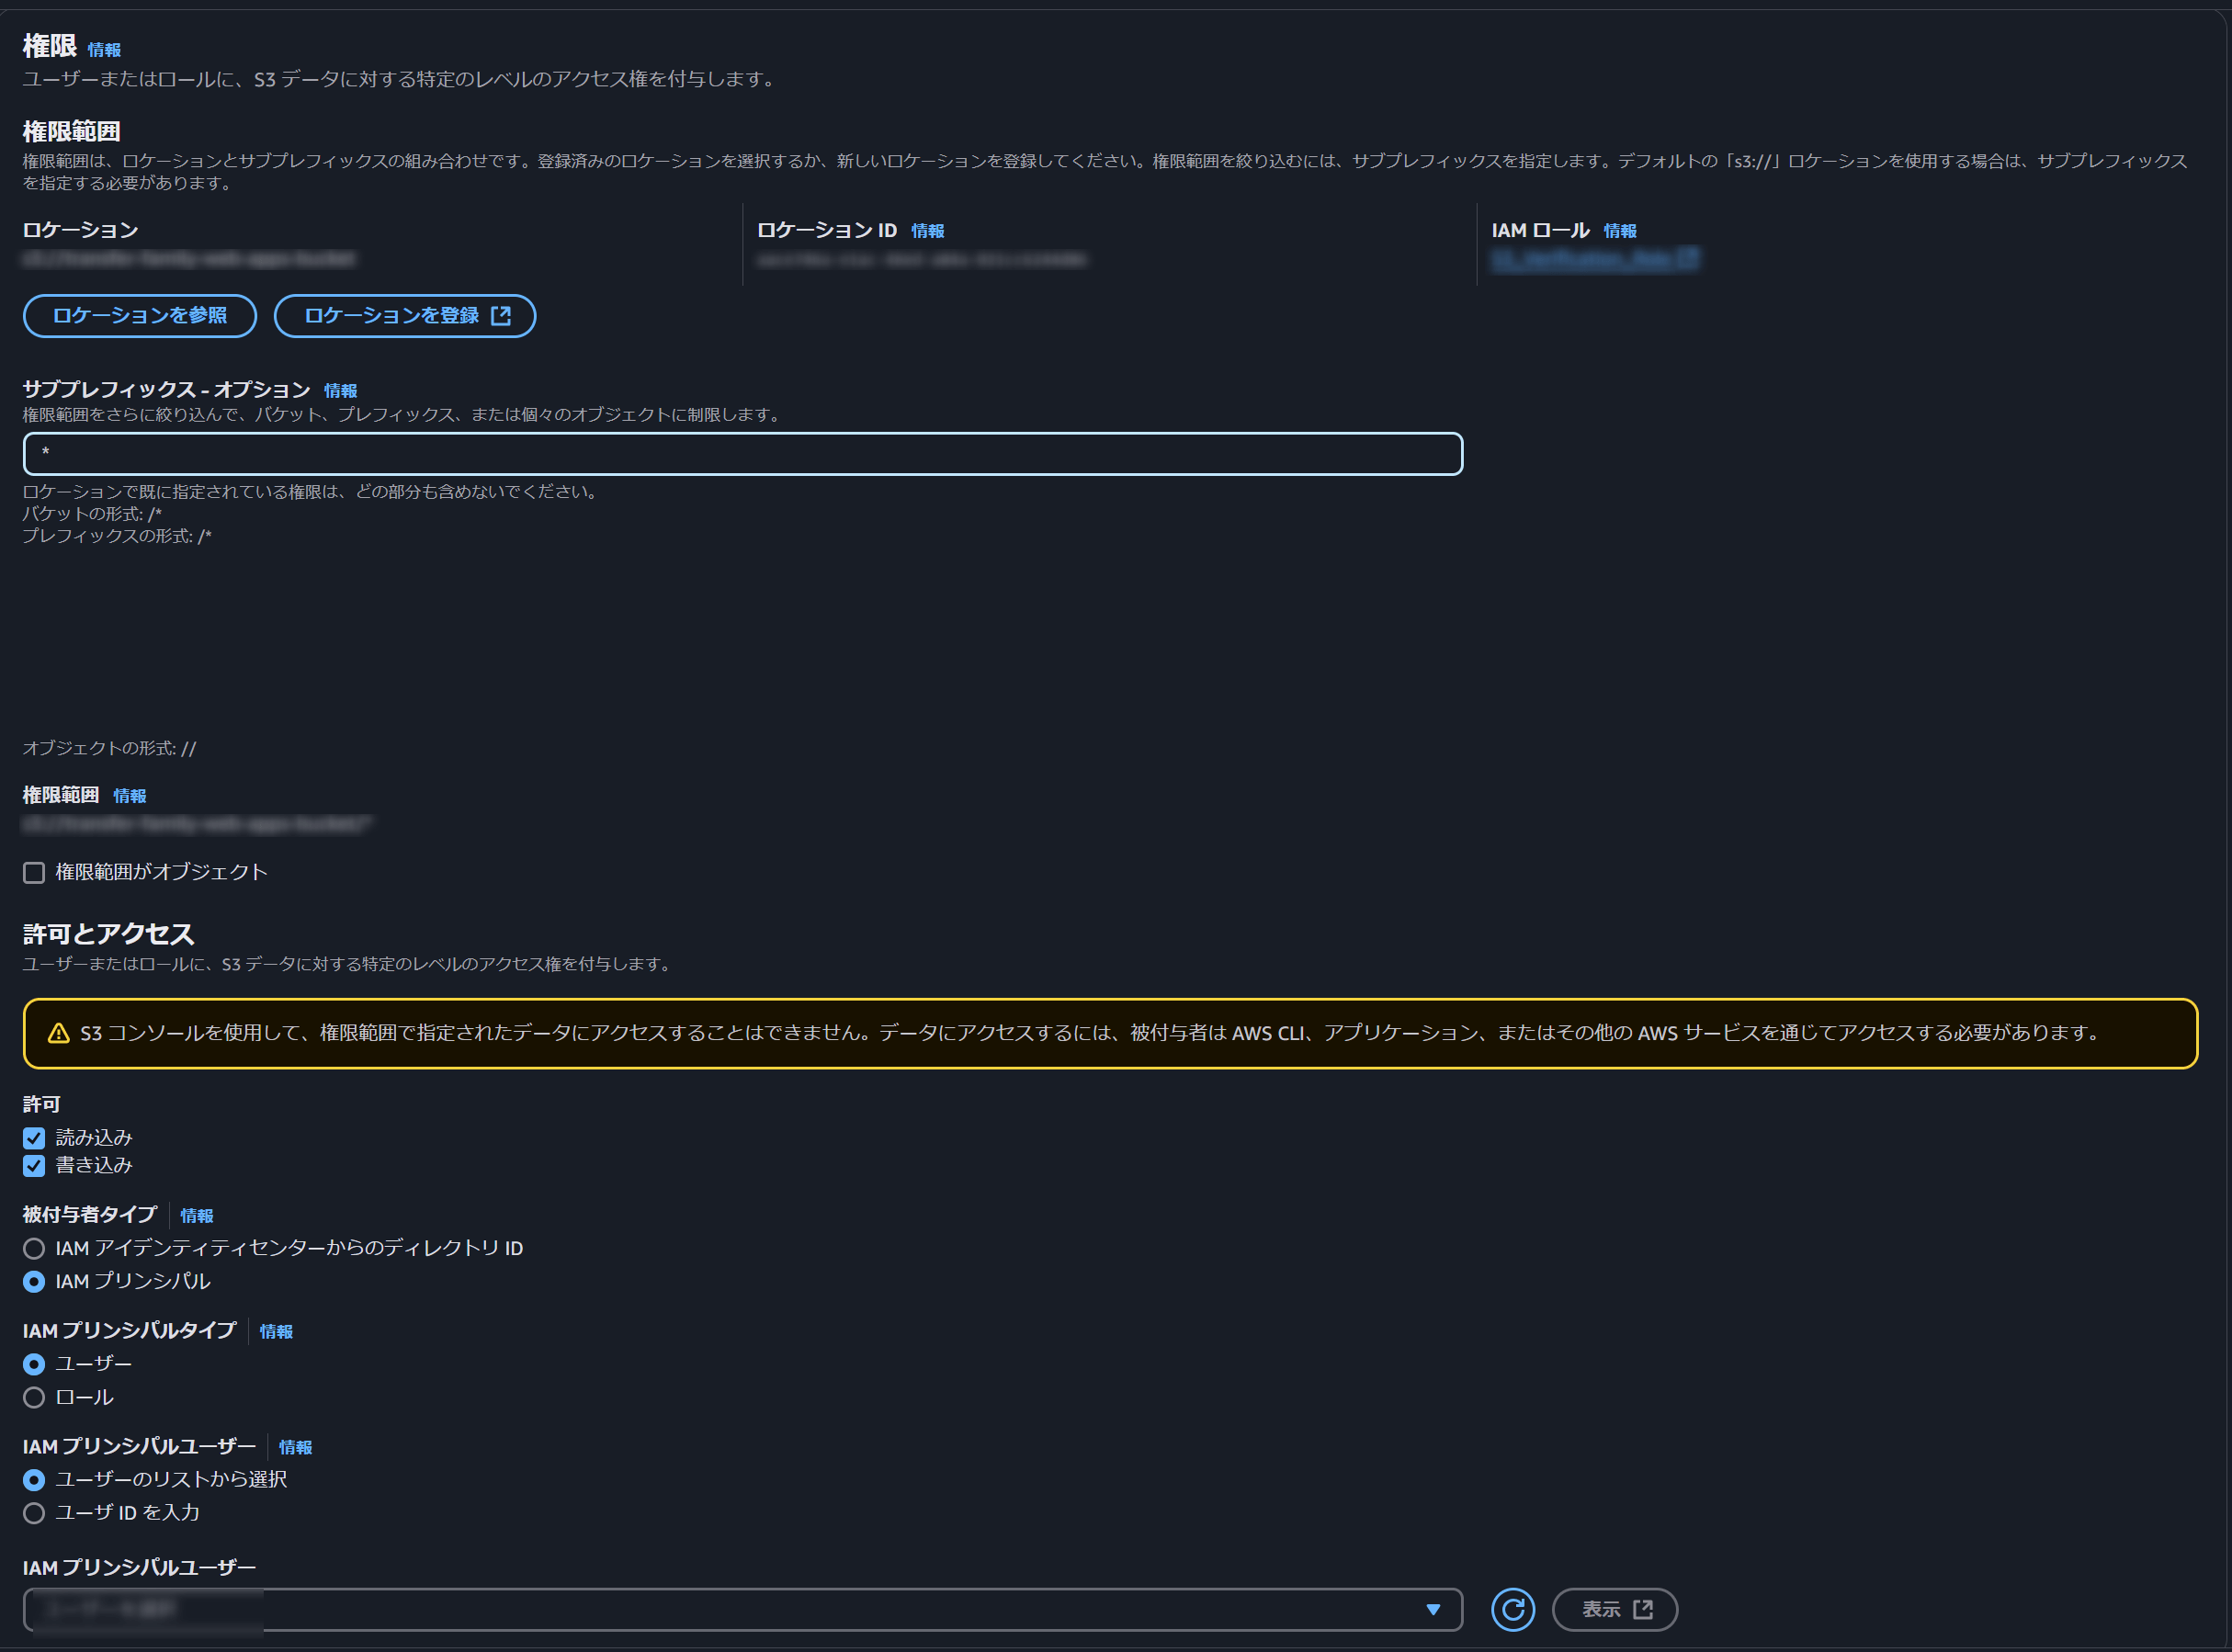
Then move to Permissions. Specify the location you configured previously, then set the sub-prefix, permission level, grantee type, IAM principal type, and the IAM principal user, and create the permission.
Authentication will be done through IAM Identity Center, and it is set up as shown in the image below.
Although I have not set it this time, it seems possible to set app-specific access restrictions.
- Setting up S3 access grants
-
- Setting CORS
Add CORS settings from Cross-Origin Resource Sharing (CORS) to the target S3 bucket so that you can view the contents of the bucket.

Here’s the configuration I used:
[ { "AllowedHeaders": [ "*" ], "AllowedMethods": [ "GET", "PUT", "POST", "DELETE", "HEAD" ], "AllowedOrigins": [ "https://${ウェブアプリID}.transfer-webapp.ap-northeast-1.on.aws" ], "ExposeHeaders": [ "Access-Control-Allow-Origin" ] } ] - Setting CORS
Try It Out
If you made it this far, you're ready to go.
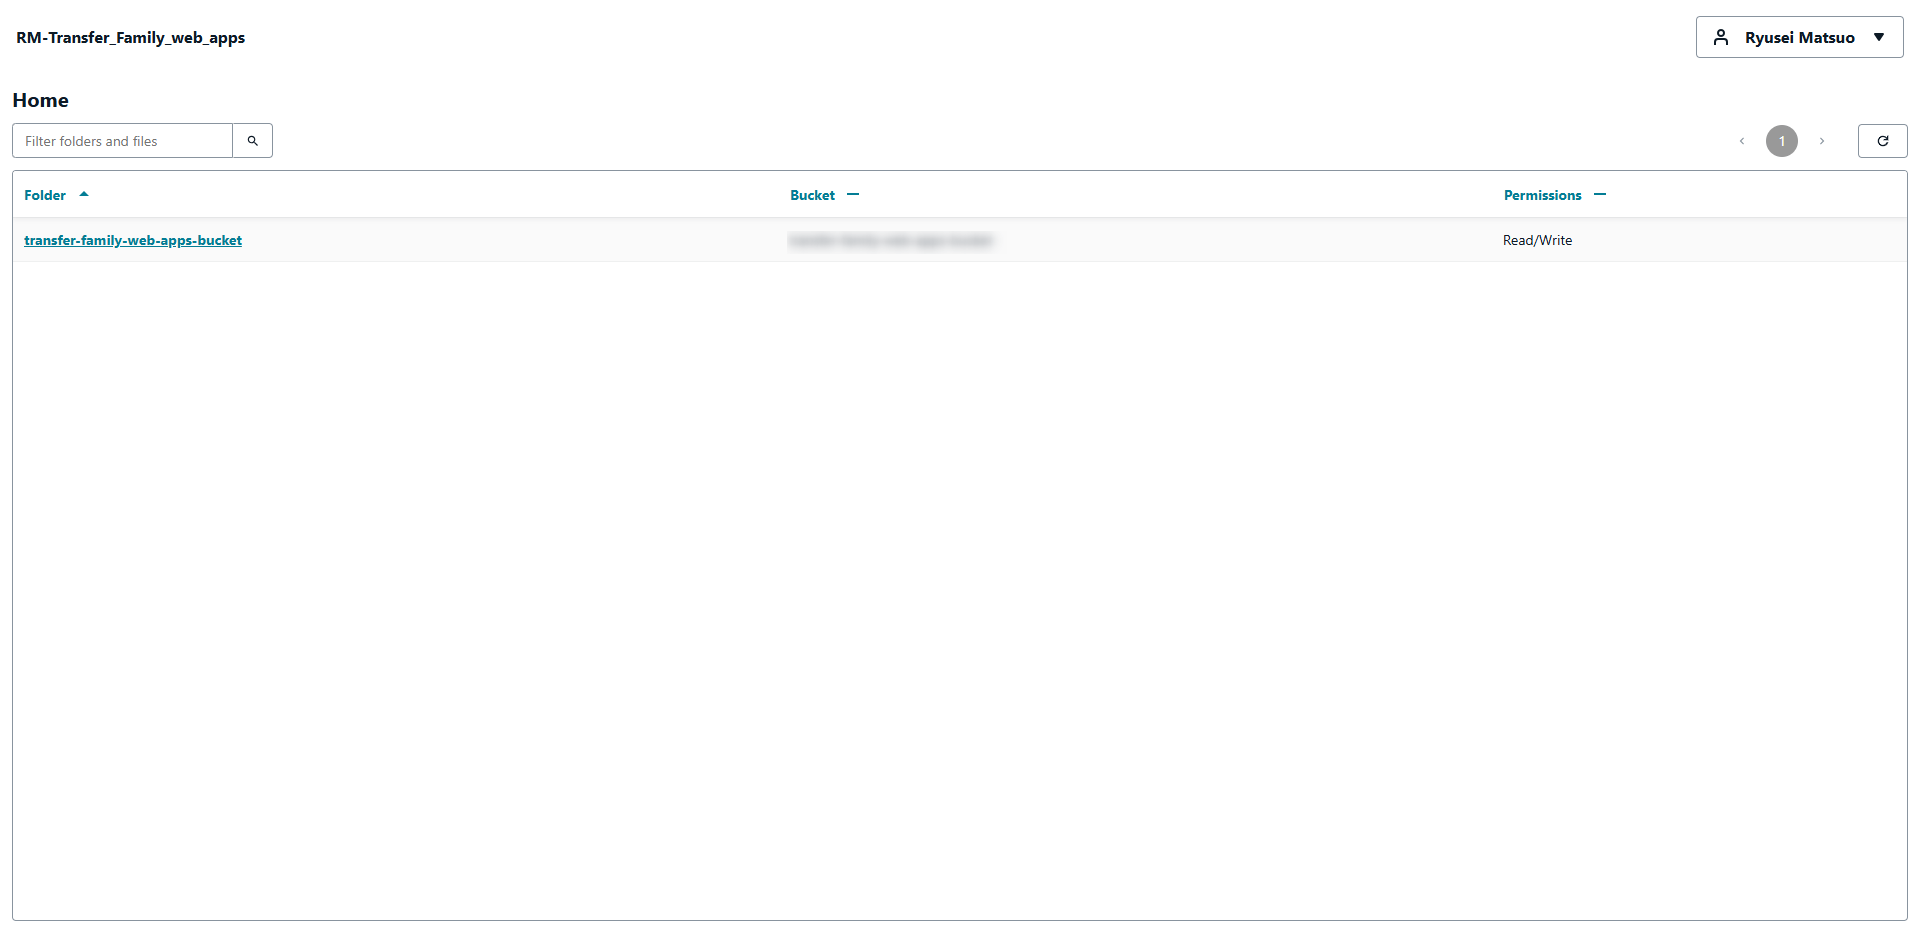
After accessing the web app URL and completing authentication, the S3 management screen appears!
You will see the S3 bucket you configured in Location settingss.
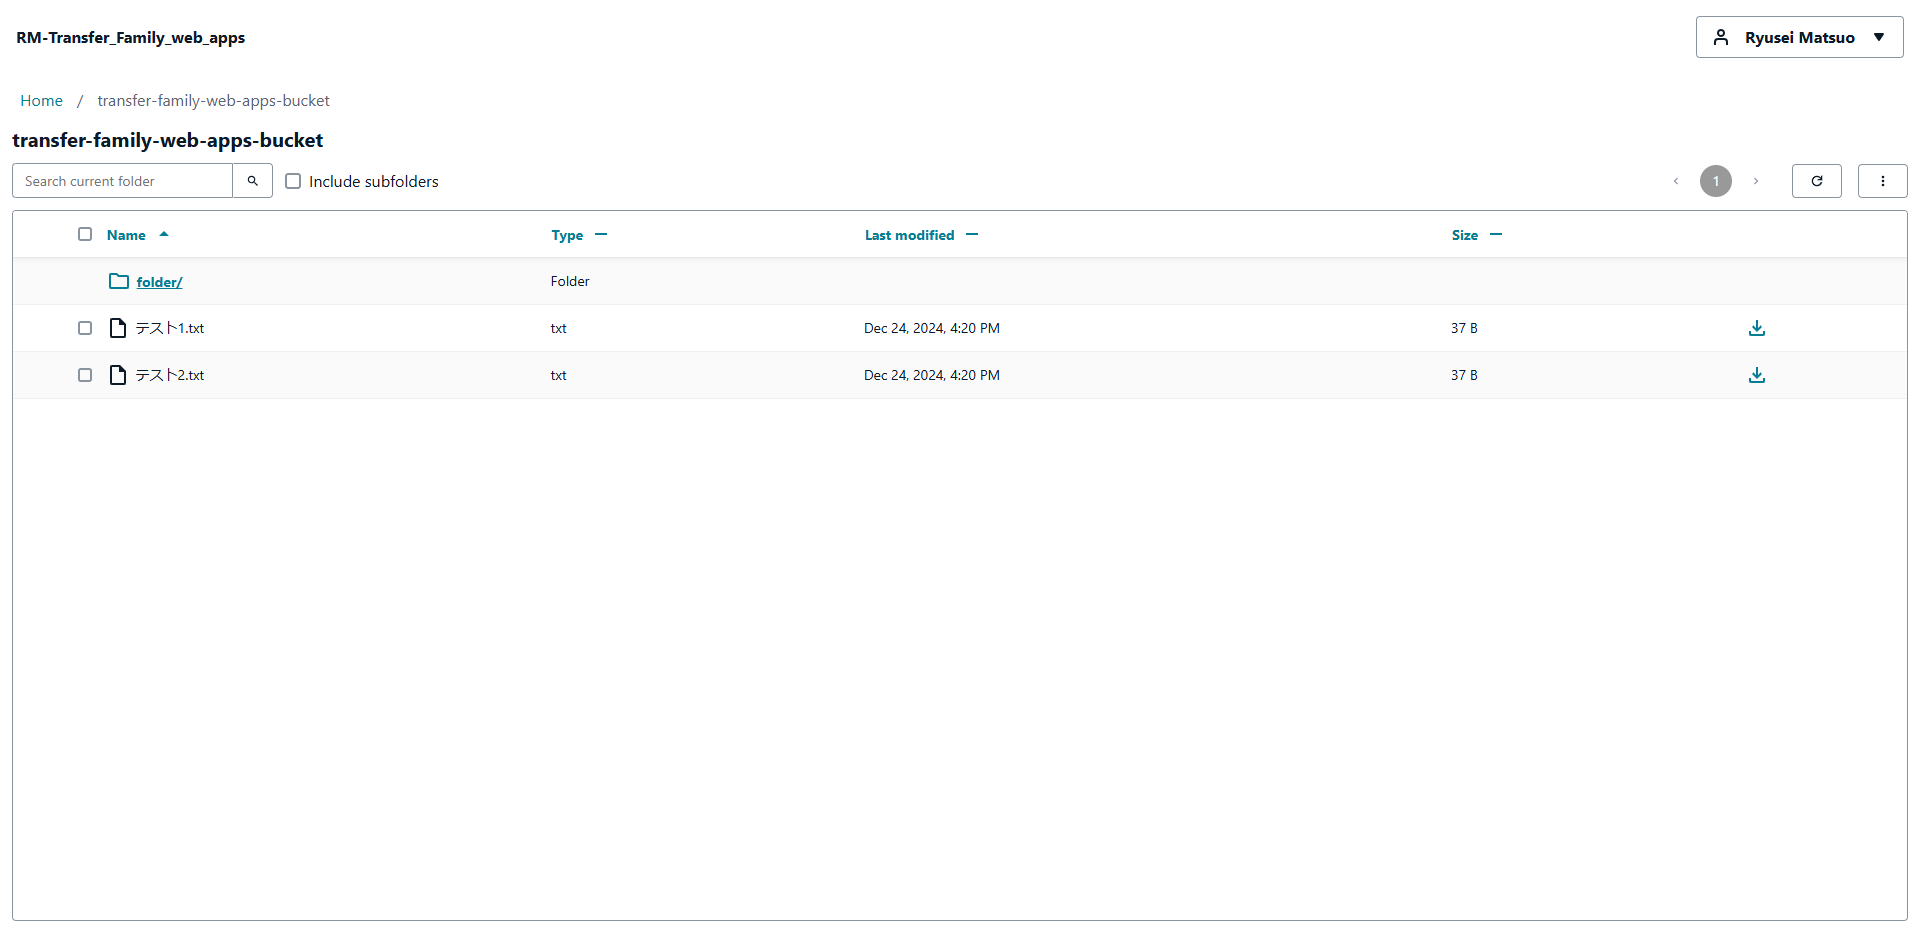
Now let's actually try deleting an S3 file from the target bucket. I tried to access an object from a folder link, but... It didn't work.  Turns out the IAM role used for Access Grants was missing the sts:SetContext permission. This is also mentioned in the User Guide as well.
I added the settings and tried again, and was able to access the object successfully.
By the way, if CORS is not configured properly, a Network Error will appear here.

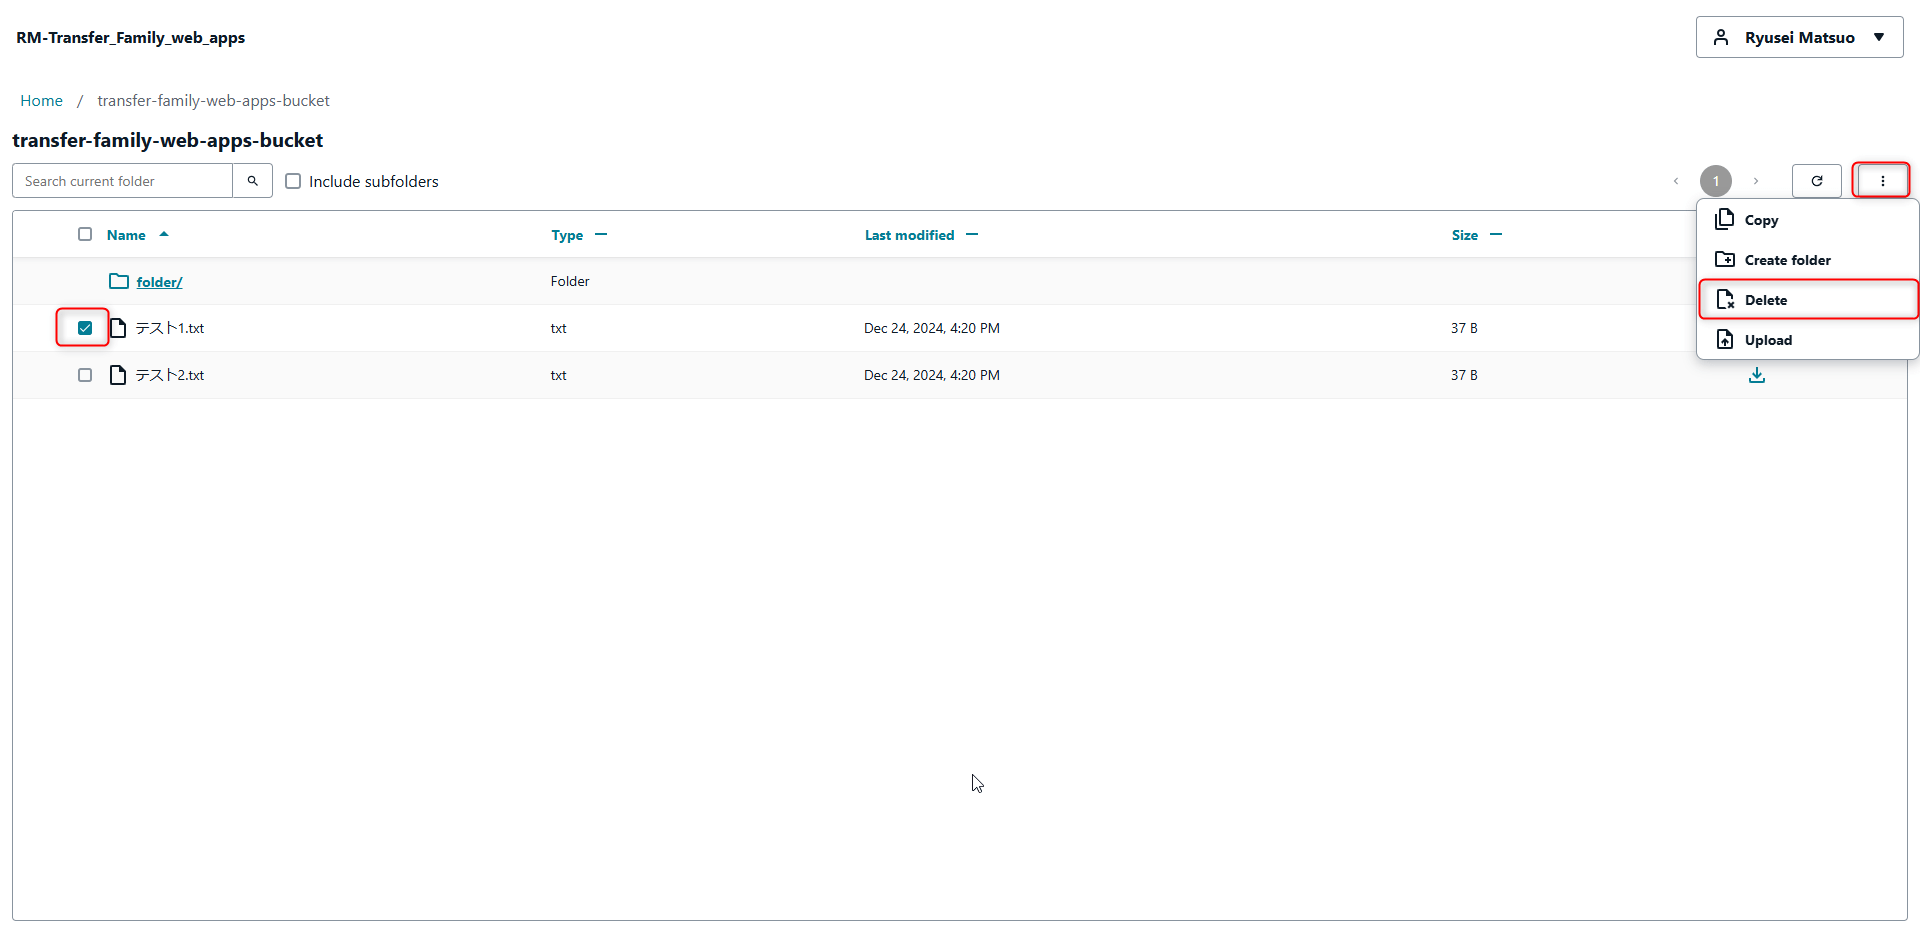
Now, let's select the object here and delete it.
Simply select the file you want to delete (in this case, test1.txt) click the ellipsis, and choose Delete.
The file has been deleted from the web app.
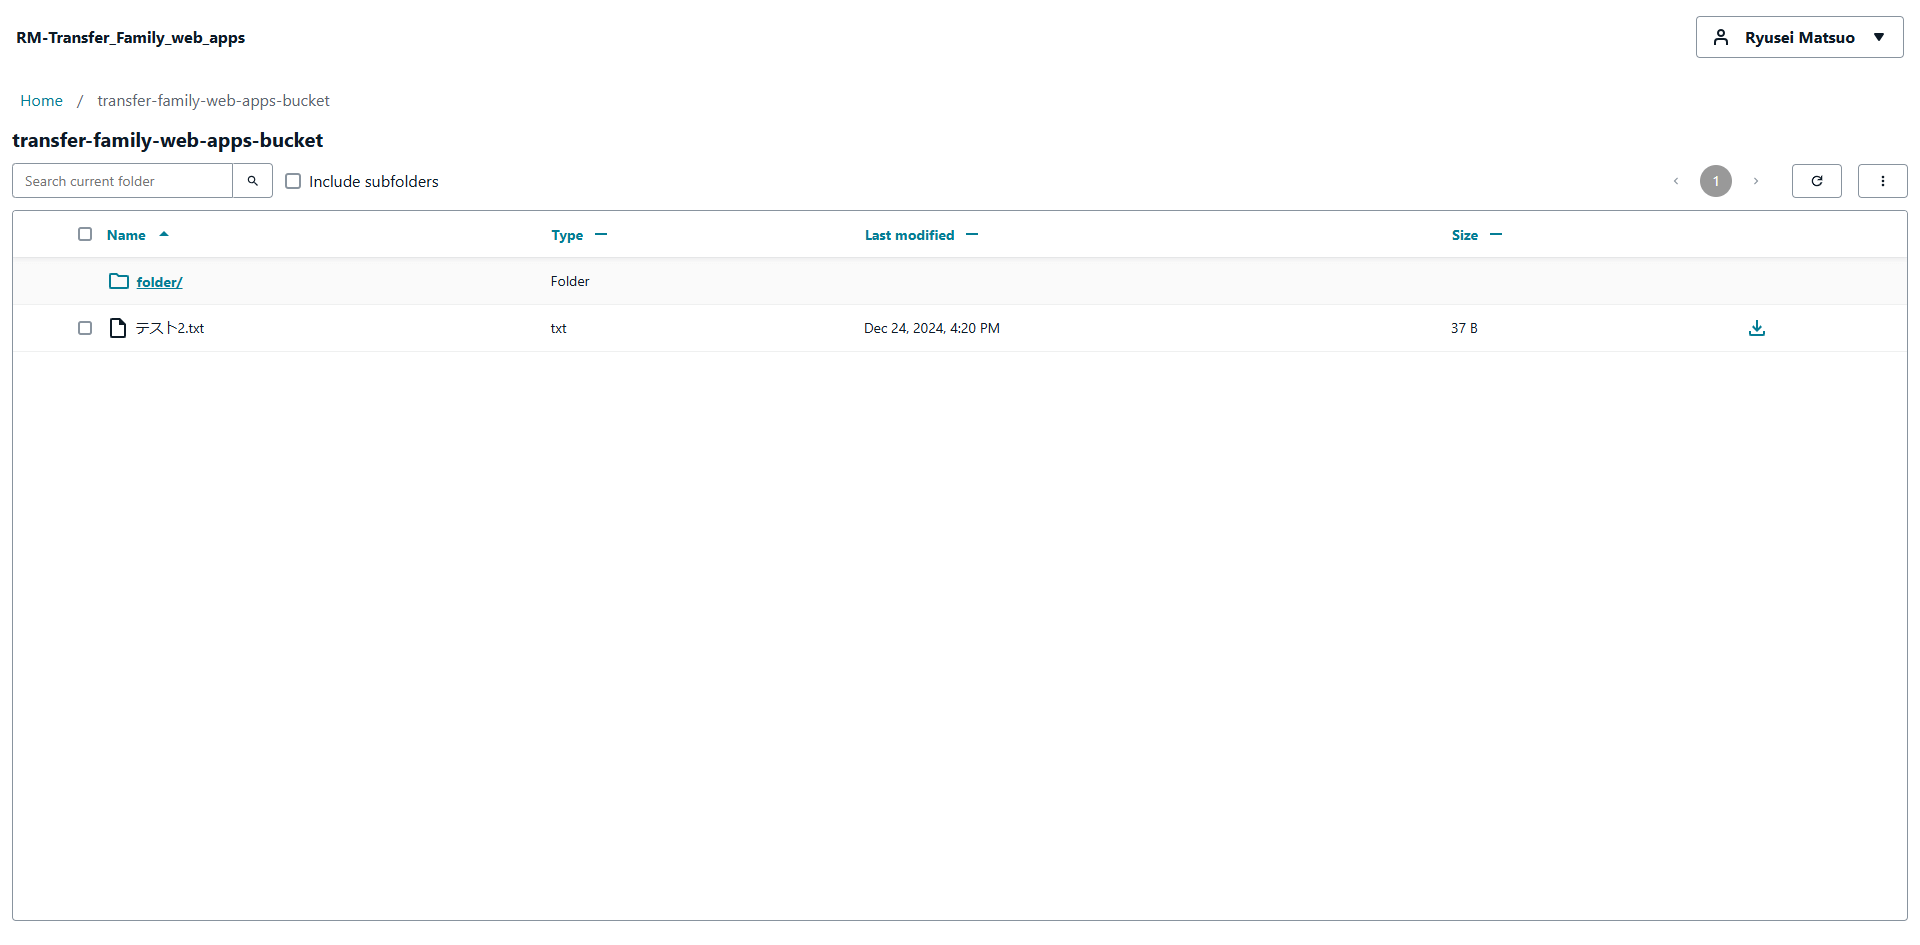
I also confirmed that it was removed from the console.
Impressions
Although setting up IAM Identity Center and Access Grants was required, I was impressed by how easy it was to be able to build an S3 management app without writing any code.
There were a few confusing aspects due to the numerous configuration settings, but I believe that support for Infrastructure as Code (IaC) will likely make it even more user-friendly in the future.
This service is built on top of the Storage Browser for Amazon S3, which was also announced at re:Invent, so if you are comfortable with programming, you can use that service to create your own customizations.
I hope this blog post was helpful to you.
関連記事 | Related Posts
I Tried Transfer Family Web App
インフラエンジニアが生成AI Agentでフロントエンド~バックエンドまで作ってみた

MinIOを用いたS3ローカル開発環境の構築ガイド(AWS SDK for Java 2.x)
Lambda + TypeScript + Express.jsでAPIをサクサク開発して低コストで運用する話
Guide to Building an S3 Local Development Environment Using MinIO (AWS SDK for Java 2.x) with Docker Compose and Health Checks
AWSコストを65%削減したお話とその先に見えたこと
We are hiring!
【クラウドエンジニア】Cloud Infrastructure G/東京・大阪・福岡
KINTO Tech BlogWantedlyストーリーCloud InfrastructureグループについてAWSを主としたクラウドインフラの設計、構築、運用を主に担当しています。
【カスタマーサクセスエンジニア】プラットフォームG/東京・大阪・福岡
プラットフォームグループについてAWS を中心とするインフラ上で稼働するアプリケーション運用改善のサポートを担当しています。