Unlimited Android Appにスクリーンショットテストを導入しようとしたら意外と大変だった話

この記事は KINTOテクノロジーズアドベントカレンダー2024 の13日目の記事です🎅🎄
はじめまして。
KINTOテクノロジーズでUnlimited(Android)を開発しているfabtと申します。
最近何かと話題のスクリーンショットテストを導入してみたので、導入の流れを追いながら、つまづいた点とその解決方法について紹介します。
スクリーンショットテストの導入を考えている方の参考になれば幸いです。
スクリーンショットテストとは
開発中のソースコードを基に画面のスクリーンショットを撮影し、過去のソースコードを基に同様の手順で撮影されたスクリーンショットと比較し、変更点を確認・検証するテスト手法です。(ざっくりですが・・・)
人間の目では認識しづらい1dpの差も検出してくれるため、UIに意図しない変更が含まれていないかを容易に判断できます。
DroidKaigi 2024などのカンファレンスでも多くのセッションがあり、最近話題になっていると感じます。
スクリーンショットテストライブラリの選定
カンファレンスなどでの発表も多く、弊社の他のAndroid向けアプリでも導入実績のあるroborazziを採用することにしました。
なにはともあれ実行してみる
公式のセットアップ手順やインターネット上の情報をもとに導入し、ローカル環境で実行してみます。
ひとまず特殊なことはしていないので、さっくり進めていきます。
まずはスクリーンショットテスト実行に必要なライブラリを導入します。
- バージョンカタログ(libs.versions.toml)
[versions]
robolectric = "4.13"
roborazzi = "1.29.0"

[libraries]
androidx-compose-ui-test-junit4 = { module = "androidx.compose.ui:ui-test-junit4" }
androidx-compose-ui-test-manifest = { module = "androidx.compose.ui:ui-test-manifest" }
robolectric = { module = "org.robolectric:robolectric", version.ref = "robolectric" }
roborazzi = { module = "io.github.takahirom.roborazzi:roborazzi", version.ref = "roborazzi" }
roborazzi-compose = { module = "io.github.takahirom.roborazzi:roborazzi-compose", version.ref = "roborazzi" }
roborazzi-junit-rule = { module = "io.github.takahirom.roborazzi:roborazzi-junit-rule", version.ref = "roborazzi" }

[plugins]
roborazzi = { id = "io.github.takahirom.roborazzi", version.ref = "roborazzi" }
- rootのbuild.gradle.ktsファイル
plugins {
    alias(libs.plugins.roborazzi) version libs.versions.roborazzi apply false
}
- moduleのbuild.gradle.ktsファイル
plugins {
    alias(libs.plugins.roborazzi)
}

android {
    testOptions {
        unitTests {
            isIncludeAndroidResources = true
            all {
                it.systemProperties["robolectric.pixelCopyRenderMode"] = "hardware"
            }
        }
    }
}

dependencies {
    // robolectric
    testImplementation(libs.androidx.compose.ui.test.junit4)
    debugImplementation(libs.androidx.compose.ui.test.manifest)
    testImplementation(libs.robolectric)

    // roborazzi
    testImplementation(libs.roborazzi)
    testImplementation(libs.roborazzi.compose)
    testImplementation(libs.roborazzi.junit.rule)
}
これで必要なライブラリを導入できたはずです。
下記のようなテスト用クラスを作成してとりあえずローカルで実行してみましょう!
import androidx.compose.material3.MaterialTheme
import androidx.compose.material3.Surface
import androidx.compose.material3.Text
import androidx.compose.ui.test.junit4.createComposeRule
import androidx.compose.ui.test.onRoot
import androidx.test.ext.junit.runners.AndroidJUnit4
import com.github.takahirom.roborazzi.DEFAULT_ROBORAZZI_OUTPUT_DIR_PATH
import com.github.takahirom.roborazzi.captureRoboImage
import org.junit.Rule
import org.junit.Test
import org.junit.runner.RunWith
import org.robolectric.annotation.GraphicsMode

@RunWith(AndroidJUnit4::class)
@GraphicsMode(GraphicsMode.Mode.NATIVE)
class ScreenShotTestSample {
    @get:Rule
    val composeTestRule = createComposeRule()

    @Test
    fun sample() {
        composeTestRule.apply {
            setContent {
                MaterialTheme {
                    Surface {
                        Text(text = "screen shot test sample")
                    }
                }
            }
            onRoot().captureRoboImage(
                filePath = "$DEFAULT_ROBORAZZI_OUTPUT_DIR_PATH/sample.png"
            )
        }
    }
}
下記のスクリーンショット保存コマンドをAndroid Studioのターミナルから実行すればText(text = ・・・)のスクリーンショットがpngとして出力されるはずです。
./gradlew recordRoborazziDebug
![]()
なんと、何も出力されませんでした。 予想外の結果です。
テストがスキップされる
コマンド実行は成功しているのに、なぜかスクリーンショットの結果が出力されませんでした。
調査しつつローカルでユニットテストを実行してみると、以下のような表示がされていることに気がつきました。

なぜかテストイベントを受信できておらずスキップされているようです。
たしかに、それであればコマンド成功かつ結果出力なしも納得できます。
さらに調査を進めていった結果、JUnitバージョンの競合が原因のようでした。
弊アプリでの通常のユニットテストはkotestを使用しているのですが、そちらのテストランナーはJUnit5、
roborazzi(というよりもrobolectric)のテストランナーがJUnit4であることが問題でした。
なんとroborazziのissueにも似たような問題がありました。
解決策は、上記issueにもある通りjunit-vintage-engineというライブラリを使用することでした。
上記ライブラリはざっくりいうとJUnit4とJUnit5を共存させることができ、移行にも使われることがあるとのことです。
それではjunit-vintage-engineを導入し、再度コマンドを実行してみることにします。
まずは依存関係を追加(前段で導入した部分は割愛)
- バージョンカタログ(libs.versions.toml)
[versions]
junit-vintage-engine = "5.11.2"

[libraries]
junit-vintage-engine = { module = "org.junit.vintage:junit-vintage-engine", version.ref = "junit-vintage-engine" }
- moduleのbuild.gradle.ktsファイル
dependencies {
    testImplementation(libs.junit.vintage.engine)
}
再度スクリーンショット保存コマンドを実行します。今度こそText(text = ・・・)のスクリーンショットがpngとして出力されるはずです。

実行結果
なにかしらの初期化に失敗
なんと実行に失敗してしまったようです。
ライブラリを追加する前は実行すらできていなかったので、ポジティブに一歩前進と捉えて愚直に解決を目指しましょう。トライアンドエラーです。
問題解決の最初の一手ということでログを見てみると、以下が出力されていました。

なにかしらの初期化に失敗しているようです。
出力されたログを確認していくと、どうも弊アプリのApplicationクラスを初期化しようとしているみたいです。
Robolectricの設定を詳しく調査すると、以下の記載を見つけました。
Robolectric will attempt to create an instance of your Application class as specified in the AndroidManifest.
Robolectricは、AndroidManifest.xml で指定されたApplicationクラスのインスタンスを作成しようとするようです。
ログの内容と一致しました!
初期化に失敗しないよう、公式を参考に@Configアノテーションを使用しシンプルなApplicationクラスを使用するよう伝えてみることにします。
import android.app.Application
import org.robolectric.annotation.Config

@RunWith(AndroidJUnit4::class)
@Config(application = Application::class) // 追加
@GraphicsMode(GraphicsMode.Mode.NATIVE)
class ScreenShotTestSample {
期待を込めて、スクリーンショット保存コマンド(割愛)をAndroid Studioのターミナルから実行します。
さすがに今度こそText(text = ・・・)のスクリーンショットがpngとして出力されるはずです。


スクリーンショットが出力されました!
比較(スクリーンショットテスト)も試してみるべく、テスト用クラスを少しだけ変更しコマンドを実行してみます。
// Text(text = "screen shot test sample")
Text(text = "compare sample") // textを変更
./gradlew compareRoborazziDebug
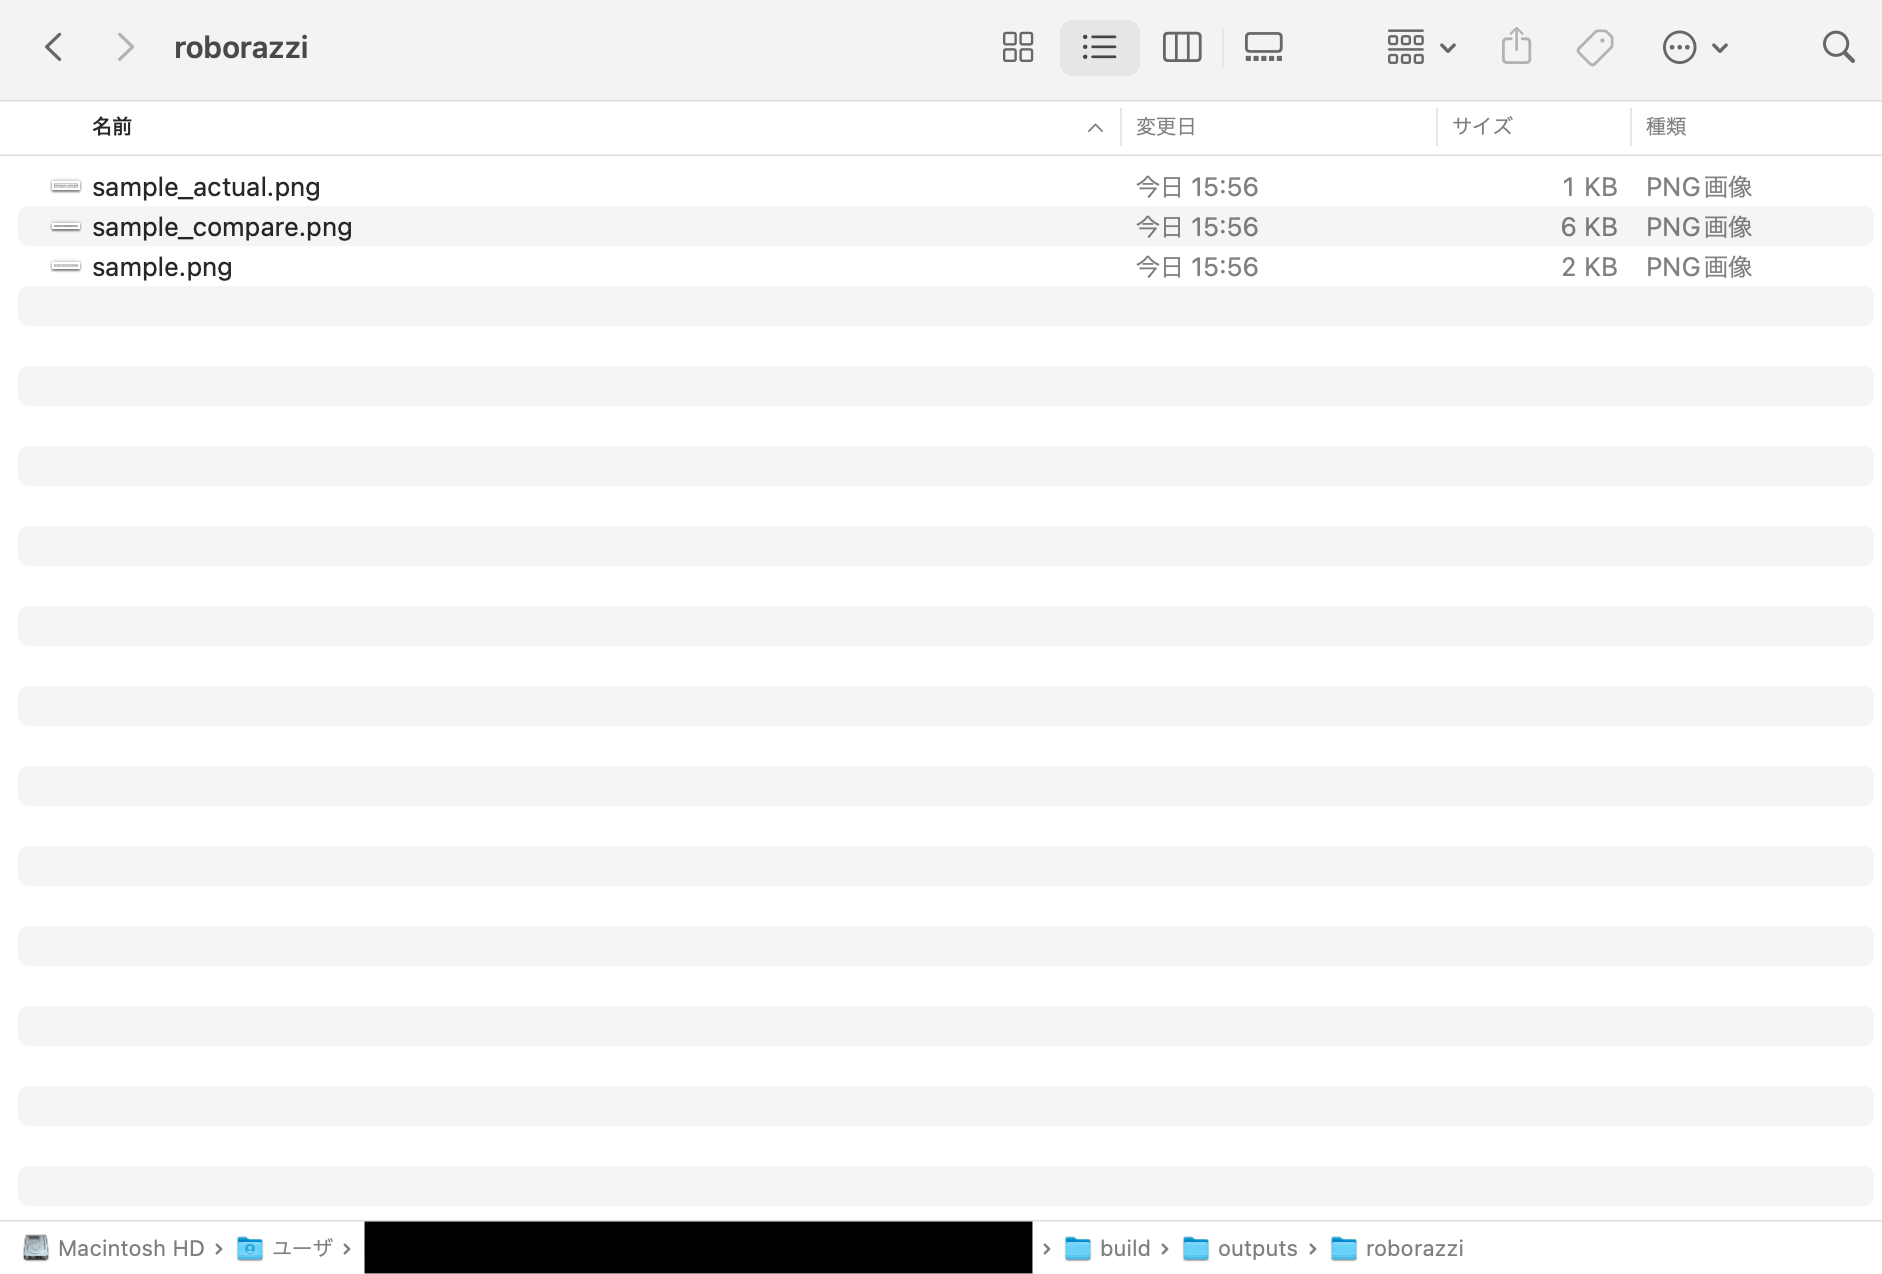
比較結果が出力されました!

比較画像

比較結果
成功したのでここまでのまとめ
簡易的なテストクラスを作成し、無事にスクリーンショットテストを実行できました。
導入しているユニットテストやプロパティの指定など、プロジェクトによって細かい部分の調整が大変な印象ですが、
変更を目で確認できるのは明瞭かつ高速なため、可能であれば導入を検討するとアプリの品質を担保しやすくなるかと思います。
余談
弊アプリではこのタイミングでCIの実装も行っています。
GitHub Actions Workflowを使用し、スクリーンショットの保存・比較・コメントをPRにするところまで実現しています。
特別テクニカルなことをしているわけではないため割愛しますが、
公式にあるようにcompanion branch approachを用いて結果を保持する手法を選択しています。
(ymlファイルの統合などは行いましたが、導入する際の一般的なレベルの最適化程度です。)
閑話休題。
Preview関数もテスト対象にする
Composable関数を実装する際にPreview用関数も同時に作成することが多いと思います。
この記事の前半部分のように手動でテストも実装するとなると、
- Composable実装
- Preview実装
- テスト実装
となかなか大変です・・・。
せっかくならばPreview関数をそのままスクリーンショットテストの対象にしてしまおう!というのが本項の内容です。
こちらも特に話題の中心になっている技術ですね。
なにはともあれ実行してみる
手順は概ね以下です。
- Preview関数を収集する
- 収集した関数をスクリーンショットテストする
シンプルですね。
Preview関数の収集にはさまざまな方法があると思いますが、今回はComposablePreviewScannerを使用していこうと思います。
導入手順がまとめられていること(調査がしやすいこと)、将来的に公式でも連携・サポートされそうなこと(執筆時点ではExperimental)が主な理由です。
では、必要なライブラリを導入していきましょう。
- バージョンカタログ(libs.versions.toml)
[versions]
composable-preview-scanner = "0.3.2"

[libraries]
composable-preview-scanner = { module = "io.github.sergio-sastre.ComposablePreviewScanner:android", version.ref = "composable-preview-scanner" }
- moduleのbuild.gradle.ktsファイル
dependencies {
    // screenshot testing(Composable Preview)
    testImplementation(libs.composable.preview.scanner)
}
続いて、composable-preview-scannerのREADMEや先人たちの情報を参考にテスト用クラスを作成してみましょう。
import android.app.Application
import androidx.compose.ui.test.junit4.createComposeRule
import androidx.compose.ui.test.onRoot
import com.github.takahirom.roborazzi.DEFAULT_ROBORAZZI_OUTPUT_DIR_PATH
import com.github.takahirom.roborazzi.captureRoboImage
import com.kinto.unlimited.ui.compose.preview.annotation.DialogPreview
import org.junit.Rule
import org.junit.Test
import org.junit.runner.RunWith
import org.robolectric.ParameterizedRobolectricTestRunner
import org.robolectric.annotation.Config
import org.robolectric.annotation.GraphicsMode
import sergio.sastre.composable.preview.scanner.android.AndroidComposablePreviewScanner
import sergio.sastre.composable.preview.scanner.android.AndroidPreviewInfo
import sergio.sastre.composable.preview.scanner.android.screenshotid.AndroidPreviewScreenshotIdBuilder
import sergio.sastre.composable.preview.scanner.core.preview.ComposablePreview

@RunWith(ParameterizedRobolectricTestRunner::class)
class ComposePreviewTest(
    private val preview: ComposablePreview<AndroidPreviewInfo>
) {
    @get:Rule
    val composeTestRule = createComposeRule()

    @Config(application = Application::class)
    @GraphicsMode(GraphicsMode.Mode.NATIVE)
    @Test
    fun snapshot() {
        val fileName = AndroidPreviewScreenshotIdBuilder(preview).ignoreClassName().build()
        val filePath = "$DEFAULT_ROBORAZZI_OUTPUT_DIR_PATH/$fileName.png" // Preview関数名.png

        composeTestRule.apply {
            setContent { preview() }
            onRoot().captureRoboImage(filePath = filePath)
        }
    }

    companion object {
        private val cachedPreviews: List<ComposablePreview<AndroidPreviewInfo>> by lazy {
            AndroidComposablePreviewScanner()
                .scanPackageTrees(
                    include = listOf("・・・"), // Preview関数を探すパッケージを設定する
                    exclude = listOf()
                )
                .includePrivatePreviews() // PrivateなPreview関数も含める
                .getPreviews()
        }

        @JvmStatic
        @ParameterizedRobolectricTestRunner.Parameters
        fun values(): List<ComposablePreview<AndroidPreviewInfo>> = cachedPreviews
    }
}
では、スクリーンショット保存コマンドを実行します。
・・・したのですが。
やたらと時間がかかり1時間経っても終わる気配がありません。Preview関数の数も200弱なのでそこまでかかるかな?といった感じです。さすがにすんなりとはいかないですね。
テスト実行に時間がかかる
色々調べていくうちに似たような症例を見つけました。
1つのテストを完了するのに約5分かかりCircularProgressIndicatorを削除したところ高速で実行されたとのこと。
Issueのやりとりを深掘りしていくと、どうやら無限アニメーションを含むComposableをテストしようとすると時間がかかっている模様。
解決策としてはmainClock.autoAdvance = falseを設定し、Compose UIとの自動同期を停止した上で手動で時間を進める方法が紹介されていました。
手動で時間を操作することで任意のタイミングでスクリーンショットを撮影できるため無限アニメーションによる影響を受けない、ということのようです。
弊アプリでもまさにCircularProgressIndicatorを使用しているため、これは試すしかない・・・!と早速実装してみます。
mainClock. ・・・の箇所をテストクラスに追加しました。
- 時間を止め、
- 1_000ミリ秒(1秒)進め、
- スクリーンショットを撮影し、
- 時間停止を解除する。
という流れですね。
composeTestRule.apply {
    mainClock.autoAdvance = false // 1
    setContent { preview() }
    mainClock.advanceTimeBy(1_000) // 2
    onRoot().captureRoboImage(filePath = filePath) // 3
    mainClock.autoAdvance = true // 4
}
(別件ですが、画像を非同期で読み込むためのcoilというライブラリがありますが、そちらも正しくテストできない可能性があるとのこと。ただ解決方法は同様そうなのでまとめて対応できそうです。)
さあ、実行です!!!

高速で実行できるようになったものの、失敗してしまいました。
ダイアログを含んでいると失敗する
実行速度は上がったものの、失敗しては意味がありません。こういう時に頼れるのはやはりログですね。
ComposePreviewTest > [17] > snapshot[17] FAILED
    java.lang.AssertionError: fail to captureRoboImage
    Reason: Expected exactly '1' node but found '2' nodes that satisfy: (isRoot)
    Nodes found:
    1) Node #534 at (l=0.0, t=0.0, r=0.0, b=0.0)px
    2) Node #535 at (l=0.0, t=0.0, r=320.0, b=253.0)px
    Has 1 child
        at androidx.compose.ui.test.SemanticsNodeInteraction.fetchOneOrThrow(SemanticsNodeInteraction.kt:178)
        at androidx.compose.ui.test.SemanticsNodeInteraction.fetchOneOrThrow$default(SemanticsNodeInteraction.kt:150)
        at androidx.compose.ui.test.SemanticsNodeInteraction.fetchSemanticsNode(SemanticsNodeInteraction.kt:84)
        at com.github.takahirom.roborazzi.RoborazziKt.captureRoboImage(Roborazzi.kt:278)
        at com.github.takahirom.roborazzi.RoborazziKt.captureRoboImage(Roborazzi.kt:268)
        at com.github.takahirom.roborazzi.RoborazziKt.captureRoboImage$default(Roborazzi.kt:263)
        at com.kinto.unlimited.ui.compose.ComposePreviewTest.snapshot(ComposePreviewTest.kt:49)
上記のようなログが複数出力されていました。2つのnodeがあるとのこと。
ログの情報で検索すると気になるIssueを見つけました。
compose-multiplatformについてなので原因は違うかもしれませんが、たしかに失敗しているのはDialog()Composableを使用している箇所のようでした。
諦めるしかないのか・・・と悩んでいたところ、Experimentalとしてダイアログを含むイメージをキャプチャする関数が追加されているとのことです!
Experimentalのため全てのテストに使用するのは憚られますが、テスト対象がダイアログかどうかを判定できれば成功するかもしれません・・・。
ということでDialogPreview()というカスタムアノテーションを作成し、ダイアログを含むPreviewに付与、テストクラスで情報を取得し判定することにしました。
annotation class DialogPreview()
@OptIn(ExperimentalRoborazziApi::class) // 追加
@Config(application = Application::class)
@GraphicsMode(GraphicsMode.Mode.NATIVE)
@Test
fun snapshot() {
    val isDialog = preview.getAnnotation<DialogPreview>() != null  // 追加

    composeTestRule.apply {
        mainClock.autoAdvance = false
        setContent { preview() }
        mainClock.advanceTimeBy(1_000)
        if (isDialog) { // 追加
            captureScreenRoboImage(filePath = filePath)
        } else {
            onRoot().captureRoboImage(filePath = filePath)
        }
        mainClock.autoAdvance = true
    }
}

companion object {
    private val cachedPreviews: List<ComposablePreview<AndroidPreviewInfo>> by lazy {
        AndroidComposablePreviewScanner()
            .scanPackageTrees(
                include = listOf("・・・"),
                exclude = listOf()
            )
            .includePrivatePreviews()
            .includeAnnotationInfoForAllOf(DialogPreview::class.java) // 追加
            .getPreviews()
    }
}
previewにDialogPreviewアノテーションが付与されているか(nullではないか)を判定し、ダイアログの場合はcaptureScreenRoboImage()を使用するようにしました。
実行してみます。
Preview関数の性格上、画像やファイル名をマスクしています。
Preview関数を読み込み、それらのスクリーンショットを保存できました!
スクリーンショットの比較は前段で確認済なので、そのままで問題なさそうです。
長々とお付き合いいただきありがとうございました。
最後のまとめ
この記事では、スクリーンショットテストの導入の流れを追いながら、つまづいた点とその解決方法について紹介しました。
当初はライブラリを追加して実行するだけだと思っていましたが、なかなかうまくいかず、試行錯誤を通じてなんとかスクリーンショットテストを実行できるようになりました。
つまづいた点の解決方法はライブラリの追加やアノテーションの付与など、対応としては単純でしたが、そこに辿り着くまでの情報が少なく、意外と大変でした。
この記事が少しでも皆さんのお役に立てば幸いです。
関連記事 | Related Posts
Unlimited Android Appにスクリーンショットテストを導入しようとしたら意外と大変だった話

Struggle Story of QAG Members Who Joined in 2025
Snapshot Testing in the my route App

A to Z of Testing in Kotlin Multiplatform (KMP)
A Beginner’s Story of Inspiration With Compose Preview
Create a Reference Image for Snapshot Testing in Any Directory on iOS
We are hiring!
【QAエンジニア(リーダークラス)】QAG/東京・大阪・福岡
QAグループについて QAグループでは、自社サービスである『KINTO』サービスサイトをはじめ、提供する各種サービスにおいて、リリース前の品質保証、およびサービス品質の向上に向けたQA業務を行なっております。QAグループはまだ成⾧途中の組織ですが、テスト管理ツールの導入や自動化の一部導入など、QAプロセスの最適化に向けて、積極的な取り組みを行っています。
シニア/フロントエンドエンジニア(React/Typescript)/KINTO中古車開発G/東京・大阪・福岡
KINTO開発部KINTO中古車開発グループについて◉KINTO開発部 :66名 KINTO中古車開発G:9名★ KINTOプロダクトマネジメントG:3名 KINTOバックエンド開発G:16名 契約管理開発G :9名 KINTO開発推進G:8名 KINTOフロントエンド開発G...
イベント情報
![[Mirror]不確実な事業環境を突破した、成長企業6社独自のエンジニアリング](/assets/banners/thumb1.png)