Svelte unit test - Irregular Svelte series-02
Yusuke Ikeda

Hello (good evening), this is part 2 of the irregular Svelte series. Click here for the previous articles
- What I learned from using SvelteKit and Svelte for a year *SvelteKit major release supported
- Comparison of Svelte and other JS frameworks - Irregular Svelte series-01
- Svelte unit test - Irregular Svelte series-02
Today, I will write about Svelte unit tests.
You can get the module here.
We will use three Vitest + jsdom + @testing-library/svelte.
Vitest This is a testing framework that uses a tool called vite. It works very fast because it uses vite.
jsdom This is a library that uses the DOM in Node.js. You can parse HTML and call web APIs.
@testing-library This is a test library that supports various frameworks. It supports Svelte, React, and Vue.
Environment settings
First, add the modules below. *You can use whatever package manager you want. Here, I will use yarn.
yarn add vitest jsdom @testing-library/svelte @types/jest
*Since we will use TS (TypeScript), add @types/jest, because we also want to add types to the test file. Of course, it is not necessary if it is written in TS.
config
Next, add a description for the test to vite.config.js.
import { sveltekit } from '@sveltejs/kit/vite';

/** @type {import('vite').UserConfig} */
const config = {
  plugins: [sveltekit()],
  // Add the following from here
  test: {
    // Target file for test
    include: ['src/**/*.{test,spec}.{js,ts}'],
    globals: true,
    // test environment
    environment: 'jsdom'
  }
};

export default config;
jsdom is configured in environment.
package.json
Add the following to package.json.
- You can run it with yarn vitest without writing.
"test": "vitest"
You are now ready to test.
Let's test it out
I'm going to write a test with a component that has a common add and subtract button.
Component side
First, prepare the components you want to test.
<script lang="ts">
  let count:number = 0;
</script>

<! -- Subtract button -->
<button on:click={() => (count -= 1)} aria-label="Subtract">-</button>
<! -- defined count variable -->
{count}
<! -- Add button -->
<button on:click={() => (count += 1)} aria-label="Add">+</button>
Since it is necessary to read addition and subtraction respectively in testing-library, for this article,we set aria-label. The components are created. The following simple components are drawn on the screen. Press the plus button to add, and the minus button to subtract.
Complete figure 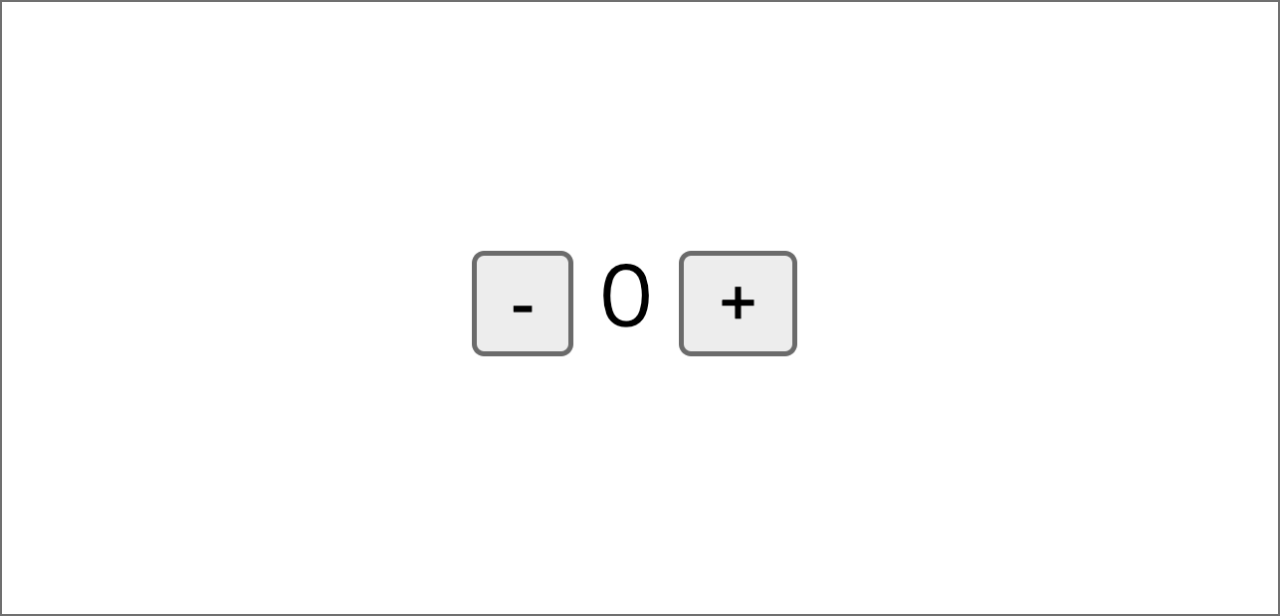
Test
Now we are going to move to the unit test file. Depending on the number of components and personal preferences, I prefer to place them in the same hierarchy without having to move my gaze or the cursor back and forth.
import { render, fireEvent, screen } from '@testing-library/svelte';
// $lib is an src/lib alias
import Counter from '$lib/components/Counter.svelte';

describe('Counter.svelte', async () => {
 // Initial value
  test('Initial counter value is 0', async () => {
    render(Counter);
    expect(screen.getByText('0')).toBeTruthy();
  });
  test('Subtraction process', async () => {
    render(Counter);
    // define the button
    const decreaseButton = screen.getByLabelText('Subtract');
    // define the event
    await fireEvent.click(decreaseButton);
    const counter = await screen.findByText('-1');
    expect(counter).toBeTruthy();
  });
  test('Addition process', async () => {
    render(Counter);
    const increaseButton = screen.getByLabelText('Add');
    await fireEvent.click(increaseButton);
    const counter = await screen.findByText('1');
    expect(counter).toBeTruthy();
  });
});
Now, the test is ready.
Let's break it down by test unit.
  test('Initial counter value is 0', async () => {
    render(Counter);
    expect(screen.getByText('0')).toBeTruthy();
  });
Considering the test item Initial counter value is 0, we first render the Counter component which is called by import Counter from '$lib/components/Counter.svelte';. Then, we run a matcher called toBeTruthy to judge whether or not the Counter component has an initial value of 0.
- Basically, a matcher is a function used to evaluate tests. See the Jest official website for more details. Jest
Next, about testing the subtraction process. Both the addition process and subtraction process have the same logic, so I will only explain the subtraction process.
  test('Subtraction process', async () => {
    render(Counter);
    // define the button
    const decreaseButton = screen.getByLabelText('Subtract');
    // define the event with fireEvent
    await fireEvent.click(decreaseButton);
    //
    const counter = await screen.findByText('-1');
    expect(counter).toBeTruthy();
  });
The Subtraction process test is done as follows.
- Draw the component
- Define the button in the component
- Set click event
- Verify that the value decreased by 1
testing-library and async/await make testing easy, are easy to understand, and are highly compatible with Svelte.
The addition process test is the same except for the value of findByText, so I will skip it.
Let's run it
Do the yarn test
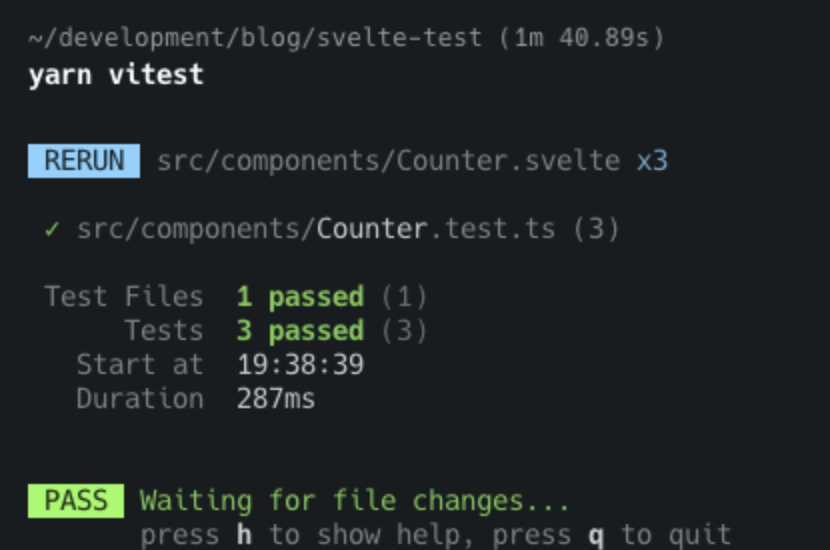
When it passes like this, a green message saying that it passed is output to the console.
Let's see what happens if it fails the test.
<script lang="ts">
  // 0 => 1
  let count:number = 1;
</script>

<! -- Subtract button -->
<button on:click={() => (count -= 1)} aria-label="Subtract">-</button>
<! -- defined count variable -->
{count}
<! -- Add button -->
<button on:click={() => (count += 1)} aria-label="Add">+</button>
In the test file, the initial value is assumed to be 0, so if the value 1 is set, there will be an error. If there is a mistake, an error is also output as follows. 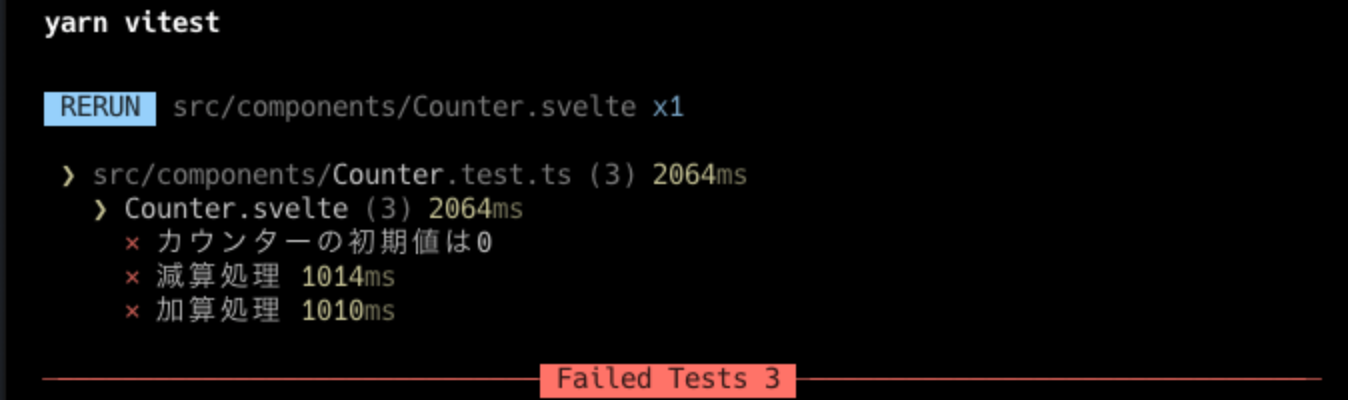
Also, the details of the error are as follows. There is an error message such as, "The counter component is expected to have an initial value of 0." 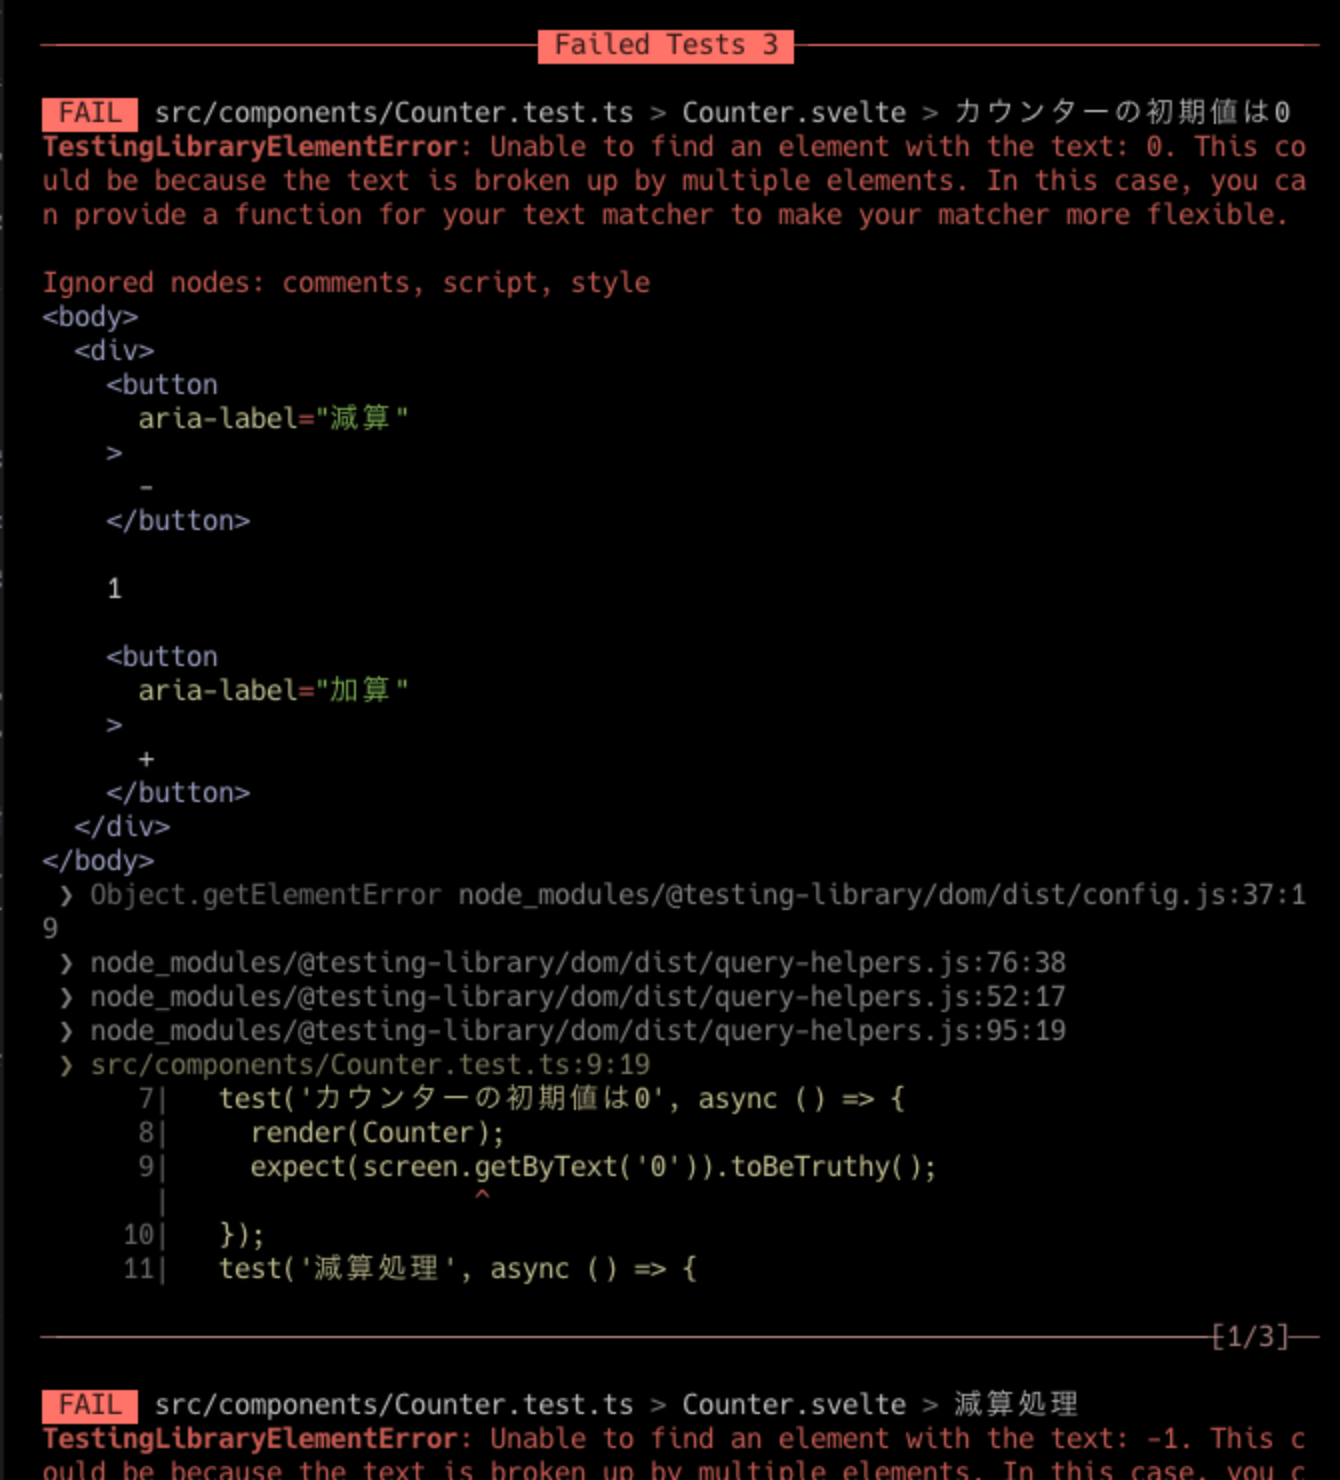
It's simple. You have completed the unit test. It is useful since both the configuration file and the test execution file require less description.
That is all for Svelte unit tests.
Next time, I will talk about Storybook with SvelteKit.
Look forward to next time!
関連記事 | Related Posts
Yusuke Ikeda
DevelopmentSvelteでユニットテスト - Svelte不定期連載-02
Yusuke Ikeda
Development
SvelteTips - Svelte不定期連載-05
Yusuke Ikeda
Development
Using Storybook with Svelte - Irregular Svelte Series 03
Yusuke Ikeda
DevelopmentSvelteでStorybookを使ってみる - Svelte不定期連載-03
Yusuke Ikeda
Development
Comparison of Svelte and other JS frameworks - Irregular Svelte series-01
Yusuke Ikeda
DevelopmentSvelteと他JSフレームワークの比較 - Svelte不定期連載-01
We are hiring!
【フロントエンドエンジニア】新車サブスク開発G/東京・大阪
新車サブスク開発グループについてTOYOTAのクルマのサブスクリプションサービスである『 KINTO ONE 』のWebサイトの開発、運用をしています。業務内容トヨタグループの金融、モビリティサービスの内製開発組織である同社にて、自社サービスである、TOYOTAのクルマのサブスクリプションサービス『KINTO ONE』のWebサイトの開発、運用を行っていただきます。
【フロントエンドエンジニア(コンテンツ開発)】新車サブスク開発G/東京・大阪
新車サブスク開発グループについてTOYOTAのクルマのサブスクリプションサービスである『 KINTO ONE 』のWebサイトの開発、運用をしています。業務内容トヨタグループの金融、モビリティサービスの内製開発組織である同社にて、自社サービスである、TOYOTAのクルマのサブスクリプションサービス『KINTO ONE』のWebサイトの開発、運用を行っていただきます。