SvelteでStorybookを使ってみる - Svelte不定期連載-03

こんにちは(こんばんは)、Svelte不定期連載その3です。
過去の記事はこちら
- SvelteKit + Svelte を1年間くらい使ってみた知見など※SvelteKit メジャーリリース対応済み
- Svelteと他JSフレームワークとの比較 - Svelte不定期連載-01
- Svelteでユニットテスト - Svelte不定期連載-02
今回はSvelteとStorybookを使ってみようの回です。
Storybookとは
UIであるコンポーネントを管理・運用しやすくするためのツール、だと認識していますが、様々な機能を内包していたりします。
今回やること
今回は以下の3つを行ってみます。
- 実際のプロジェクトに導入
- Storybookにコンポーネントを登録
- Storybook上のテストを実行
ではやっていきましょう。
実際のプロジェクトに導入
今回は0からではなく実際のプロジェクトにStorybookを入れてみようと思います。
導入するプロジェクト

URL
SvelteKit + microCMS + [S3 + Cloudfront]の構成で作られているプロジェクトです。
面白いコンテンツが揃っているので是非みてみてください!
おすすめ記事
導入手順
npx storybook@latest init
こちらのコマンドをプロジェクトがあるディレクトリで実行します。
これだけで、プロジェクト内にStorybookの初期構築が完成します。
.storybookというディレクトリとsrc配下にstoriesというディレクトリが作られました。
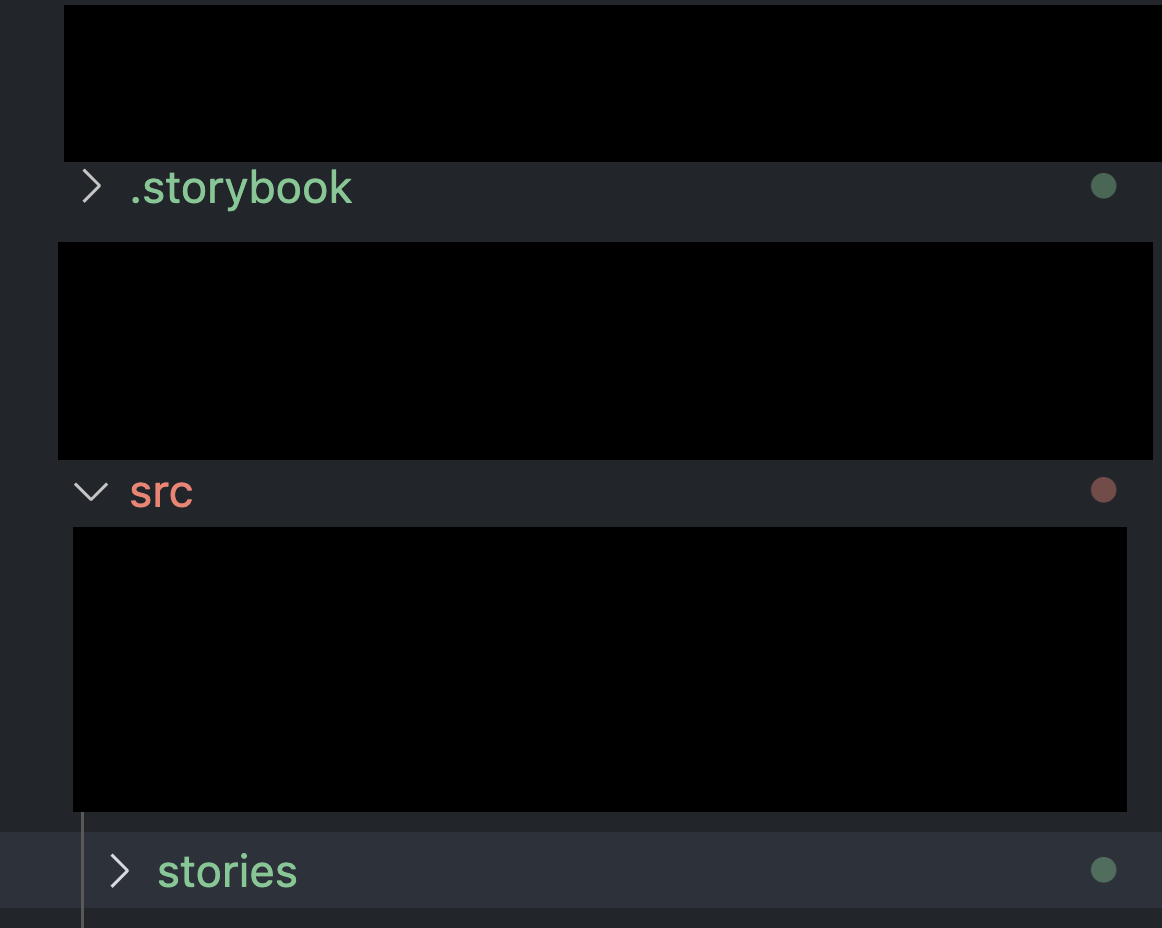
これで初期構築は終わりです。
Storybookにコンポーネントを登録
Storybookを動かしてみる
Storybookを立ち上げてみます。
yarn storybookを実行します。
このような画面が立ち上がりますね。
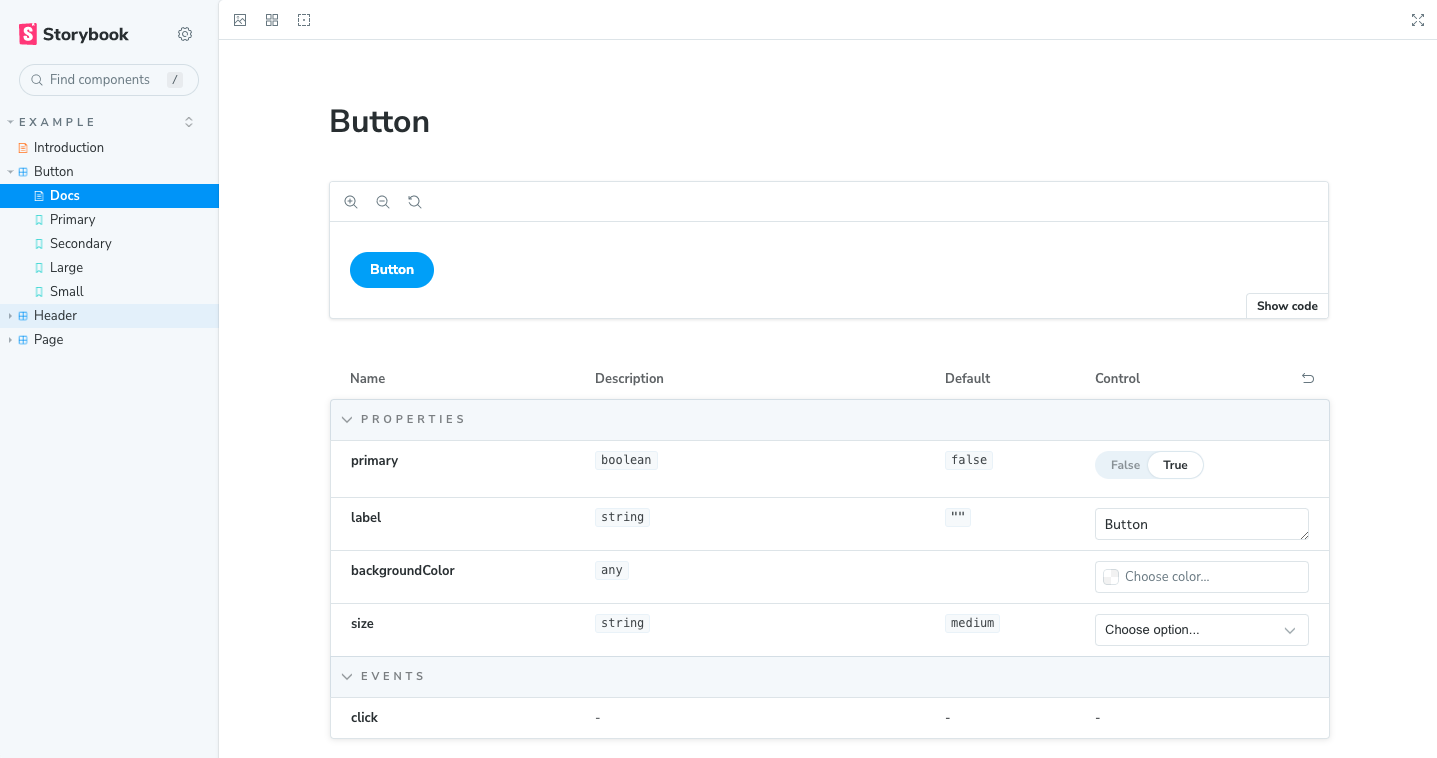
src/stories/配下にあるコンポーネントや**.stories.tsなどはプロジェクト内では使ってないファイルのため、
一度stories配下にあるファイルを全て消して、Button.stroies.tsを改めて配置し、実際にのるウェイで使っているコンポーネントをStorybookに登録してみます。
Storybookにコンポーネントを登録してみる
実際にプロジェクト内でコンポーネント化されているボタンのビジュアルとコードがこちらです。

<script lang="ts">
  export let button: { to: string; text: string };
</script>

<div class="button-item">
  <a
    href={button.to}
    class="link-block"
  >
    <span class="link-block-text">{button.text}</span>
  </a>
</div>
実際にStorybookへ上記のボタンコンポーネントを登録してみましょう。
import type { Meta, StoryObj } from '@storybook/svelte';

// ボタンコンポーネントを登録
import Button from '$lib/components/Button.svelte'

const meta: Meta<Button> = {
  title: 'Example/Button',
  component: Button,
  tags: ['autodocs'],
};

export default meta;
type Story = StoryObj<Button>;

export const Primary: Story = {
  // ボタンコンポーネントのexport letになっているオブジェクトを登録
  args: {
    button: {
      to: '',
      text: ''
    }
  },
};
このような画面に更新されました。
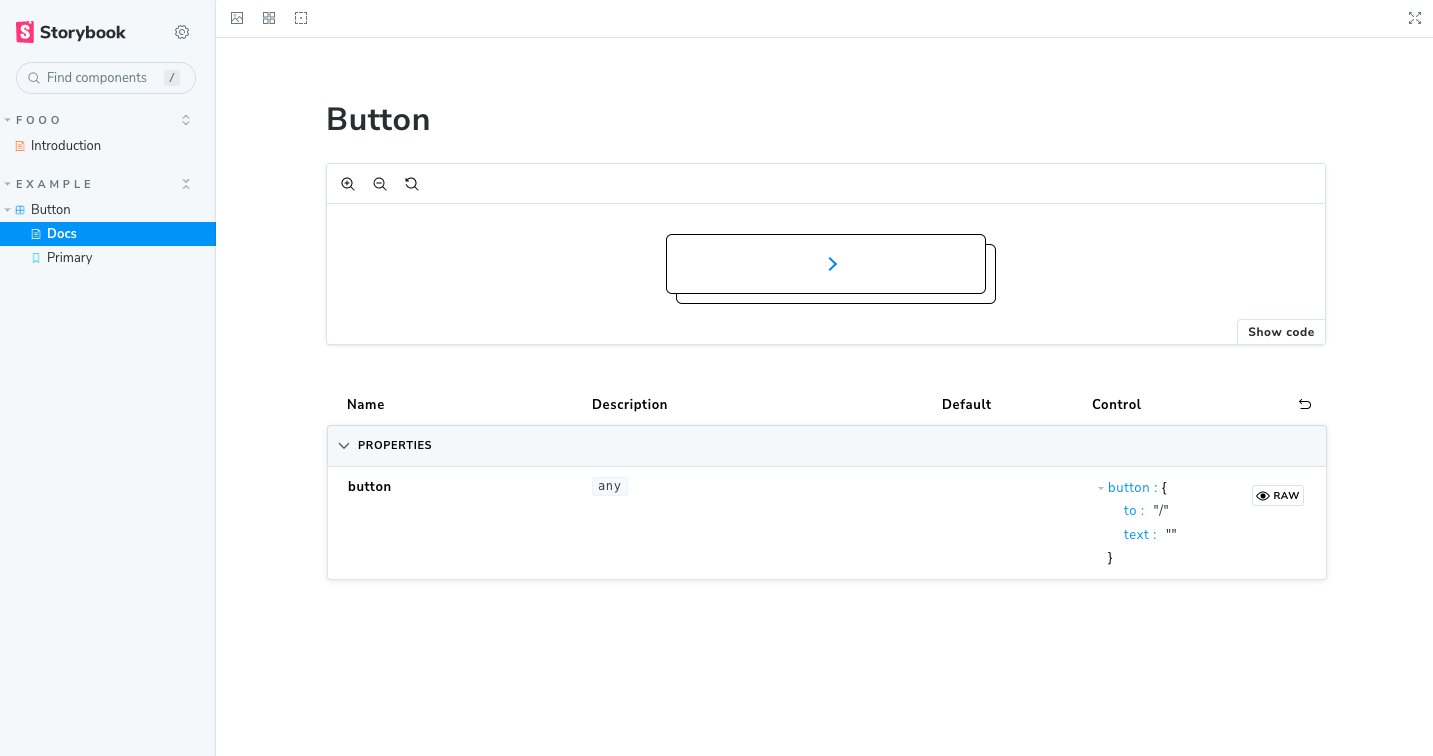
では実際にstorybookの画面上でテキストの差し替えなどしてみます。
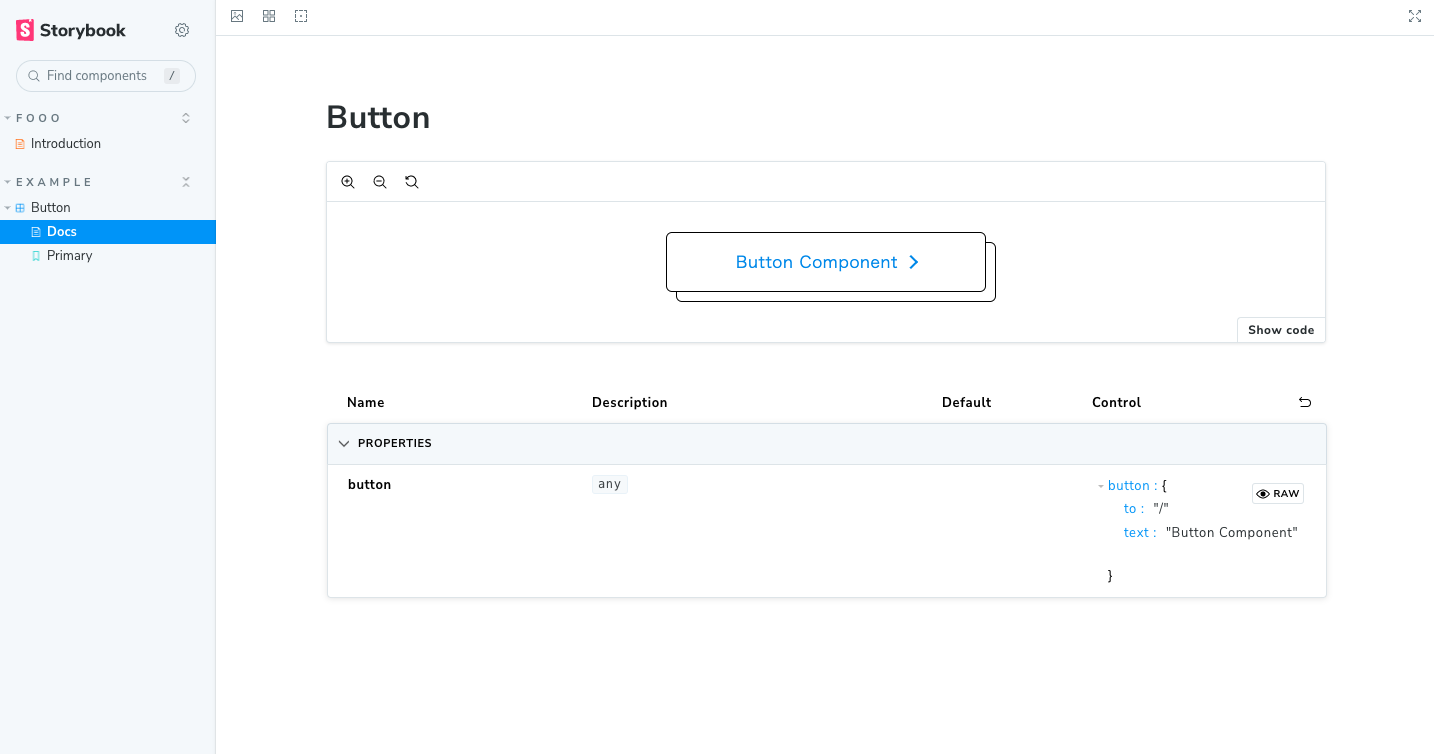
実際に変わることが確認出来ました。
本当に最小限ではありますが、これだけでボタンコンポーネントの配置が終わりました。
Storybookでテストをしてみる
storiesを追加したコンポーネントに対して実際のstoriesファイルが破損していないかのテストを簡単にしてみます。
導入手順
まずテストに必要なモジュールをインストールします。
yarn add --dev @storybook/test-runner
storybook上のテストを実行
実際にテストをしてみます。
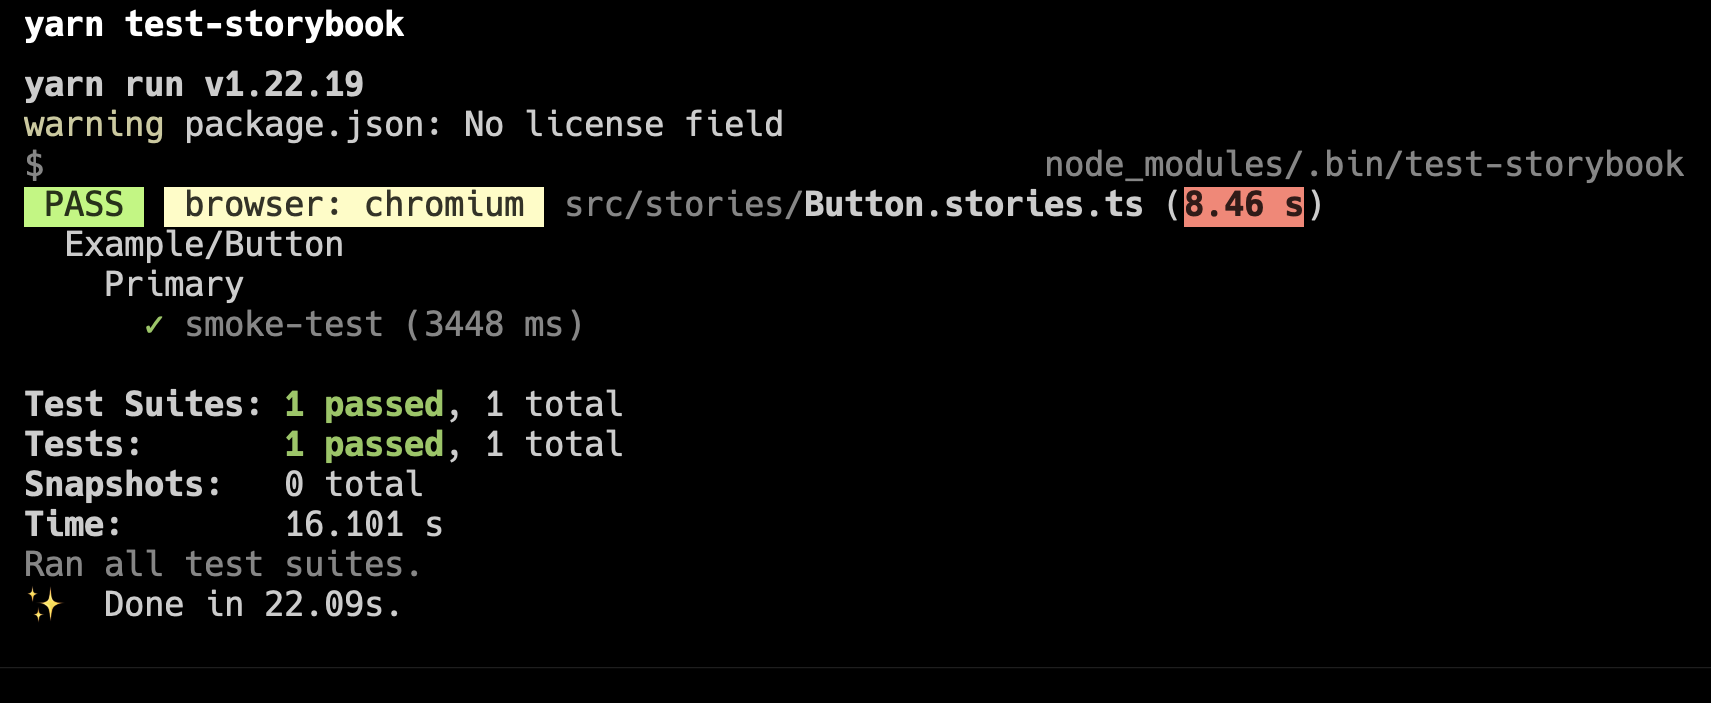
yarn test-storybook
を実行すると、
テストがパスされるとこのような出力に。
どの部分で失敗したかにもよりますがテストに失敗すると以下のように
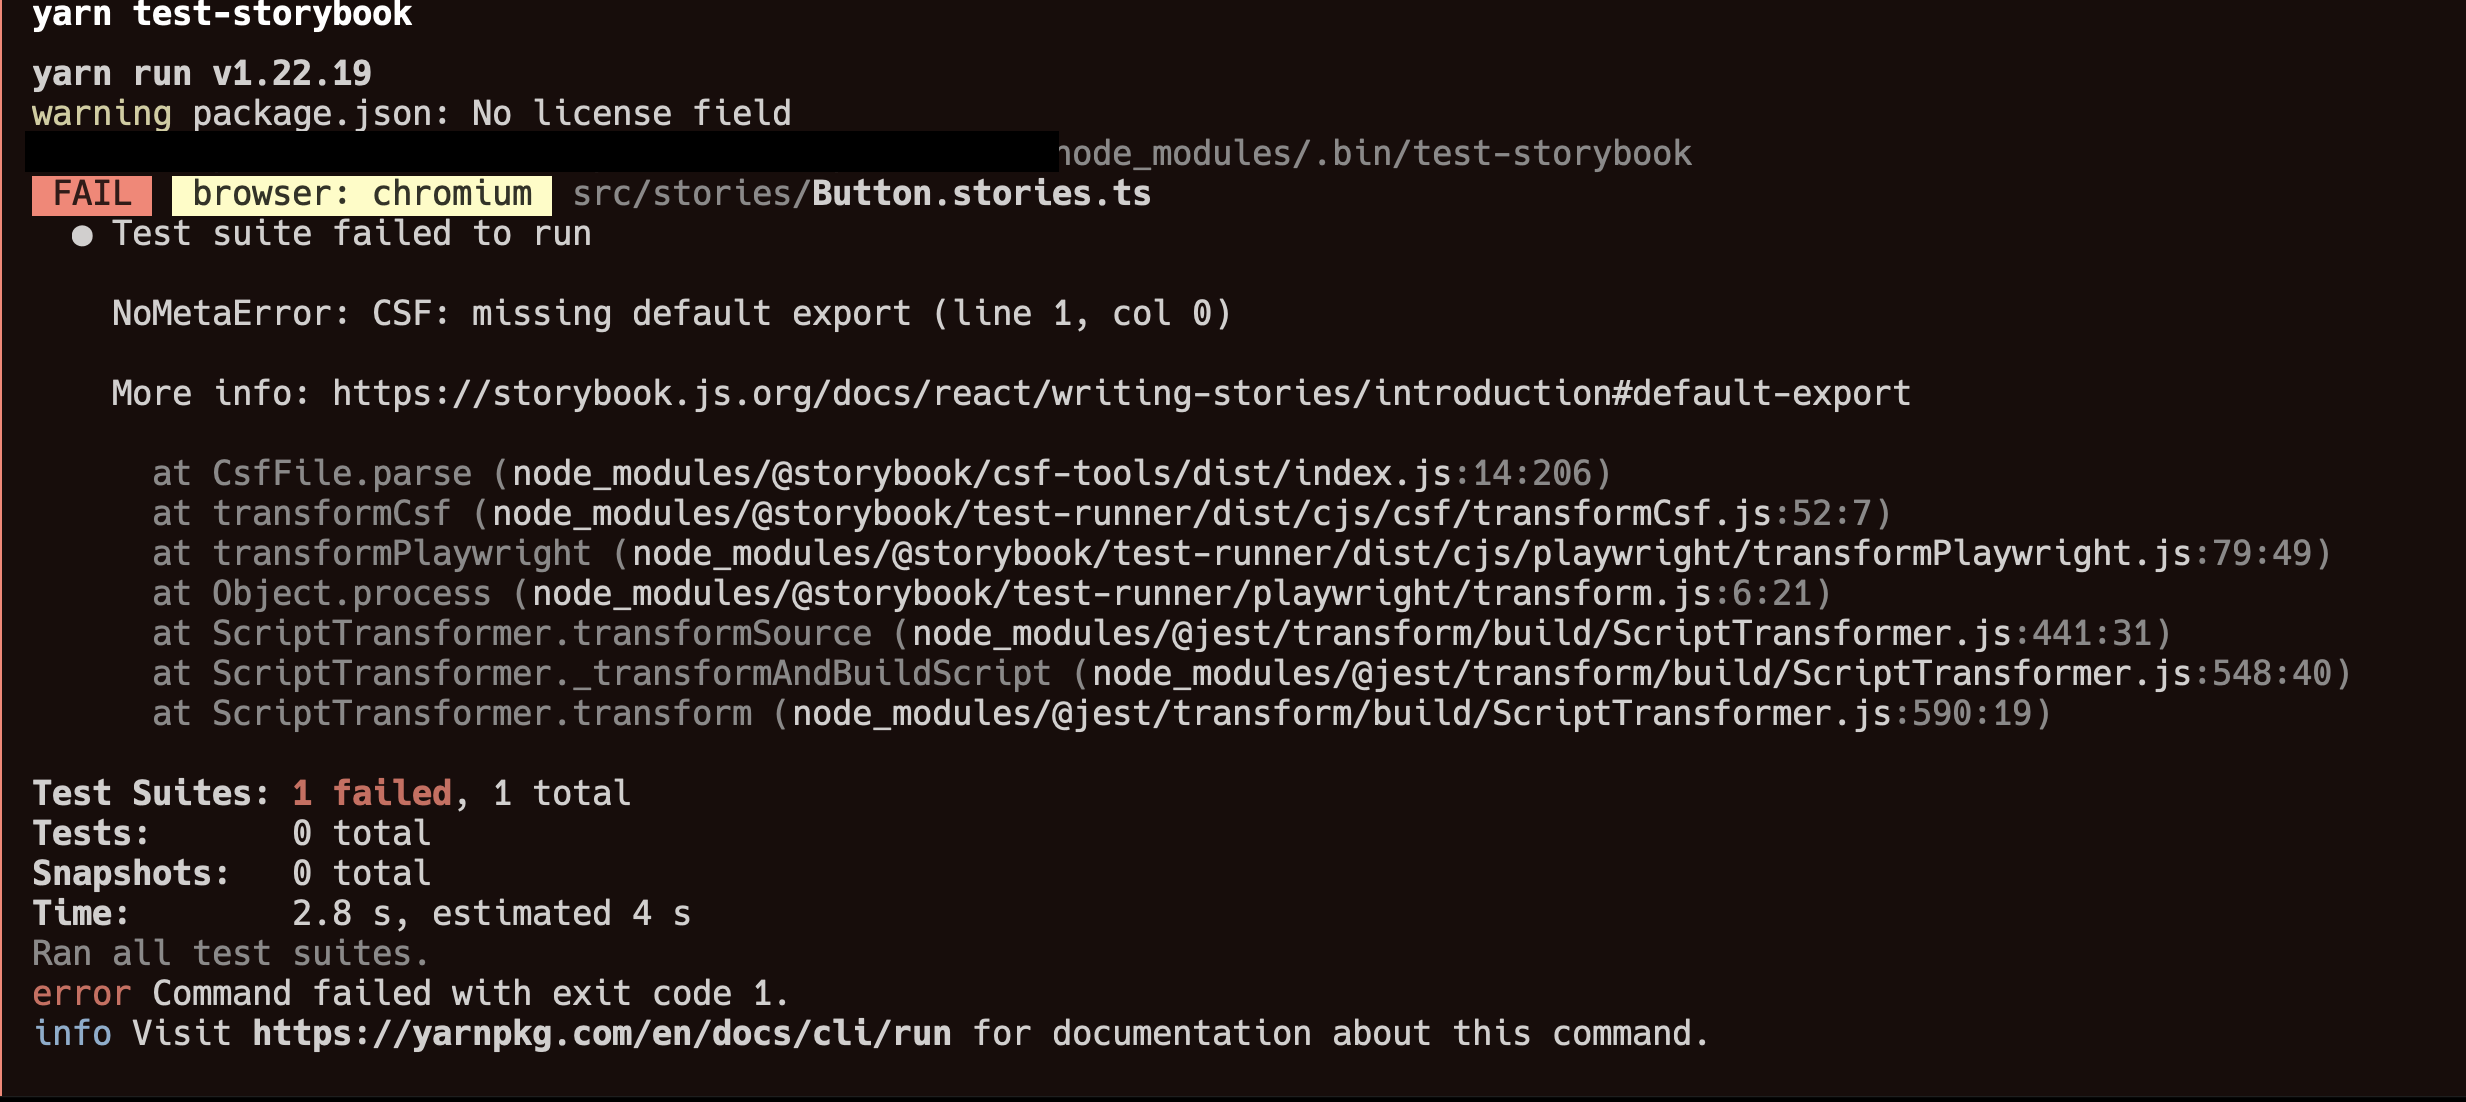
こちらでストーリーブックが破損していないかのテストが行えました。
たくさんのオプションも用意されているのでもっと詳しく知りたい方は下記をご覧ください。
おわり
インストールから、コンポーネントに対してのストーリーの追加、そしてStorybookが破損していないかのテストまでが、簡単に行うことが出来ました。
余談ではありますが、HTMLオンリーのプロジェクトにStorybookを追加しようとしてとても大変だったことがあるので、今回やってみて非常に簡単にできたので良い時代になったな、と感じました。
以上、SvelteでStorybookを使ってみようの会でした。
次回は少し毛色を変えて、Astro上でSvelteを動かしてみようです。
次回もお楽しみに!
関連記事 | Related Posts
We are hiring!
【フロントエンドエンジニア(コンテンツ開発)】新車サブスク開発G/大阪・福岡
新車サブスク開発グループについてTOYOTAのクルマのサブスクリプションサービスである『 KINTO ONE 』のWebサイトの開発、運用をしています。業務内容トヨタグループの金融、モビリティサービスの内製開発組織である同社にて、自社サービスである、クルマのサブスクリプションサービス『KINTO ONE』のWebサイトコンテンツの開発・運用業務を担っていただきます。
【フロントエンドエンジニア(リードクラス)】プロジェクト推進G/東京
配属グループについて▶新サービス開発部 プロジェクト推進グループ 中古車サブスク開発チームTOYOTAのクルマのサブスクリプションサービスである『 KINTO ONE 中古車 』のWebサイトの開発、運用を中心に、その他サービスの開発、運用も行っています。


